Final SCCY Report
Now that SCCY Industries https://sccy.com/ is out of business, it’s probably moot but some thoughts about my experiences with the guns are in order.
My first SCCY was provided to me in 2015 at no cost as a Testing and Evaluation sample. It was produced in 2014, as best I can tell by the serial number. At the time it was furnished, I was doing my second iteration of 1,000 Days of Dry Fire and I used it extensively for dry practice. I also eventually fired about 1,600 live rounds through it. The firing pin broke after about 10,000 dry snaps. During live fire, I had two Failures to Feed between 400 and 500 rounds. No other malfunctions. The ejector broke about the 1200 round mark but it still ejected, just sluggishly and erratically. In both cases, SCCY serviced the pistol and it then ran fine.
Last year (2024), I purchased a SCCY Gen 3 with my own money because I wanted to see what the upgrades had been. This time, it was a disappointment. The gun had a Failure to Chamber every 25 rounds. I traced this to sharp edges around the chamber mouth. SCCY sent me a new barrel and two more magazines, gratis, but the chamber in it had very noticeable machining rings. I didn’t know if it would work but installed it anyway.
A couple of months ago, I purchased an early production used Gen 2, produced in 2013, for $80 at a local range. The trigger on it was much better than my original Gen 2. Whether it has the original mainspring or a replacement, IDK. It had occasional Failures to Eject. The source of those Failures turned out to be a broken ejector. I bought a replacement on eBay and installed it.
For Memorial Day, in remembrance of my Army friends who are dead, I took all three to the range and practiced the destruction of the enemies of our great Nation. Since I’m going to be teaching the NRA Defensive Pistol Course https://www.nrainstructors.org/CatalogInfo.aspx?cid=41 for a Private lesson soon, the Course of Fire I chose was the DP Qualification Course. It consists of 34 rounds fired at distances of 3 to 10 yards. I shot it once with each of them.

All three SCCYs made it through without a malfunction. That’s not a 10,000 round torture test but probably more than 99 out of 100 gunowners will ever fire their handguns. Although they’re not target pistols, they all were sufficiently accurate to group in the eight inch 10 ring of the NRA AP-1.

Bottom line of the whole exercise is that when purchasing a pistol, shoot at least a box of ammo through it to be sure it works. Preferably a structured and measured session. Feeling the trigger and knowing the results it can produce is useful. Inspect the pistol for broken parts after shooting it. My colleague, the late Paul Gomez, was fond of saying “Shoot Yor Guns!” and that’s good advice.
Shootist’s Challenge – The Final Word
Ever since I published the Shootist’s Challenge, https://thetacticalprofessor.net/2024/10/25/shootists-challenge-target/, the question has arisen, “How far is ’10 paces’?” There is finally a definitive answer.
Although Wild Bill Hickok didn’t have access to the CIA World Factbook definitions of Weights and Measures Appendix G :: Weights and Measures, I think that tome has supplied the answer.
paces (US) – inches 30
Wikipedia provides us with a prose rendering and background of this measurement. “In the United States the pace is an uncommon customary unit of length denoting a brisk single step and equal to 2 1/2 feet or 30.0 inches.” It also provides the link to the CIA World Factbook for which I am grateful.
I accept that definition, which would make the distance for the Shootist’s Challenge 25 feet. The updated target is attached.
My thanks to Mr. David Fortini whose question led me to the final answer. He receives whichever of my books he would like with my compliments.
If you like my work, join me on Patreon where I post more in-depth articles about shooting, marksmanship, and incident analysis.
Periodic Personal Evaluation
#saturdayskillsczech
My December article for Shooting Illustrated is entitled Near to Far Marksmanship Practice.
https://www.shootingillustrated.com/content/near-to-far-marksmanship-practice/
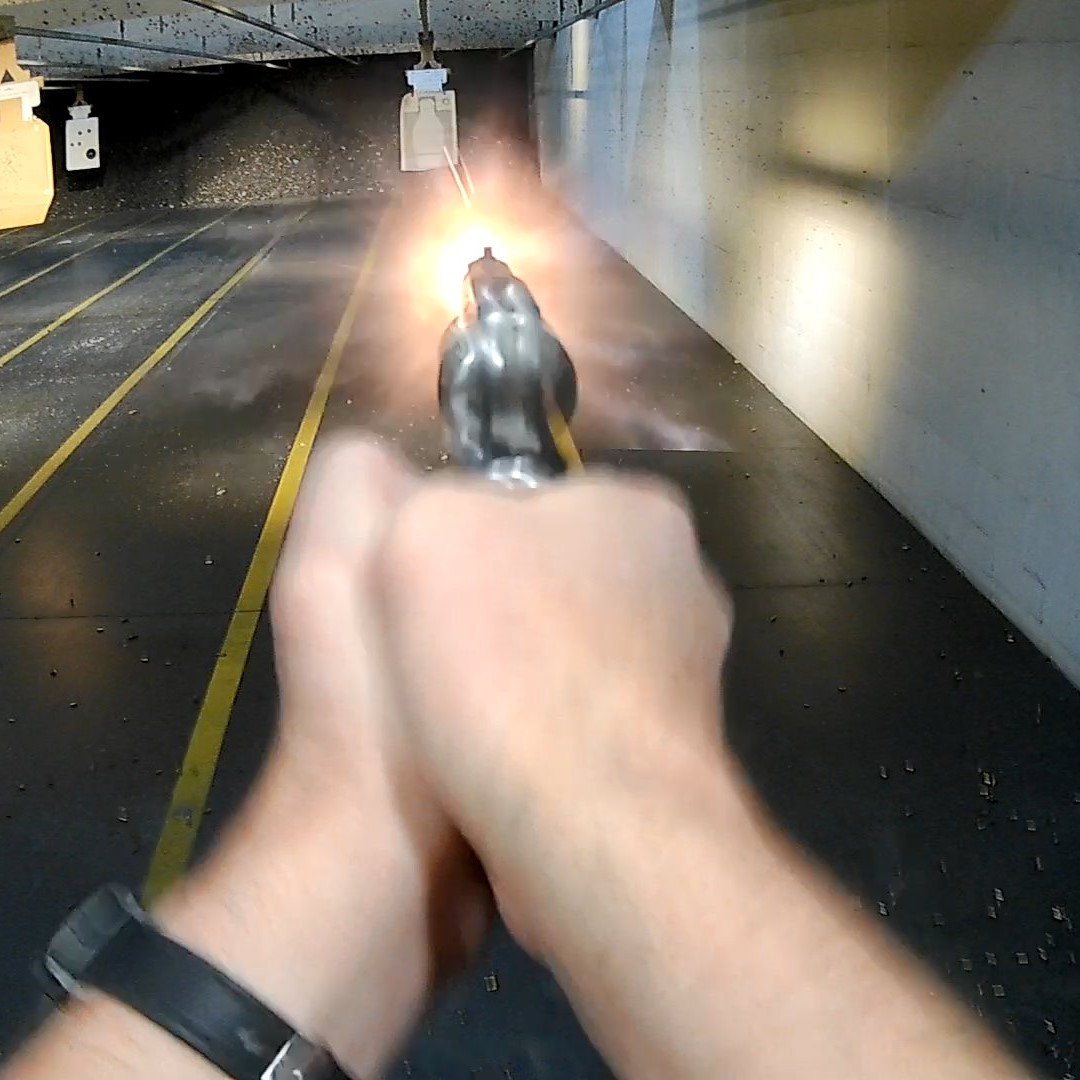
Although New Jersey made a strong try to keep people from getting their License To Carry, the qualification course itself is a decent practice regimen. It’s also a useful metric for measuring your skill periodically.
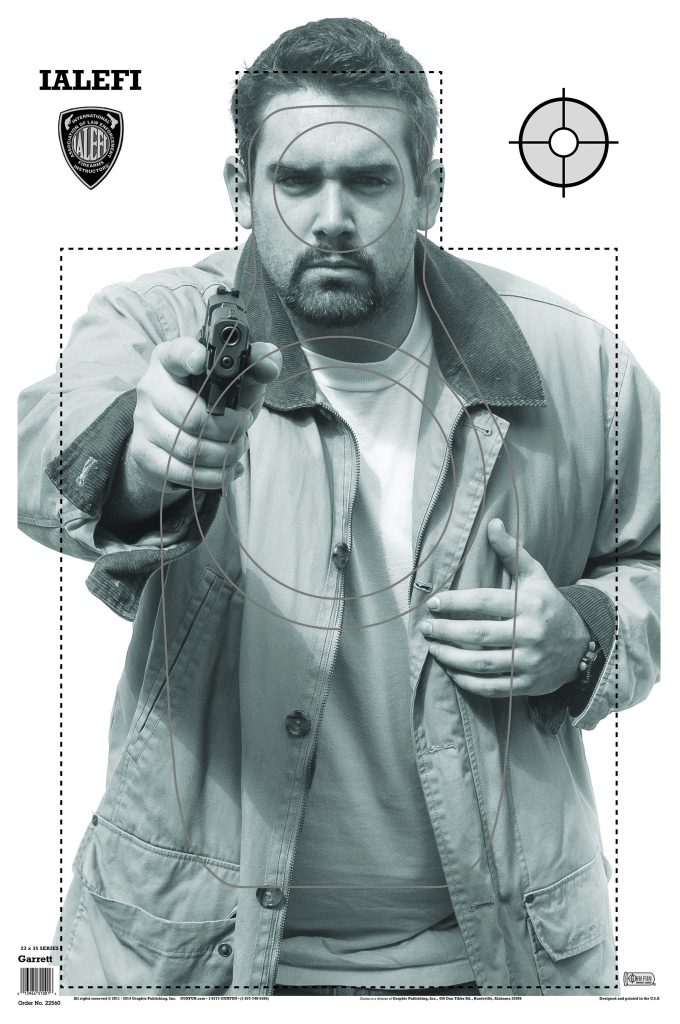
Try shooting it on an IALEFI-Q and score it by the rings. Center ring gets 5 points, next ring get 4 points, balance of the Q receives 3 points. Hits inside the face circle score 5 points. Anything outside the Q scores 0. A Possible would be 250 points (5 x50 shots). If you don’t have an IALEFI target, just trace around a paper plate in approximately the same place on your silhouette. Your scoring is then 5 points for the circle and 3 points for the rest of the silhouette.
To make it a good tune-up and personal evaluation, shoot the course as a version of Jimmy Cirillo’s 1-2-3-6 drill. Instead of 6, fire 4 shots for the final string. Start loaded with 6 rounds only. Draw and fire 1 shot, reholster, draw and fire 2 shots, reholster, draw and fire 3 shots, reload, and immediately fire 4 shots. Bear in mind that the second most missed shot in shooting is the shot immediately following clearing a stoppage. The reality of transitioning back to trigger control after doing a gross motor manipulation can be tricky.
Since CCARE starts at 3 yards, at that distance shoot all face shots. Repeat the same sequence at 5 yards, 7 yards, 10 yards, and 15 yards but shoot for the 8 inch circle. After shooting each distance, tape your hits before moving to the next distance. At the end of the course of fire, place your pistol in whatever condition you wish to when you leave the range.
Although the CCARE is rather stringent for a CCW qualification, it has value as a practice regimen. It includes a minimum of 10 presentations to the target or 15 if you use the 1-2-3-4 sequence. There are multiple opportunities to practice reloading, and it’s highly manageable with wheelguns. Even J-Frames can work, just reload in a slightly different sequence. It’s a good use for a box of practice ammo.
Practicing With Small Handguns
My latest article for Shooting Illustrated is up. This one has a good 50 round practice session for small guns such as the LCP and J frames.

https://www.shootingillustrated.com/content/practicing-with-small-handguns/
If you like my work, join me on Patreon where I post more in-depth articles about shooting, marksmanship, and incident analysis.
Recoil Management and Trigger Manipulation
#fridayfundamentals
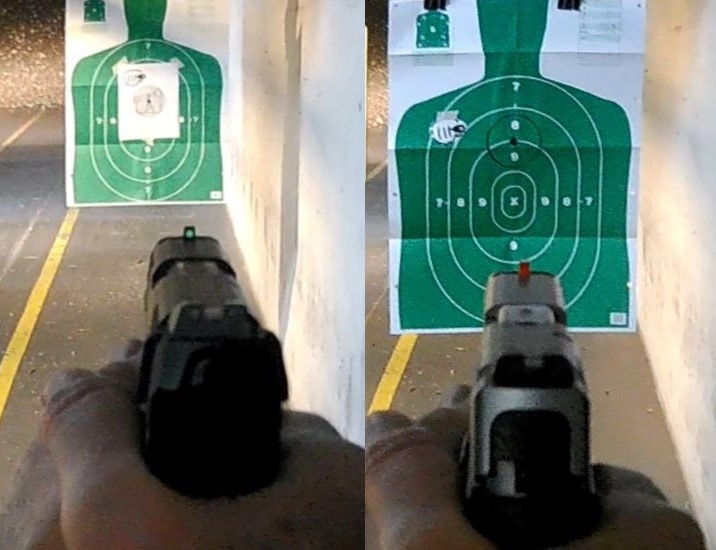
“The purpose of the drill is to practice recoil management and trigger manipulation.”
https://www.shootingillustrated.com/content/jim-cirillo-s-1-2-3-6-drill/
Sometimes we take things for granted. A more thorough explanation would have been that for each shot, the shooter does four things in sequence.
- Acquire an acceptable sight picture
- Press the trigger smoothly and fire
- Reset the trigger in recoil while the sights are returning to the target
- Take up the slack in the trigger as the sights settle on the target, and finally
- When an acceptable sight picture is acquired, smoothly press the trigger to fire again
If you like my work, join me on Patreon where I post more in-depth articles about shooting, marksmanship, and incident analysis.
Tightening Your Accuracy and Performance Standards
My latest Shooting Illustrated article is up.
https://www.shootingillustrated.com/content/tightening-your-accuracy-and-performance-standards
The New Mexico Competency Demonstration was the final exercise in my Revolver Operator Course. Those who had snubs were encouraged to shoot it with their little guns. Shooters can put variations in it to make it even more relevant for Personal Protection practice. In ROC, I made it simple; five shots with two hands, five shots with the Primary Hand Only, and five shots with the Support Hand Only. For the article, I put a little different spin on it.
Here are the images that weren’t used.


Friday Fundamentals – Terminology
#fridayfundamentals
In reply to the Back to Basics WheelgunWednesday post, a pertinent question came up.
“I was ‘hammering’ instead of firing a ‘controlled pair.’
What do you mean by hammering?”
Great question – thanks for asking. Sometimes we trainers take our subject matter knowledge for granted. Several concepts developed by Jeff Cooper have remained constant despite having been formulated nearly half a century ago.
Fundamental Terminology
- Flash Sight Picture
- Controlled Pair
- Hammer
Flash Sight Picture
The concept of accepting that perfect sight alignment is not necessary to achieve an acceptable hit. Shooters often assume that they need to obtain a perfect sight picture for acceptable hits.

That’s not necessarily the case, depending on the distance to target.
https://thetacticalprofessor.net/2015/02/06/89081/
https://thetacticalprofessor.net/2015/10/02/friday-fundamentals-segment-2/
Controlled Pair
Achieving an acceptable sight picture on a target, firing a shot, bringing the pistol down in recoil, obtaining a second acceptable sight picture, and firing a second shot.
Hammer
Achieving an acceptable sight picture on a target, firing a shot, bringing the pistol down in recoil, and firing a second shot using only a physical index to the target without regard to achieving a second sight picture.
Note that the term ‘double tap’ is obsolete because it could refer to either a controlled pair or a hammer and so is inadequate as a description. Others have written in-depth articles about Cooper’s concepts so I will just link to them.
Flash Sight Picture
Chris Baker
Jim Wilson
https://www.americanrifleman.org/content/sheriff-s-tips-understanding-the-flash-sight-picture
Hammer v. Controlled Pair
Jim Wilson
https://www.americanrifleman.org/content/whatever-happened-to-the-double-tap
Darryl Bolke via Greg Ellifritz
Chgowiz wins a free book of mine for asking a great question.
Back to Basics WheelgunWednesday
#wheelgunwednesday
Going back to basics occasionally helps me get back in the groove. Two basic exercises I like for the snub revolver are the LAPD Retired Officer Qualification Course and the NRA Basics of Pistol Shooting Level 1 test.
The LAPD course is described in the LAPD Manual.
“The starting position for this qualifying course of fire will begin at the 7 Yard Line. When the target faces, the shooter will draw and fire 10 rounds at a single silhouette target. A score of 70 percent is required to pass the qualification. All rounds impacting anywhere on the body and head will receive full value and rounds impacting upon the arms are half value.”
Basics of Pistol Shooting Level 1 test consists of shooting five shots into a circle that is four inches in diameter at a distance of 10 feet. All five shots must hit or cut the circle. It must be done four time, not necessarily consecutively, to pass BOPS.

For both tests, I include opening and spinning the cylinder periodically to create ball and dummy practice. In the LAPD Course, I also include a few initial dry practice draws, a la the NY State CCL Qualification, staggered loading with loose rounds during the first five shots, presenting from Low Ready, firing different numbers of rounds, and a reload with a loading device for the second five.
During my initial run of LAPD (I did four), I noticed that a couple of my shots went high. Upon repeating it, I realized that I was ‘hammering’ instead of firing a ‘controlled pair.’ That was probably the reason I had a couple of high hits during the Rangemaster Pistol Match https://thetacticalprofessor.net/2024/04/10/tactical-conference-2024-pistol-match/.
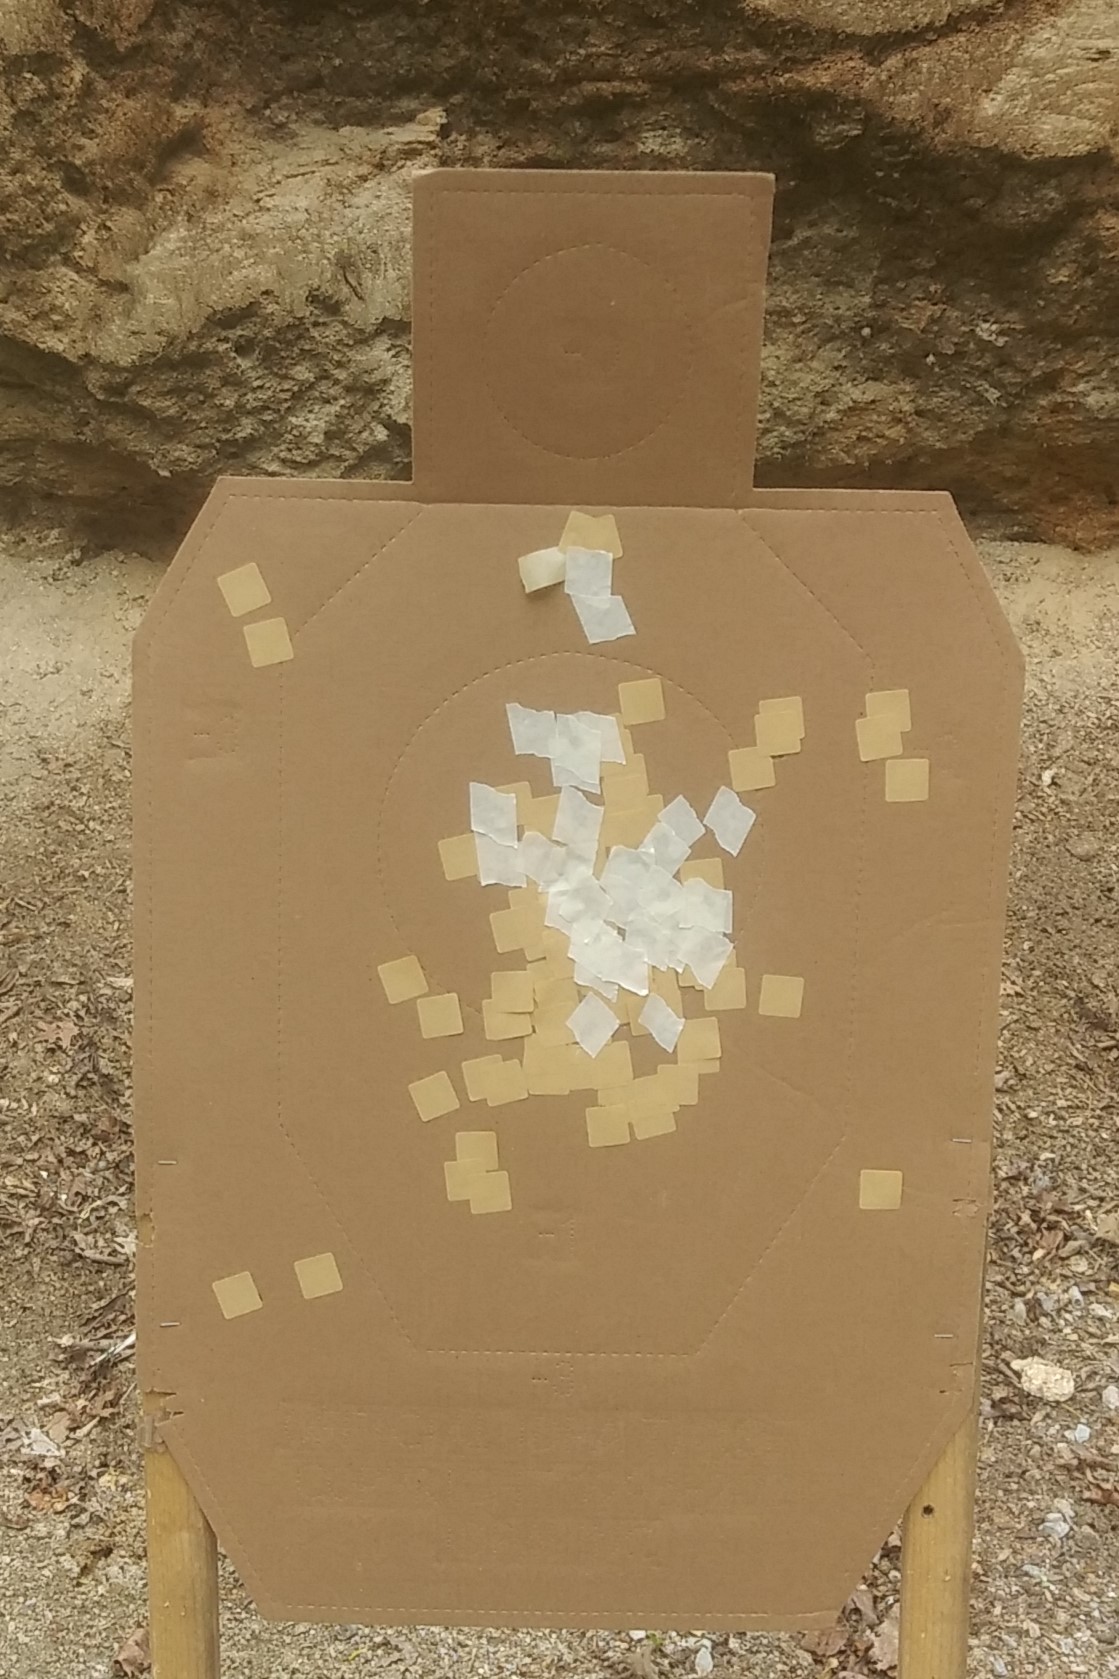
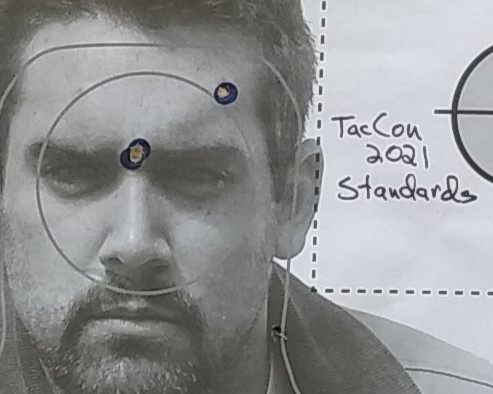
I used a target that I found on the range. The hits covered with masking tape are mine. The ones with pasters are from the previous and unknown shooter. The two hits just below the neck line were the ones probably the result of hammering.
Since BOPS has four strings, I used the opportunity to tune up with several different loading devices. One was an HKS speedloader and the others were various tools from Zeta6 that I like. All the Zeta6 devices are modified with Retention Rings. I find the Retention Ring is a handy addition for getting the device out of my pocket.

It was a nice little tuneup. The day was nice and the results were satisfying.
Tactical Conference 2024 – Loot and Looted
At every Conference, Seminar, or industry gathering, the attendees always return with items given away by Presenters and other attendees. TacCon 2024 was no exception; I call this ‘Loot’ and I returned with some good items.
Loot
Books
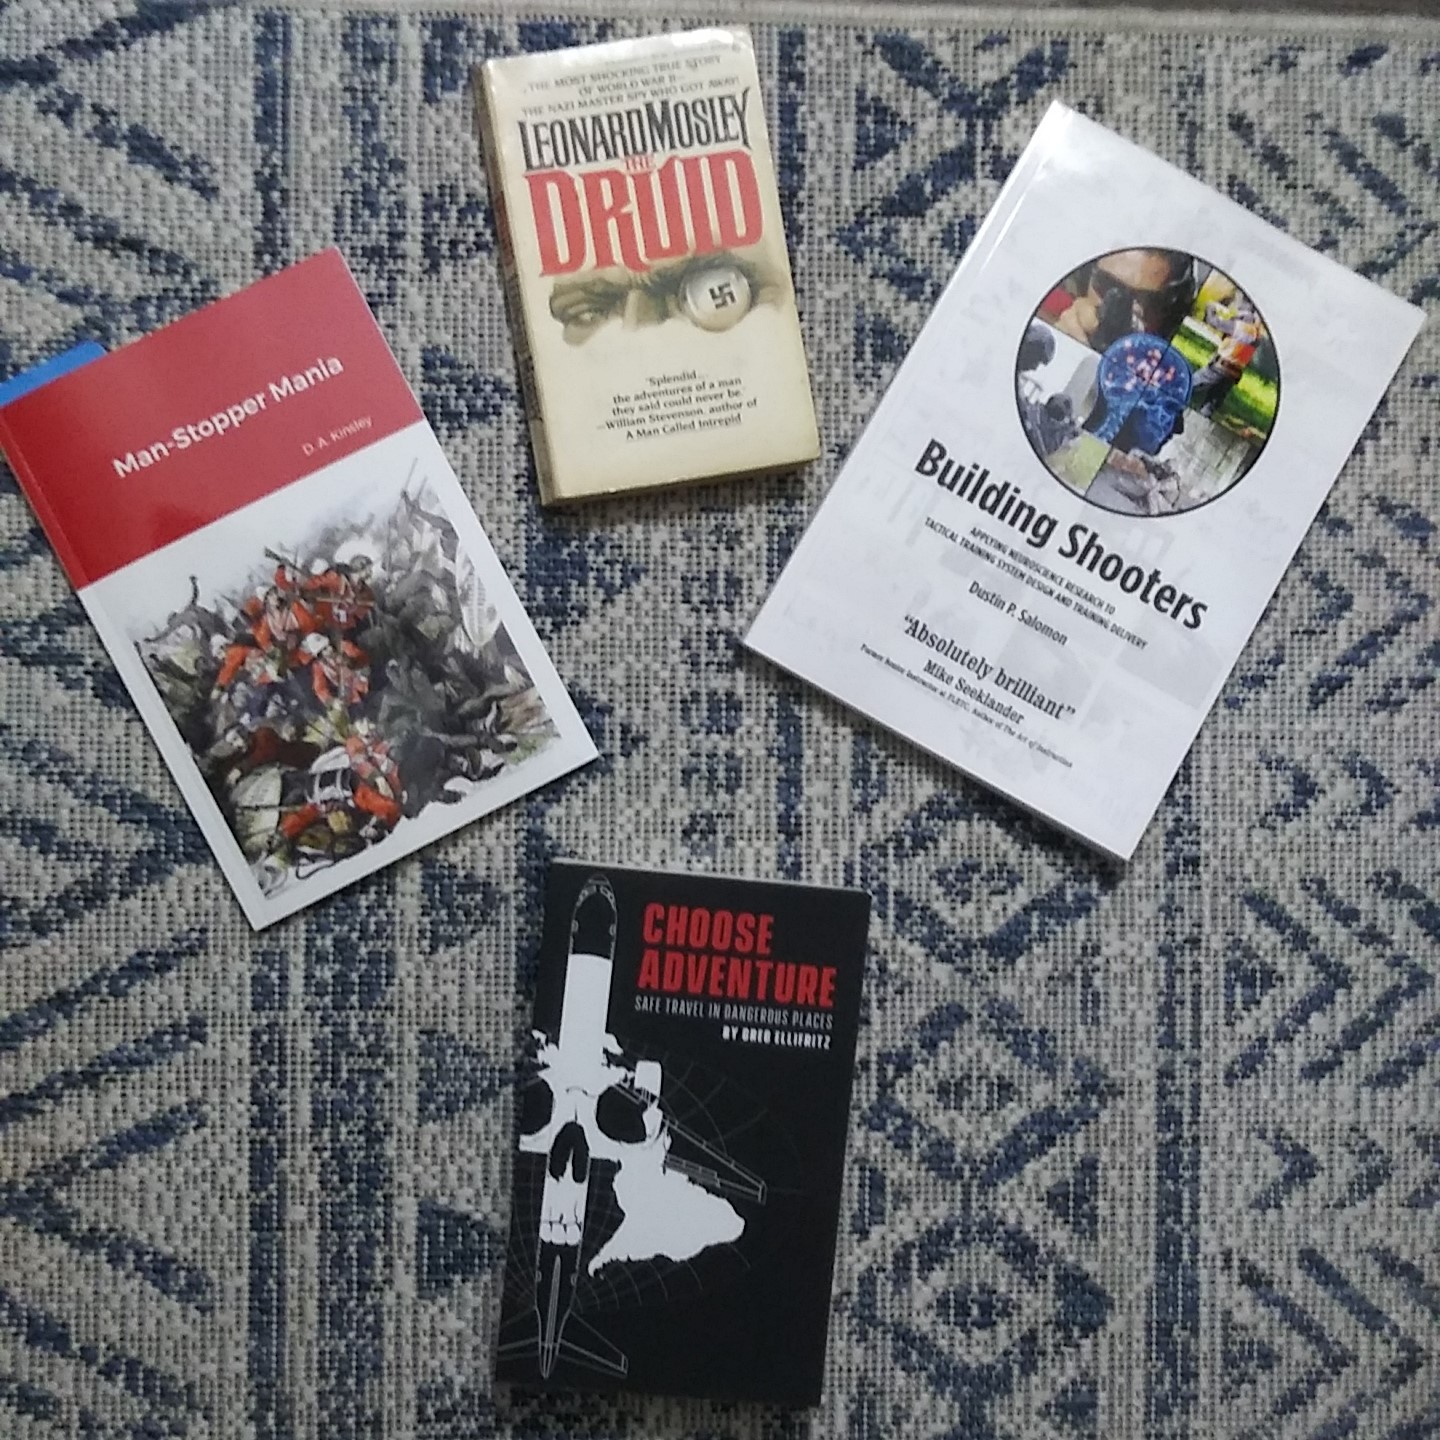
Good reading material courtesy of Chuck Haggard, my hostess for the weekend, Andy Stanford, and Greg Ellifritz.
Targets and Drills
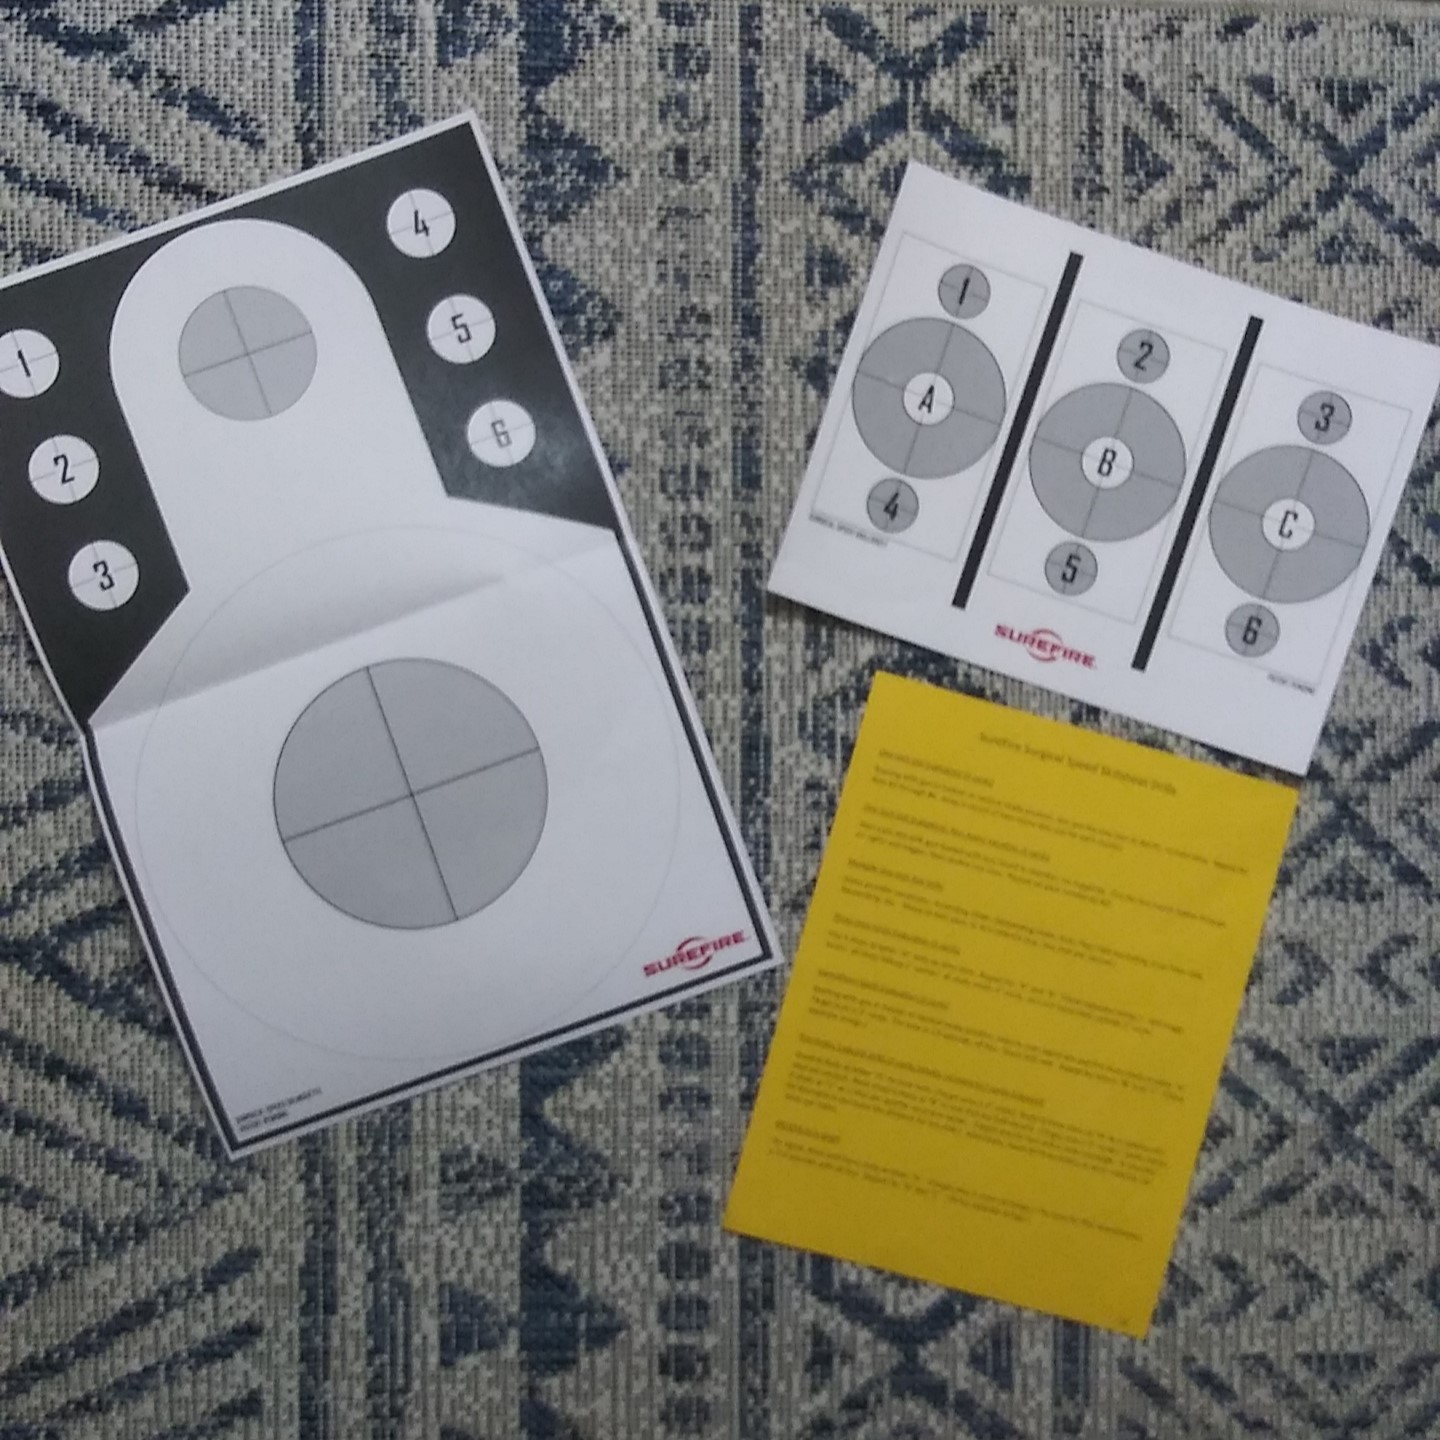
At the end of Andy Stanford’s Practical Handgun Drills class, he gave us laminated copies of the Surefire targets and a double sided sheet of drills for using them.
Cool Stuff

Yet another doubloon from Andy Stanford was a Surefire Stiletto flashlight, given to all the trainers at the event. Retention Ring gave me a nice laminated card as an aid for adjusting pistol and rifle optics. A friend in the Air Marshal Service presented me with a cool pin and Chuck gave me a unique and apparently one off revolver inert gun.
Looted
Notice that there is no picture of the package of Narcan gifted to me by Greg Ellifritz. That’s because it was ‘liberated’ from my suitcase while in the custody of Frontier Airlines on the trip home. Whether a sticky fingered baggage handler got it or it was ‘seized’ without notice or an inspection tag by the TSA is unknown to me. Sunny Hostin might think the Total Eclipse disintegrated it while in the aircraft’s hold. When I opened the suitcase, I thought things were arranged a little differently. A bit later I realized that the Narcan had taken a walk.
That’s the last time I’ll ever fail to secure my suitcase with a TSA lock and a zip tie. I didn’t feel it was necessary this time because I didn’t have a pistol in my suitcase but it’s a lesson learned.
Many thanks to my friends for their generosity. Whether presenting or attending, there’s always interesting stuff given out at conferences. I’m looking forward to duplicating the Surefire targets and shooting Andy’s drills for them.
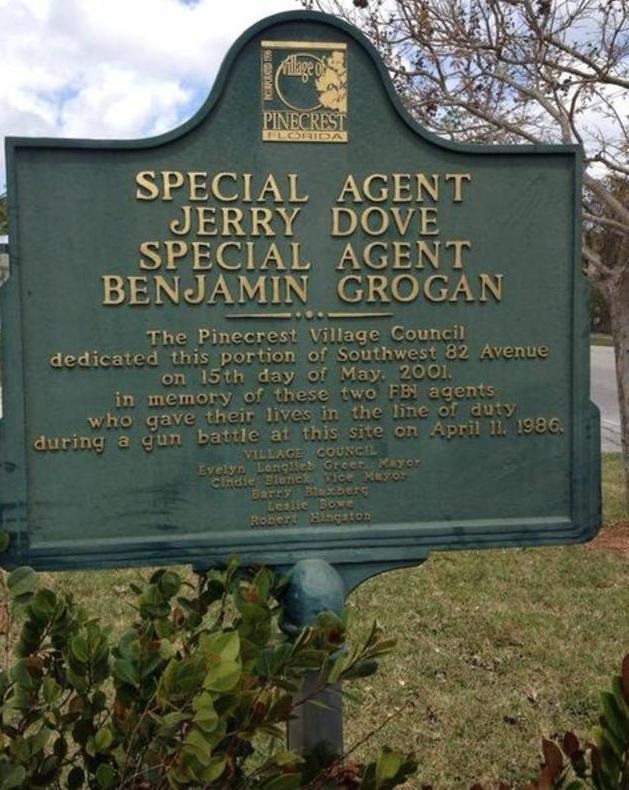
In Memoriam to all the heroes of the Miami Massacre, April 11, 1986. https://en.wikipedia.org/wiki/1986_FBI_Miami_shootout
Improving Snub Sight Visibility, Again
#wheelgunwednesday
The new Lipsey’s 642 UC (Ultra Carry) is the latest hotness in the revolver community. Its single biggest feature is an upgraded set of sights on it. The sights are a worthy improvement.

Not everyone who owns one of the millions of snub revolvers out there is going to buy something new to get a better set of sights though. I’ve written previously about how to improve the sight visibility of a snub revolver. https://thetacticalprofessor.net/2019/07/10/getting-more-out-of-your-snubs-sights/
The bottom line is that if you can’t see the sights on your snub, you can’t use them.
Earlier this year, I purchased an Ameriglo tritium front sight for my Taurus 856. Although I had already painted the original front sight as outlined in the previous article, I wanted to try out the Ameriglo. Installing it was not difficult, only requiring a 1/16th inch pin punch. Some kind of bench block is helpful. The process is easier if the cylinder is removed so the gun lies flatter on the bench.
A word of warning; the screw that holds the yoke on the Taurus is not one piece assembly like a Smith & Wesson. There’s a small plunger and spring that fits inside the Taurus screw and is a separate assembly. It will come out when the screw is removed. Watch for it and don’t lose it, the screw will not hold the yoke in if the plunger assembly is lost.
The rear of the Ameriglo sight overhangs the barrel a bit and at first I thought that was a design flaw. Then I realized it’s actually very clever. The overhanging lip ensures that the hole for the roll pin holding the sight in place is always in the same spot. It works very well, the pin was easy to reinsert. A replacement pin is included with the sight but I reused the original.
When I took it to the range, I had an issue. While the sight is highly visible, bringing the whole orange area into the rear notch when sighting makes the gun shoot high. This is a common problem when folks paint the entire ramp of a revolver. The natural tendency is to bring the entire colored area visible in the rear notch. Inevitably, this means the top of the front sight is above the top of the rear notch and the gun will shoot high. As long as you’re just trying to hit the 8 ring of a B-27 at 3 yards, this doesn’t matter. However, if you’re trying to put a bullet in the face of the target at 5 yards or more, it becomes very problematic.
I had to consciously bring the top of the sight down into the notch for every shot. This reduced how much the high visibility of the sight contributed to my shooting. I was still able to make my par times but I was working at it.

To remedy this, I painted the lower part of the sight with white Appliance enamel. Fortunately, it was obvious that the tritium dot established the part needing white paint. I’m not concerned about the night sight, so I just painted over it. Masking the area I didn’t want paint on gave a good final result. The original sight with its paint is on the right.

When working on a snub’s sights, putting a large binder clip on the front of the frame will stabilize the revolver and position it properly so you can do your artistry. Put some tape or cloth around the frame if you are concerned about scratching it. Note also that the rear notch is blackened with an Ultra Fine Point Sharpie.

The system that inspired this method of painting sights is the Optical Landing System used by pilots landing on aircraft carriers. They learn to use the visual reference very quickly while landing and with some practice, using the sight paint on the front sight to achieve a good sight alignment becomes second nature too.
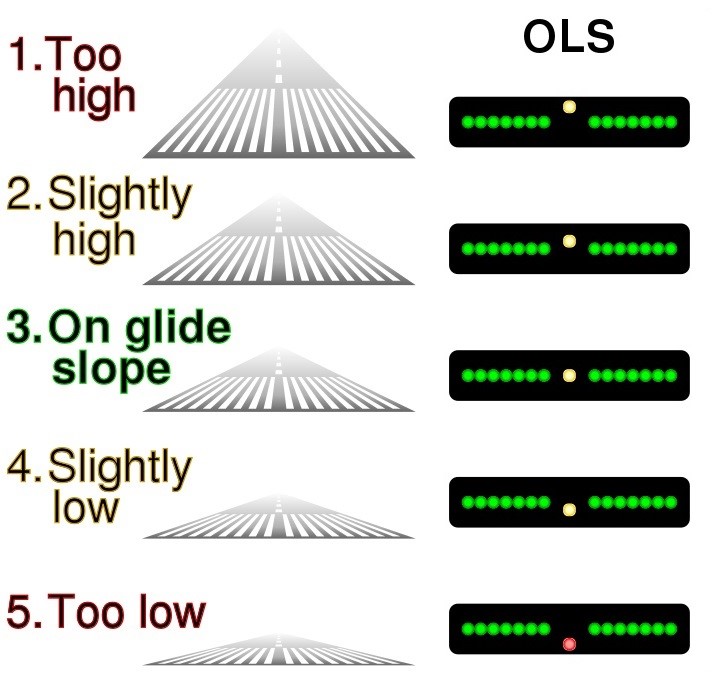
If I see the white, I know the sight is too high. If I don’t see the orange, I know to bring the front sight up. After doing it for a while, this becomes as instinctive as driving between the lines on the road, unless you drive a Honda Odyssey, in which case the lines probably aren’t important to you. 😊
I’ll find out how well this works at the 2024 Tactical Conference when I shoot the pistol match.
My ebooks about shooting and personal protection are available on Payloadz. https://store.payloadz.com/results/337896-tactical-professor



You must be logged in to post a comment.