- At night, have a flashlight next to your gun.
- Pick them both up at the same time and identify the person before making the shoot decision
- Flashlight usage implies the need for one handed shooting
- Competing probabilities are in favor of it being a family member
- Thinking the light is a ‘lead magnet’ is a problem
I emphasized very strongly about the need for keeping a flashlight next to your ‘nightstand gun’ during my Negative Outcomes presentation at the Rangemaster 2015 Tactical Conference. Although I practice dryfire with a flashlight regularly, it occurred to me that I don’t have a structured regimen for doing so. Tonight, I thought I would work on that a bit.
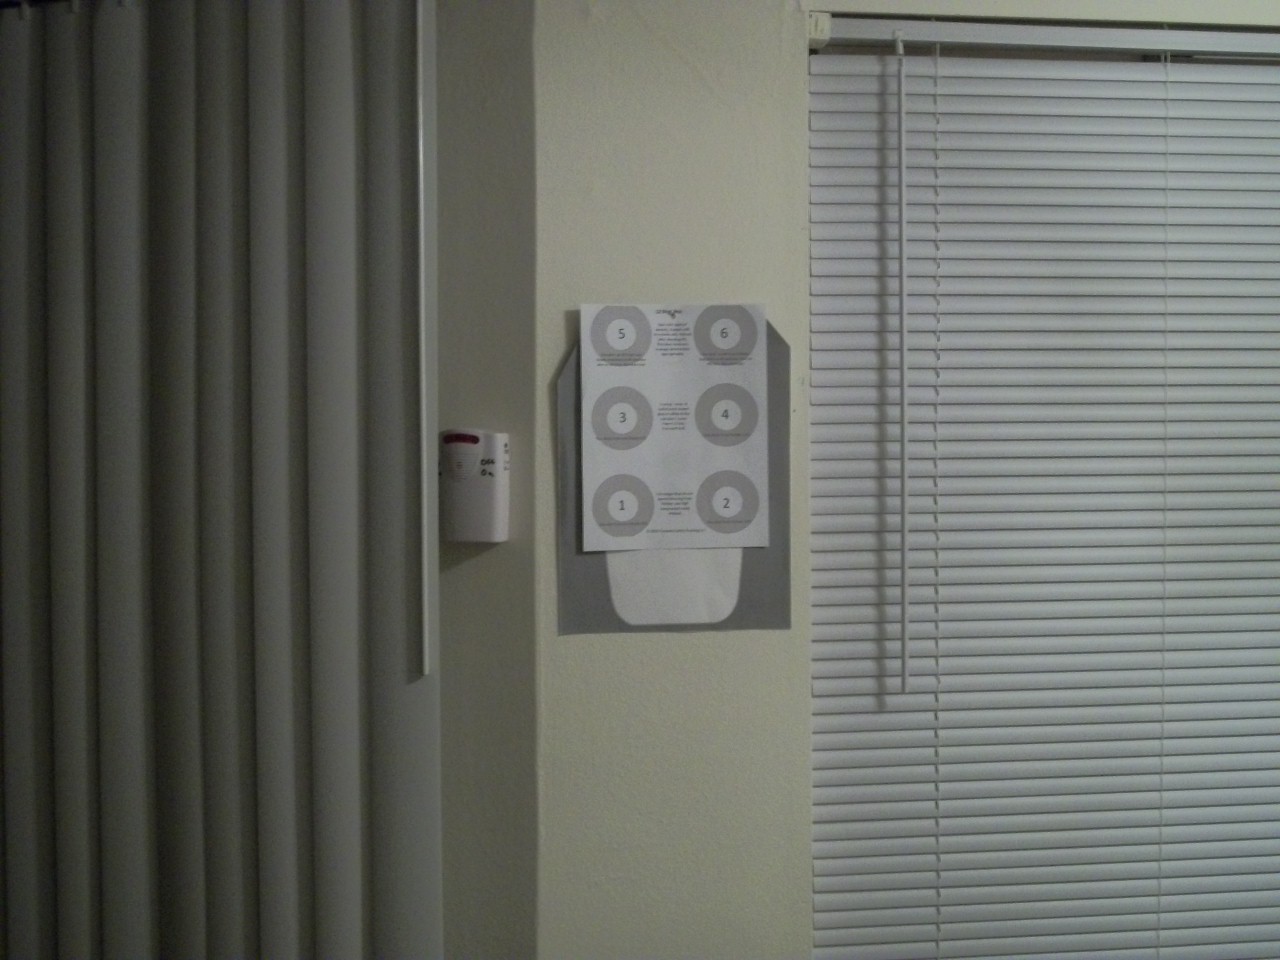
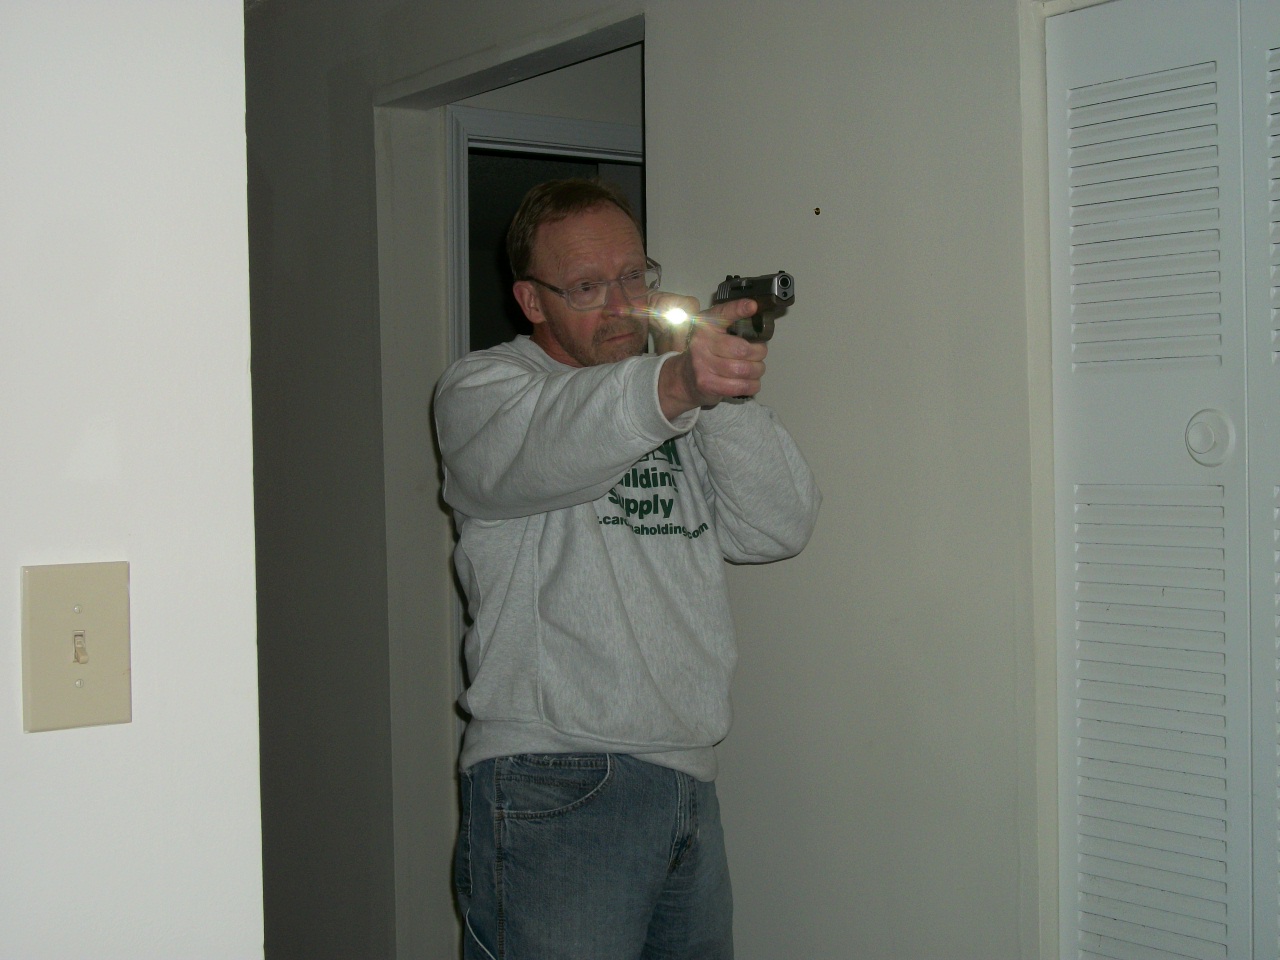
At first, I started doing my 12 shot drill on my dryfire range with the flashlight. I used the left column to practice with the Harries technique as my ‘outside’ technique. For a general search and ‘inside’ technique, I used the right side column. I just did it this way due to habit because that’s similar to the way I shoot the drill livefire.
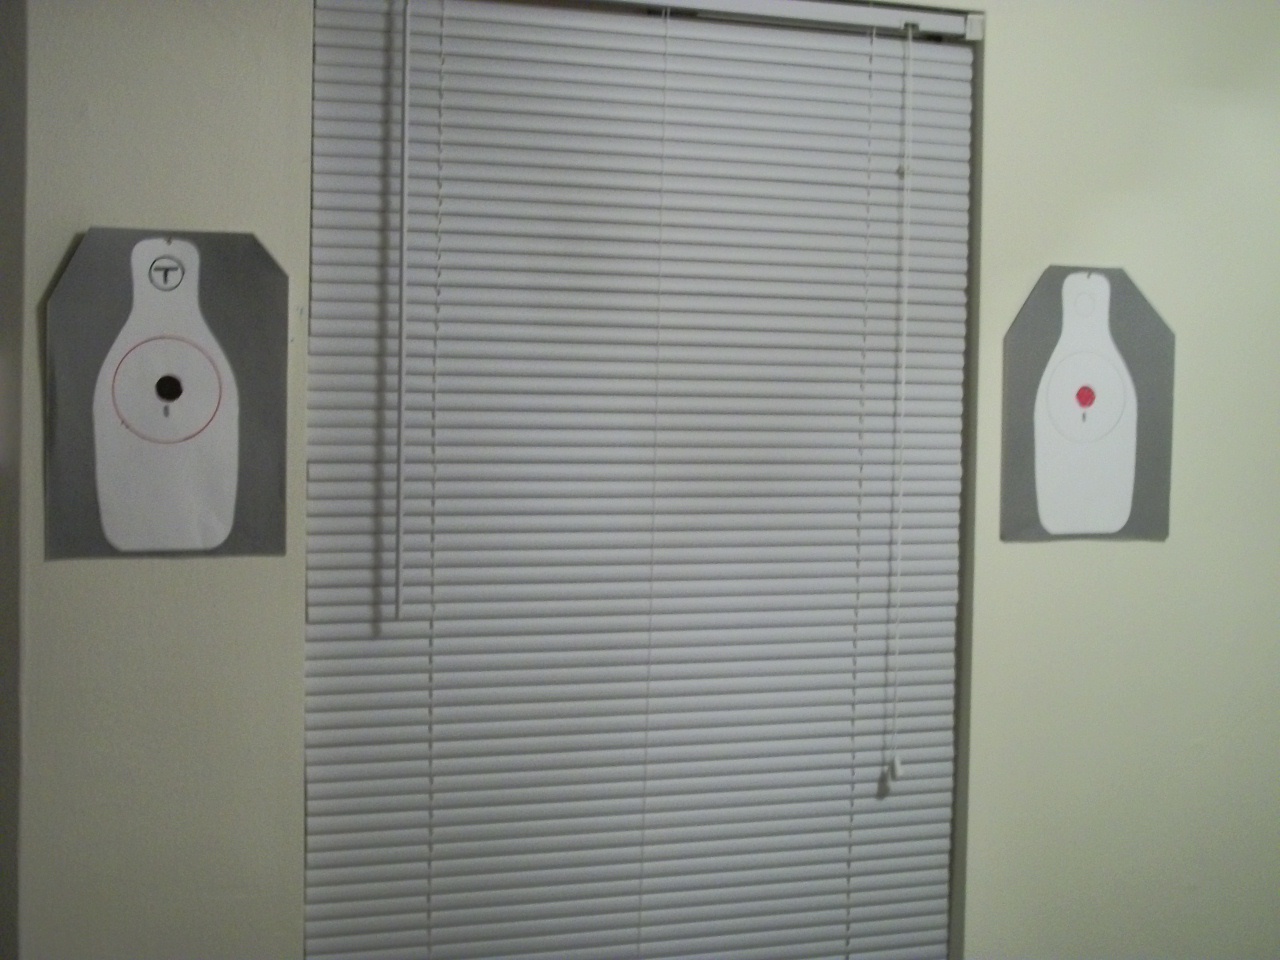
 By ‘outside,’ I mean the flashlight is outside both my body and the pistol. ‘Inside’ means the flashlight is inside of the gun and toward my body. It’s necessary to have both an inside and outside technique so that you can use the light on either side of a piece of cover or concealment. For a right hander, the outside technique is used when using the light around the right side of cover and the inside technique is used around the left side. Left handers reverse that.
It occurred to me that I could use the same setup I use for the Air Marshal Tactical Pistol Course. I’ve modified that target setup slightly so I get more traverse on the multiple target strings. My setup also allows me to use both inside and outside techniques because of the arrangement of my apartment.
I started the Harries practice with the light pointing toward the target but the pistol down at low ready. Even when we’re identifying a target, we don’t want to muzzle them until the shoot decision is made. Then I practiced bringing the pistol up on target while keeping the light pointed at the target. At first, I did this in the hallway, just to get my mechanical movement correct.

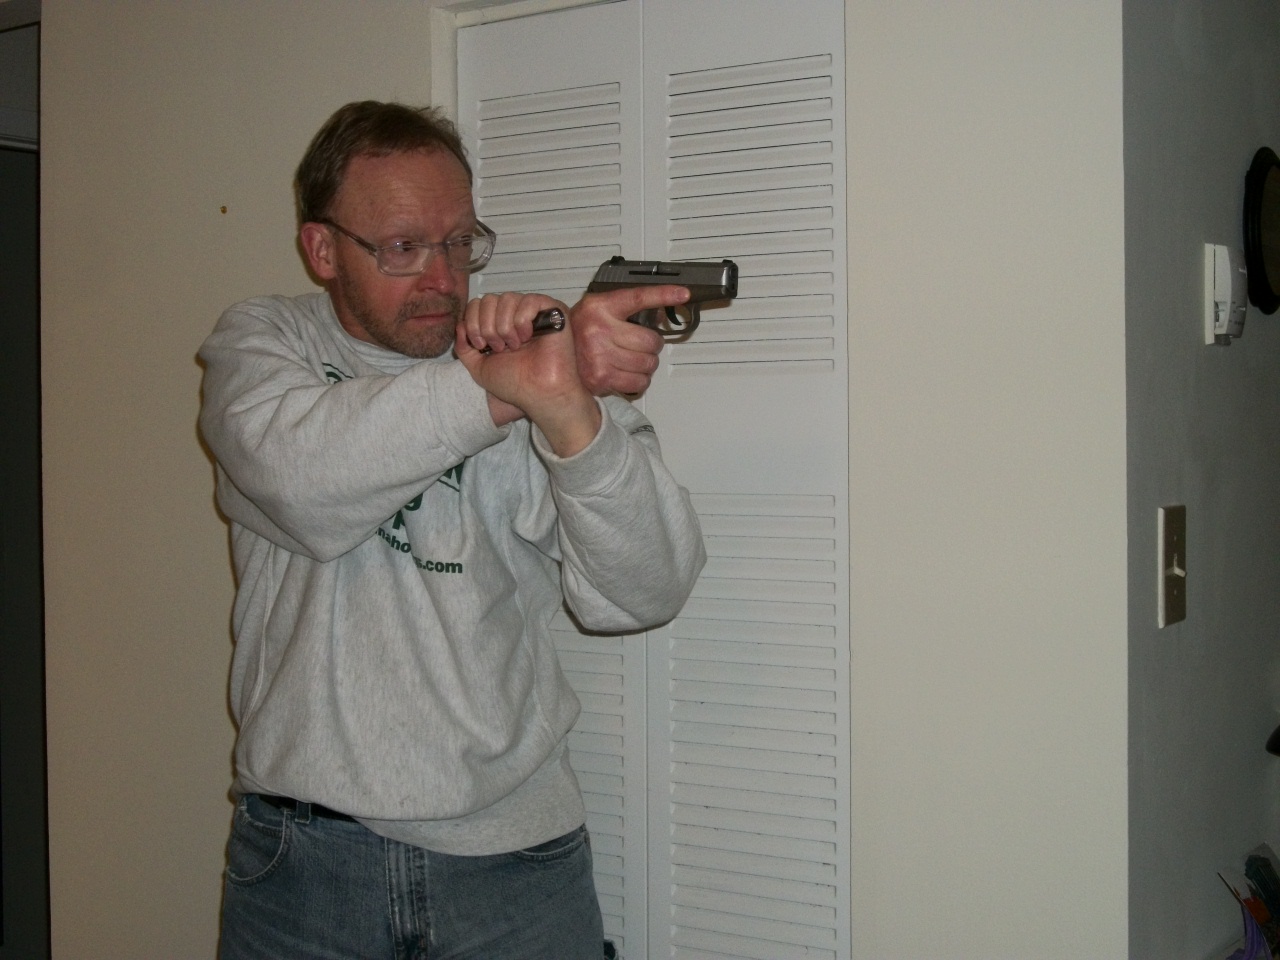
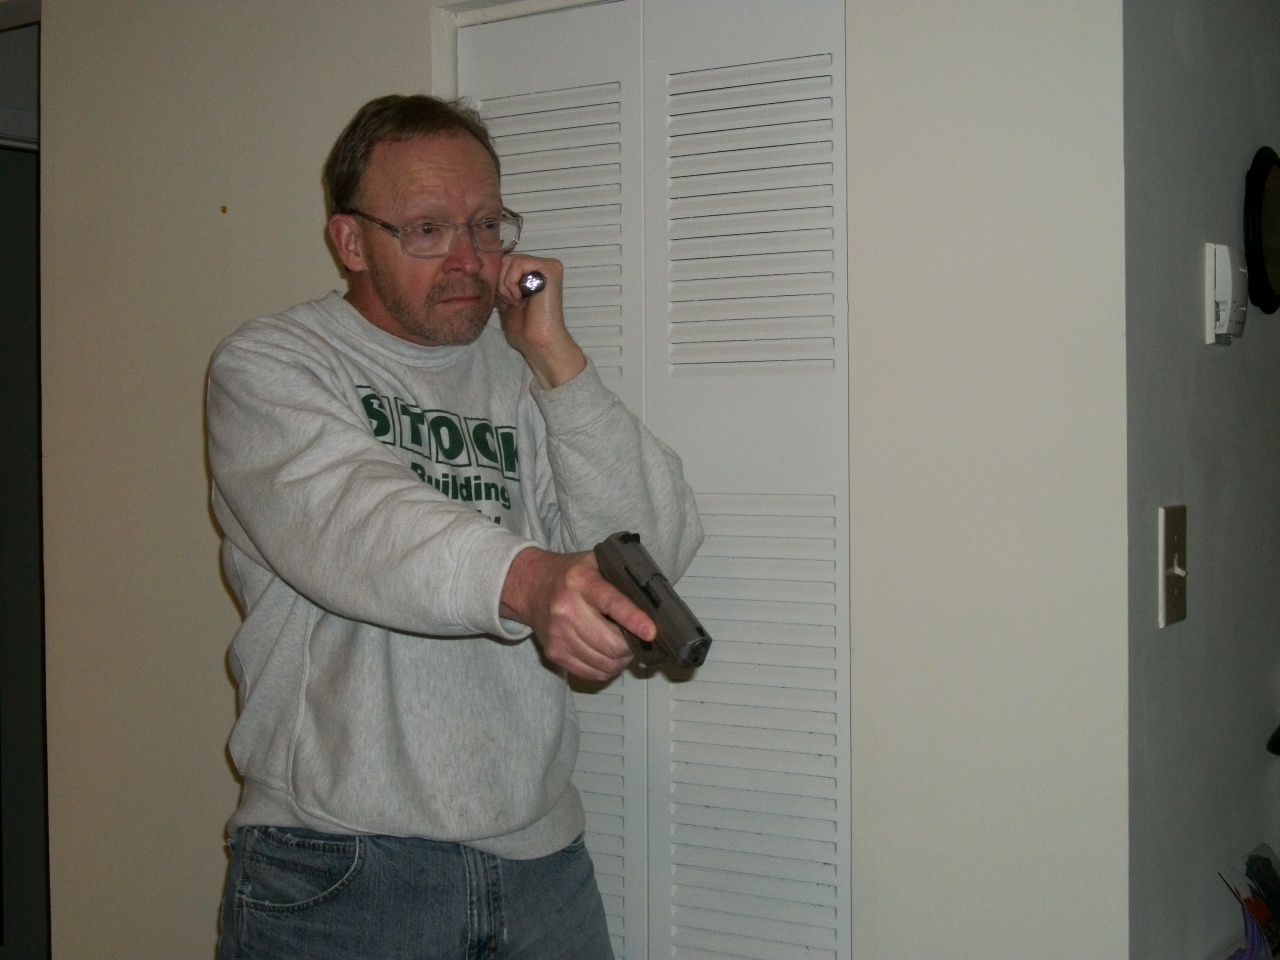
For the cheek practice, once again, I started with the light pointing toward the target but the pistol down at low ready. Since I use the cheek technique as a general search technique, this means I’m going to be shooting one handed, if the shoot decision is made. I like the cheek technique as a general search technique because it allows me to use the light as an impact tool, if necessary. Because there is a possibility during a general search, I would be in a hallway when shooting started, I incorporated turning off the light after the shot and taking a sidestep. But, there’s not much maneuver room in a hallway, so don’t think this is some magic potion that prevents getting shot.
Once I was satisfied I had the mechanicals down pat, I moved to positions of cover, both left side and right side. I practiced on both sides, making sure I didn’t splash the light off the wall and into my face.
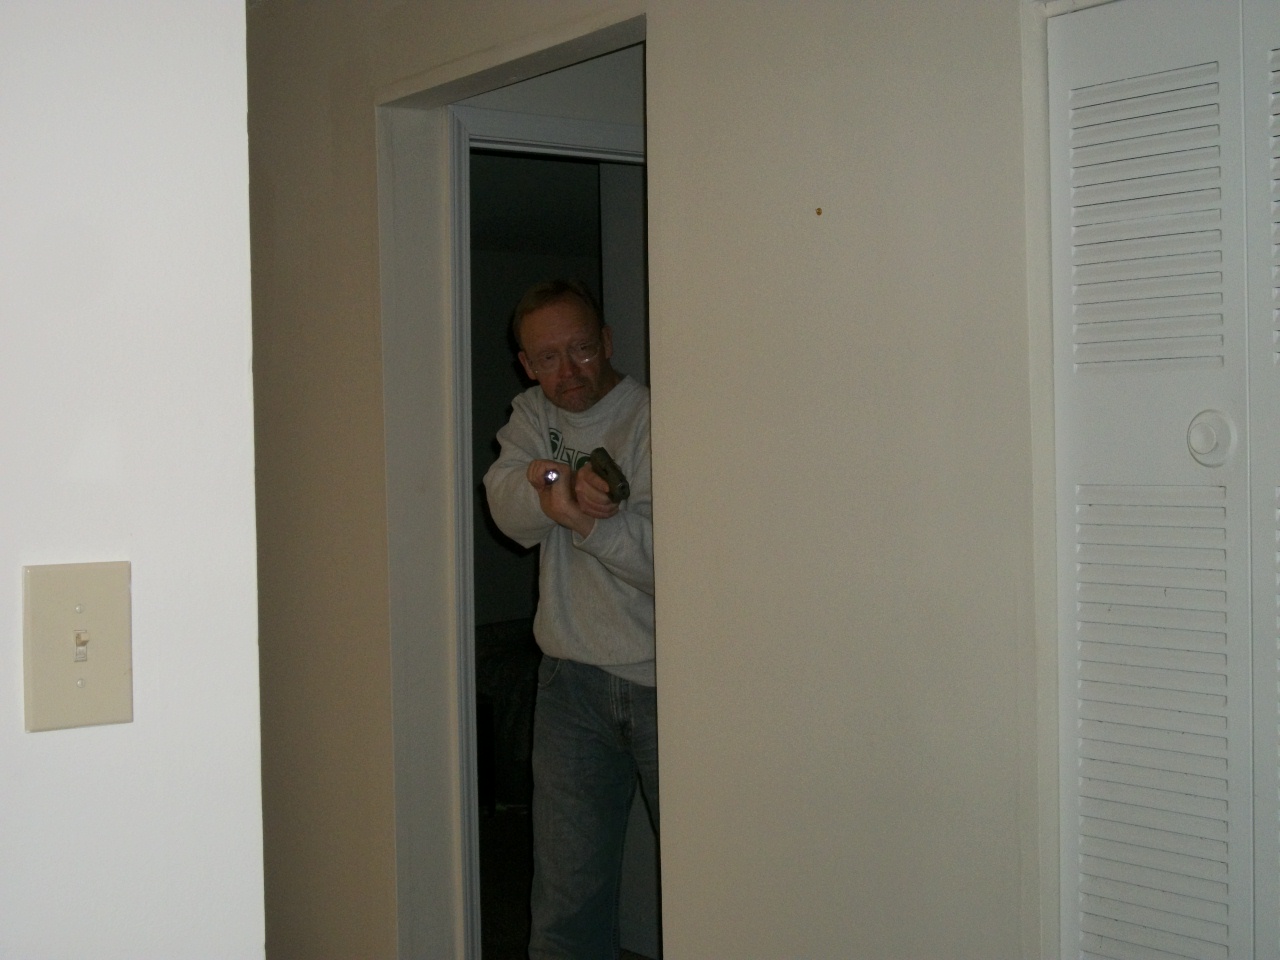
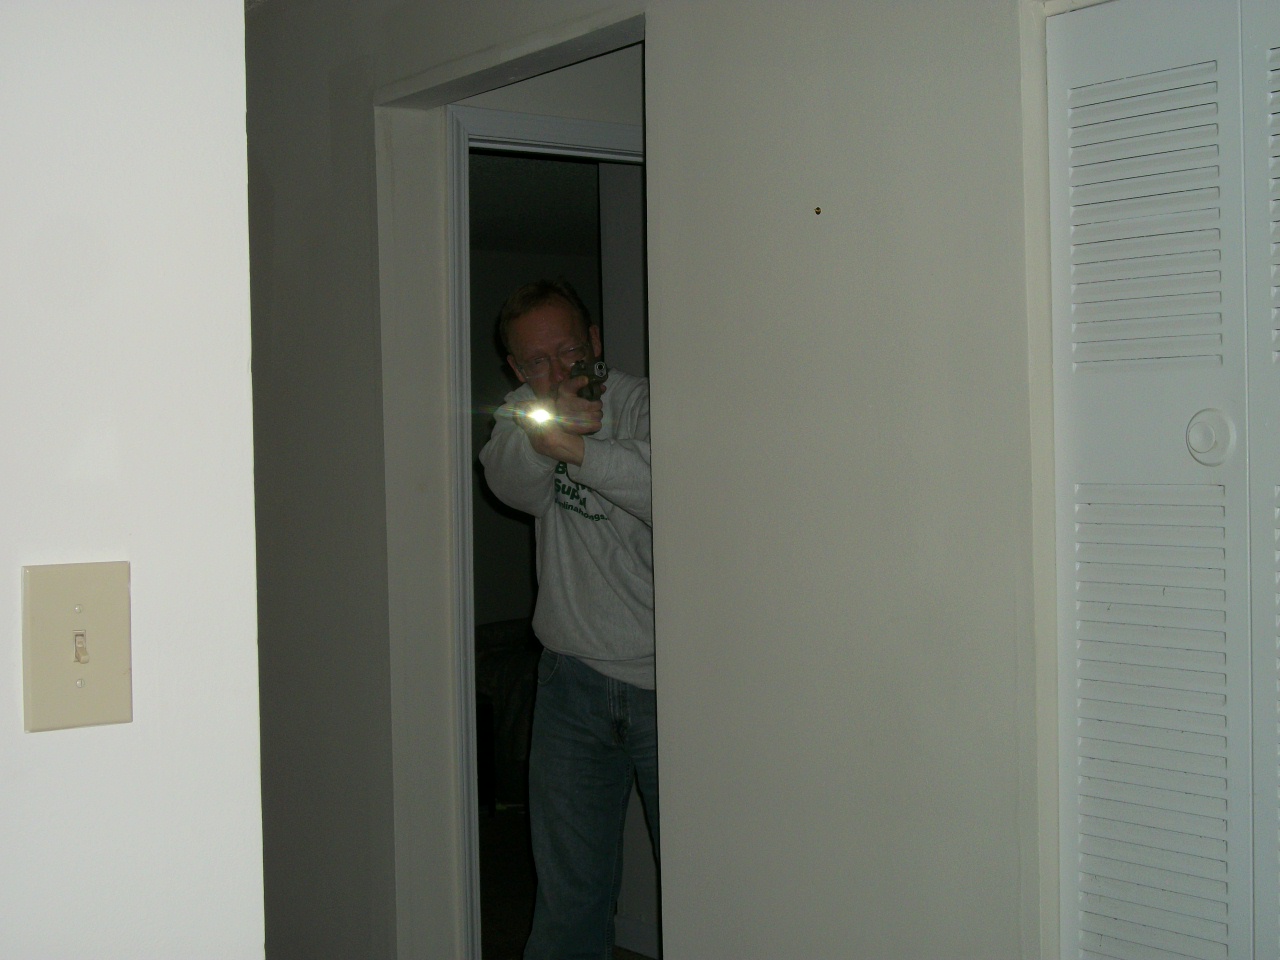
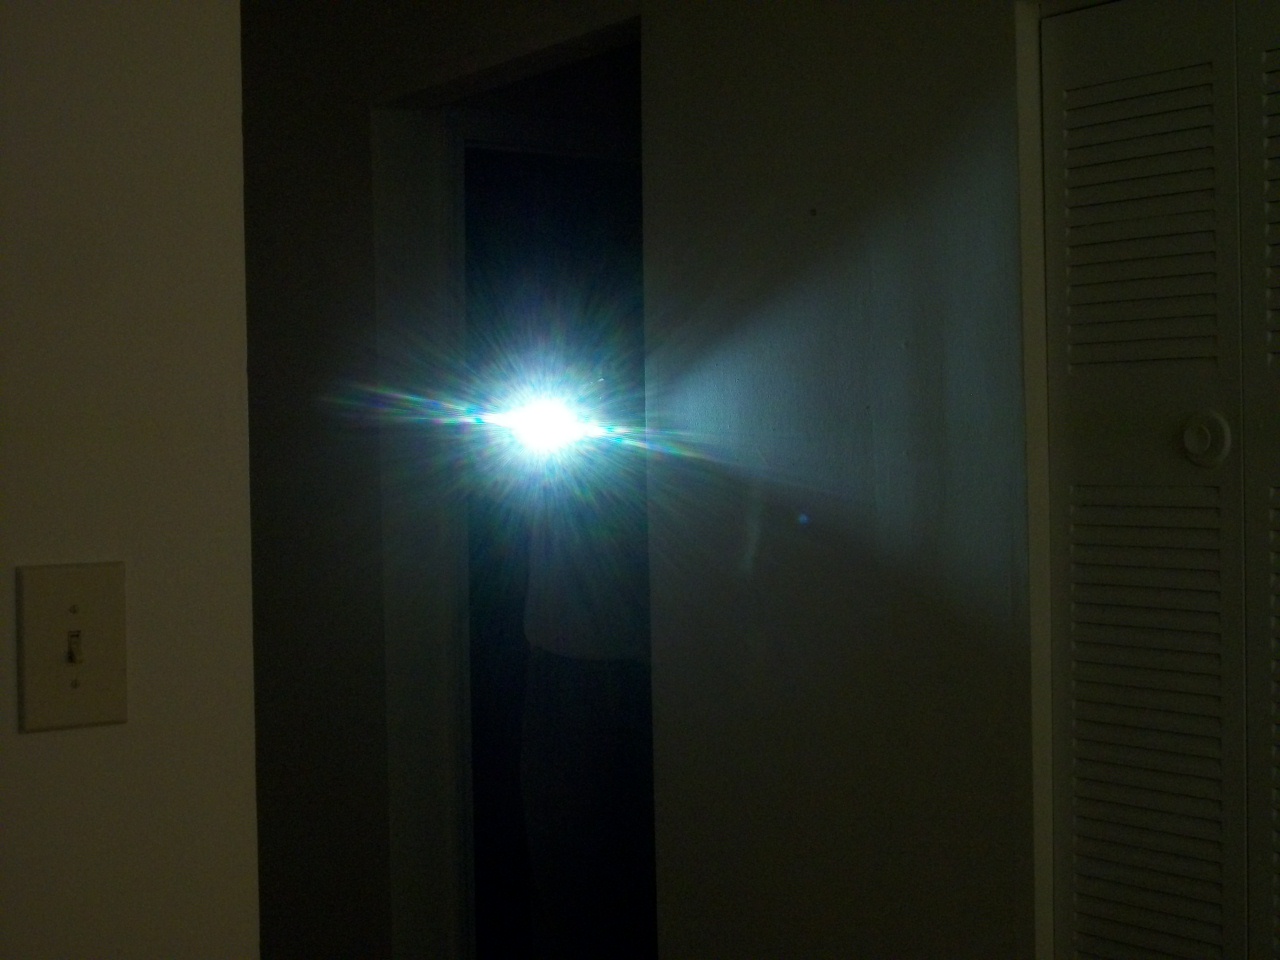
Note that in the photographs I took, I was using a flash or the regular lighting for clarity. When practicing, the place was completely dark. Also note that the camera wasn’t positioned exactly where the target was, so I look more exposed than I actually was.
I’m glad I developed this as a more formal program. I’ll be doing it at least once a week from now on as part of my 1000 days of dryfire.

Claude. I am a new subscriber. In a wheelchair for 34 years. I’m just getting serious about personal protection. My instructor and I have had our last few practices at the range where he has dragged a futon and I simulate lying in my bed shooting from prone. My thought is that I probably won’t have time to transfer out of bed, wheel to the hallway. We figure someone will be coming through the door. I’m almost certain I will be firing with one hand if I’m more fortunate – two. So I have a sure fire weapon light because I won’t be able to manipulate the gun and a light any thoughts.
Thank you for your blog. I really enjoy reading it. I’ve been fortunate to have been really embraced by the shooting community!
Emily, in your case, I would definitely have a weapon mounted light. You are a perfect example of disparity of force; your opponent has a significant advantage on you. Everything you can do to stack the deck in your favor, you should do. For whatever it’s worth, I would be glad to provide you any advice I can, although your instructor seems to have a good handle on it. Feel free to contact me anytime.
Great article. I really hadn’t thought about limited movement in the hallway. It’s something that I will have to start planning and practicing for. Thank you.
Reblogged this on Growing Up Guns and commented:
Please include some low-light practice into your dry-fire program. Also, some verbalization.
Reblogged this on disturbeddeputy and commented:
Know your target AND beyond. No matter what the situation. YOU are responsible, no one else. It’s all on you and you can’t bring that bullet back.
[…] Lowlight dryfire practice […]