Fundamentals of dry practice
Although dry practice (aka dry fire) is often recommended, many shooters are unclear about the specifics of dry practice. Here is a short video, first in a series, to get gunowners started.
This series will include a video about safety procedures and a few sessions. I hope it will be useful to my readers and clients.
If you enjoy my content, please consider supporting me on Patreon. I post more in-depth material there for serious students of Self-Defense and Personal Protection.
Friday Fundamentals – Progression (Part I)
I’ve been encouraged to restart the Friday Fundamentals series and I think that’s a good idea. My upcoming series of articles about the J Frame revolver and how to get the most of it will be a good platform since the J frame can be unforgiving of poor fundamentals. People who learn to shoot a J Frame adequately can usually learn to shoot other handguns well. But first, let’s have a philosophical discussion about learning the fundamentals.
Bottom line up front, as is often said in the business world.
Most training classes are a condensation of much more training, practice, and skill development on the instructor’s part than their students will ever experience or be able to make use of. Only a few instructors use the term “feeding them with a firehose” but that’s what most training usually turns into, whether the instructor understands it or not. That philosophy doesn’t reflect the way adults learn.
Distilling many hours, years, or decades of experience into a single half day, full day, or weekend class isn’t setting the students up for success. That’s especially true when at the end of the class, the instructor gives a certificate to the students and tells them they’re now ‘trained.’ Nothing could be further from the truth. ‘Indoctrinated’ would be a much better term. The lack of follow-on practice curricula is a major weakness in the training industry. It’s one of my major pet peeves about the way training is conducted.
The NRA Training Department progression of Basics Of Pistol Shooting, Personal Protection In The Home, Basic Personal Protection Outside The Home, and Advanced Personal Protection Outside The Home are really the only exception to this situation in the industry. Some instructors will contest this and say they offer a series of classes. My rebuttal is that if the first class requires a holster, the students have already been led to the hydrant and positioned in front of the firehose.
More on this next week.
Friday Fundamentals (Segment 2)
We’re continuing on with the series of ‘Friday Fundamentals’. I’ve written about Sight misalignment, speed, and accuracy before. It’s a key fundamental to increasing your speed while still maintaining an acceptable degree of accuracy. This drill is part of the second session of my Pistol Practice Program.
Required equipment:
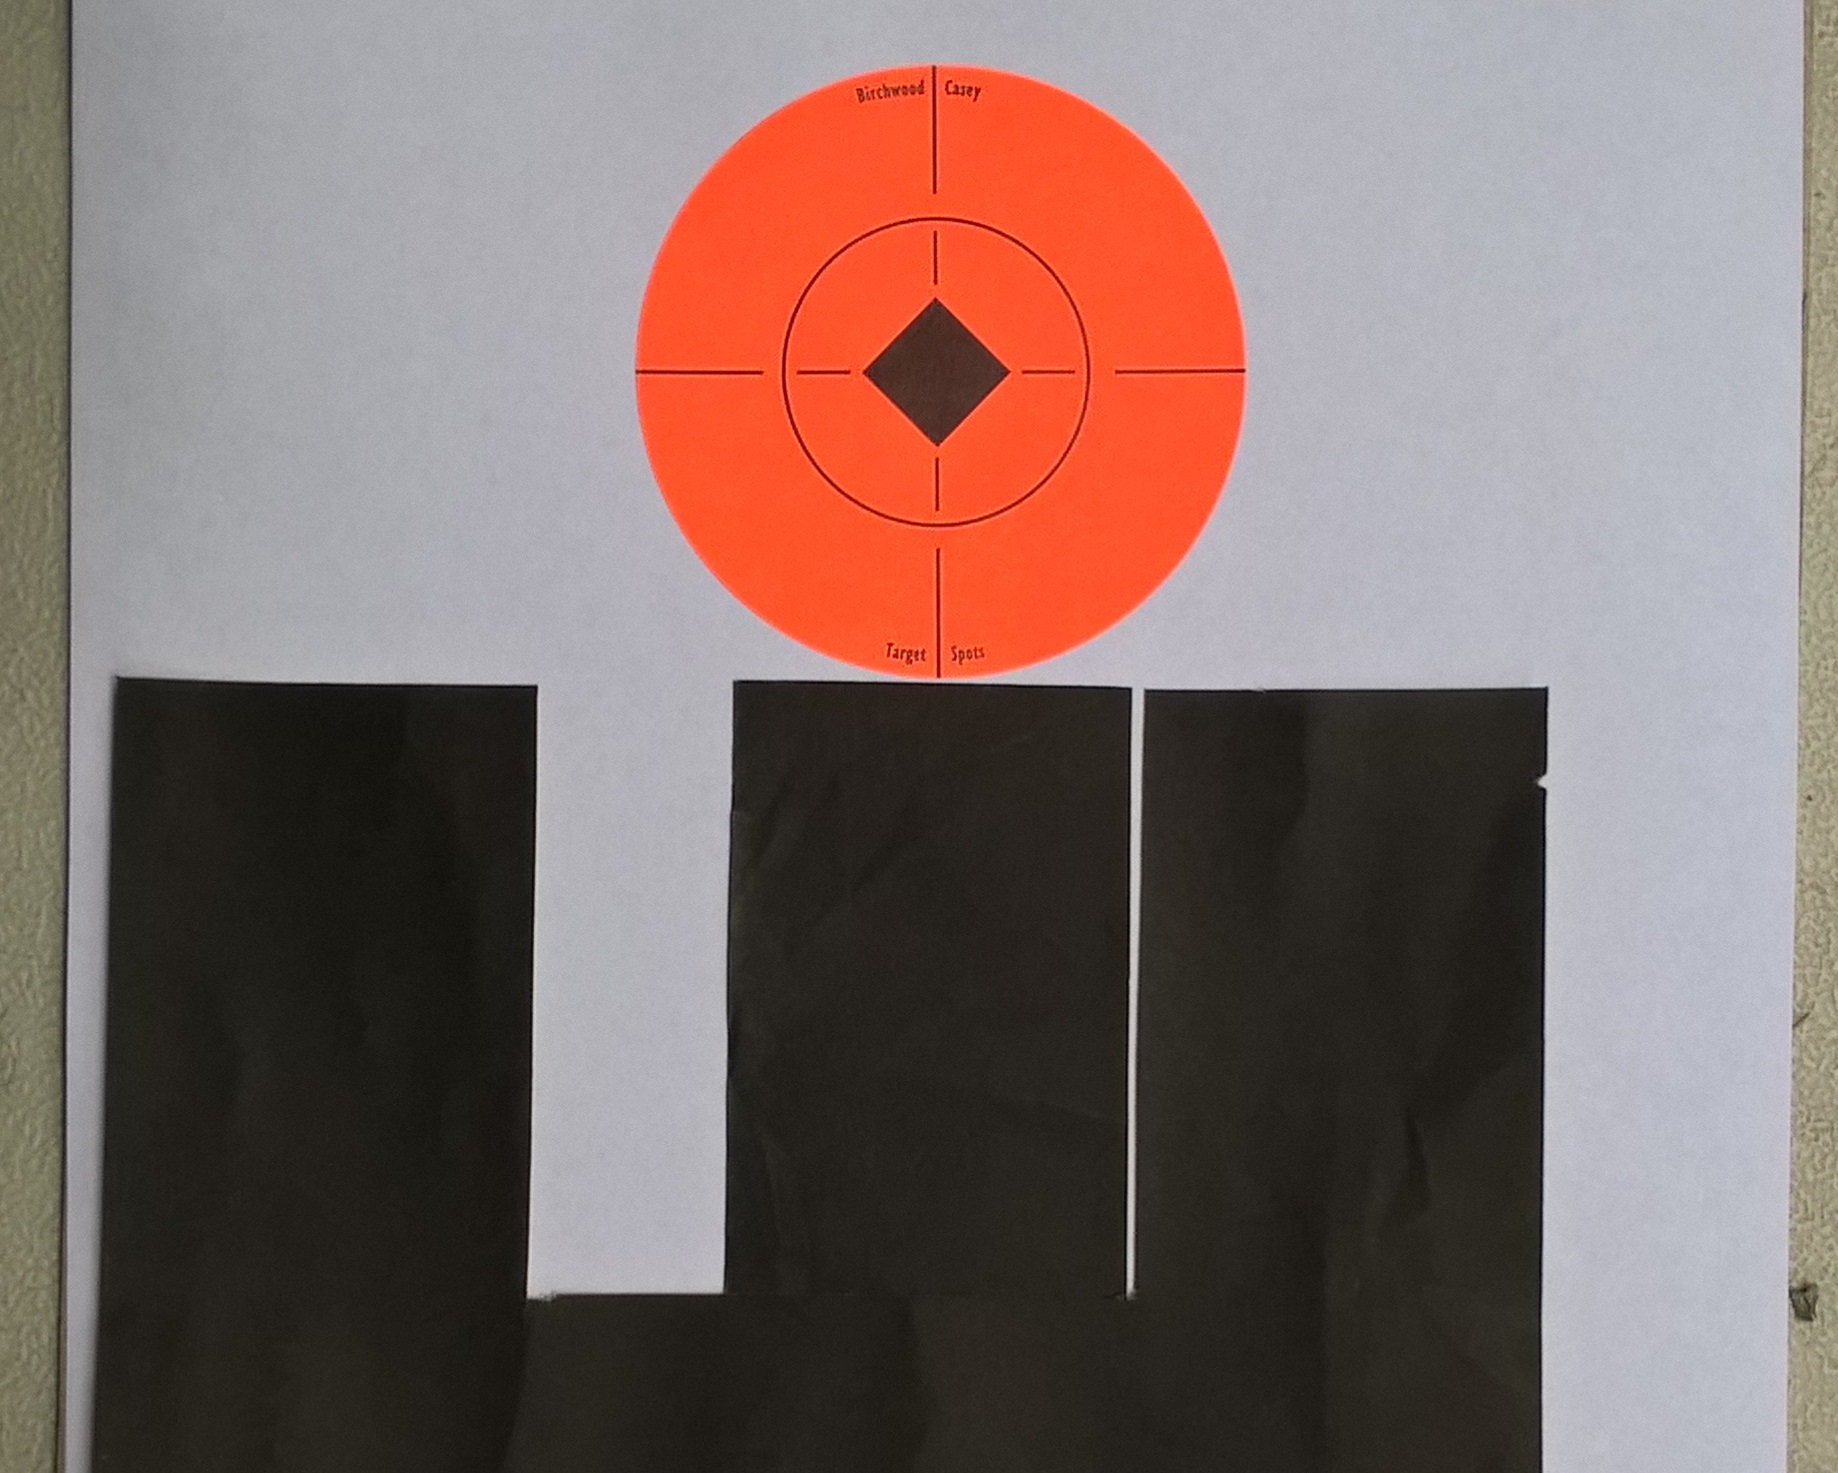
- Any silhouette target; B-27, B-21, Q, IDPA, IPSC, etc. Put a 2-3 inch aiming point on the silhouette in about the center of the target.
- Masking tape (preferred) or magic marker to mark the target.
- Pistol, 24 rounds of ammunition
- Eye and ear protection
Overview
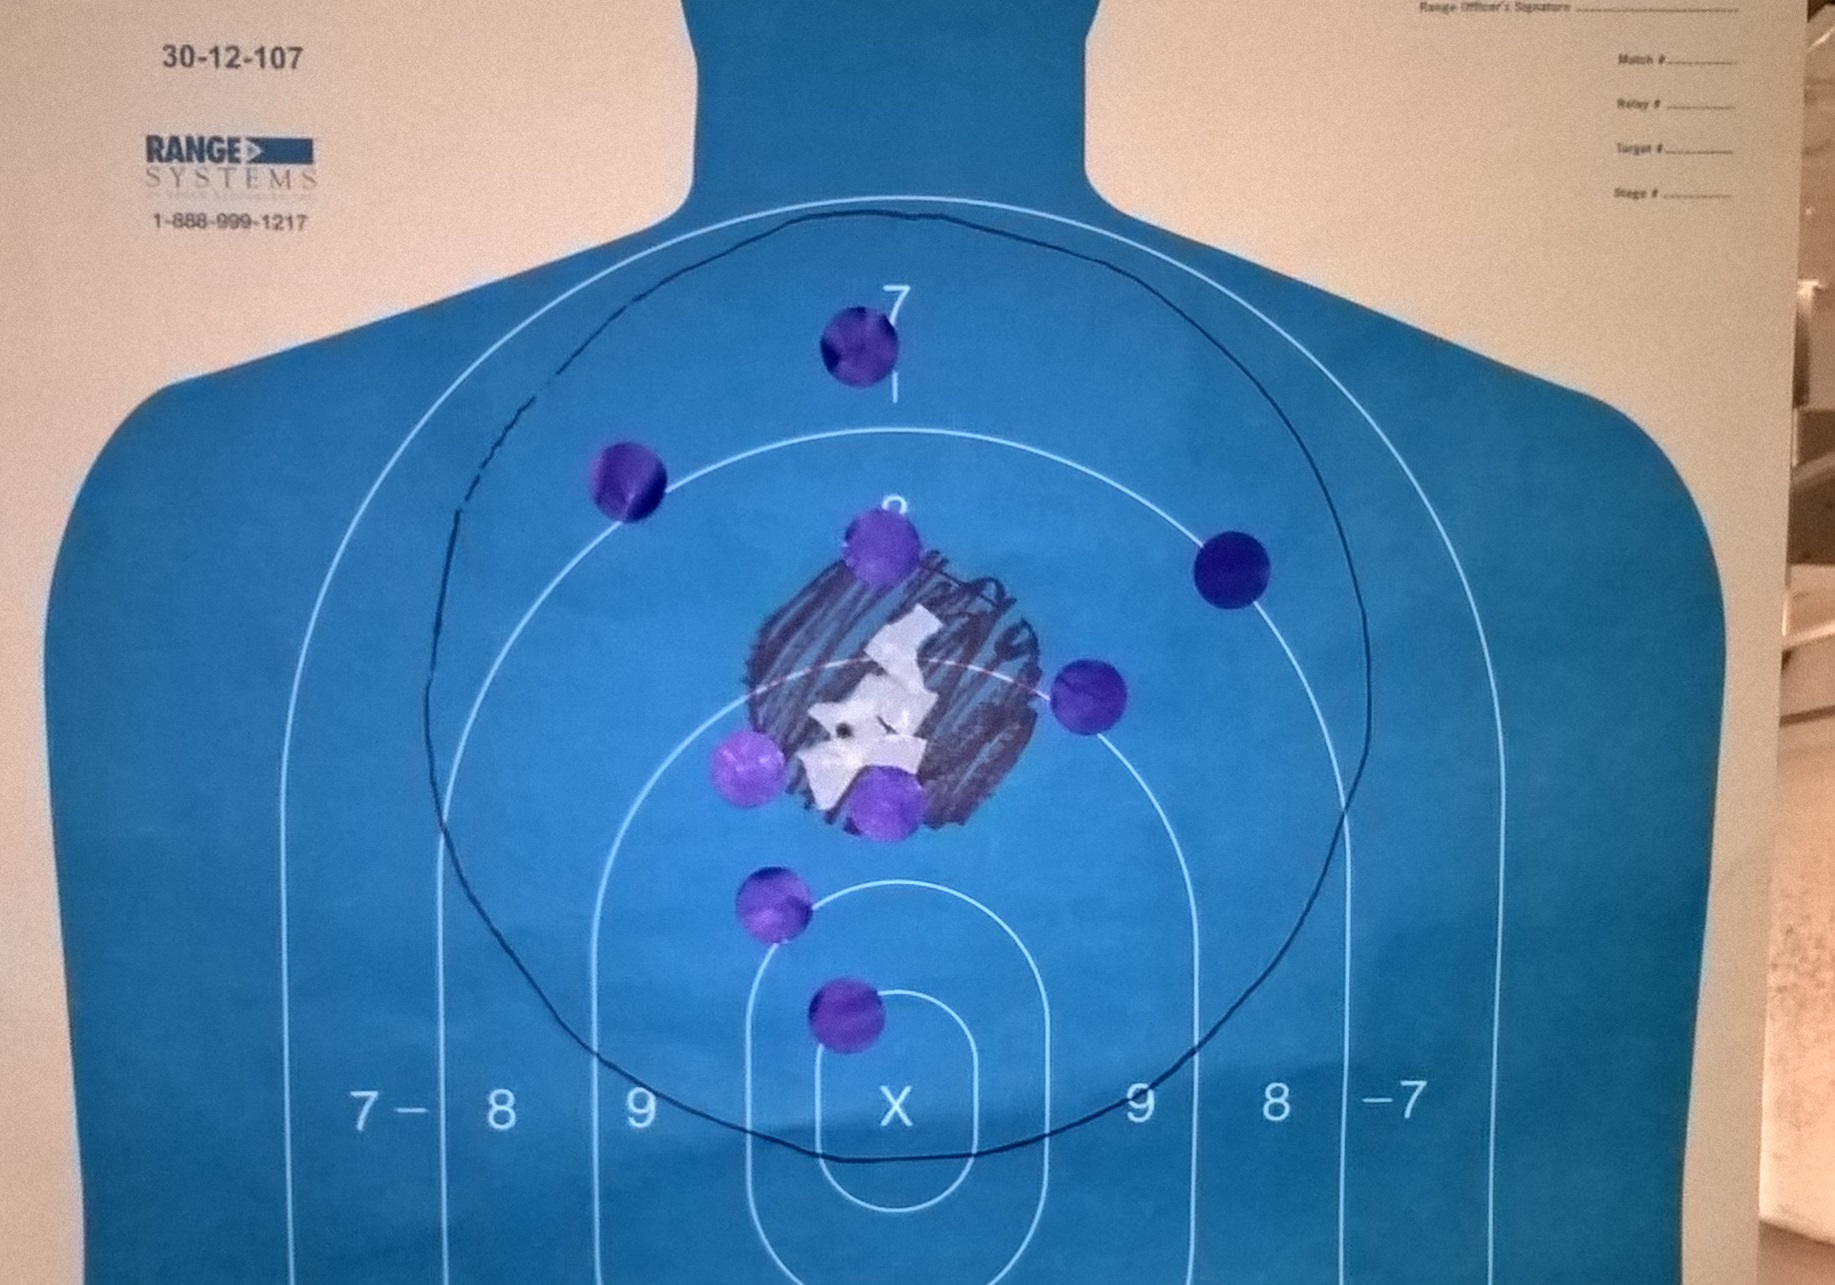
This drill consists of three (3) Sequences of 8 shots each. You are going to deliberately misalign your sights so you can see the effect of this at increasing distances. The drill is to fire the pistol with the front sight on a spot on the target but with the rear notch deliberately misaligned. The Sequences are untimed.
Setup:
Place target at five (5) yards
Procedure:
Sequence 1 (8 rounds at 5 yards)
1) Start with handgun held in both hands. If possible, sit and rest your arms on the bench. You want to be as steady as you can for these three sequences. Do not let the pistol touch the bench; this can change where the bullets hit. Shift your support hand slightly under the pistol, if needed.
 2) Put the front sight just below the aiming spot on the target with the front sight half way above the top of the rear notch. Carefully fire two shots. Your sight picture should look something like this.

3) Put the front sight just below the aiming spot on the target with the front sight lowered so that its top edge is half way down in the rear notch. Carefully fire two shots. Your sight picture should look something like this.

4) Put the front sight just below the aiming spot on the target with the front sight over to the right so that its right edge is touching the right side of the rear notch. Carefully fire two shots. The sight picture should look something like this.
 5) Put the front sight just below the aiming spot on the target with the front sight pushed to the left so that its left edge is touching the left side of the rear notch. Carefully fire two shots. Your sight picture should look something like this.
 Bring the target back and mark your shots with masking tape, pasters, or a marker. You will end up with eight shots on the target that will be dispersed up, down, left, and right. The target should look something like this:
 Sequence 2 (8 rounds at 10 yards)
1) Send the target out to 10 yards.
2) Repeat Sequence 1 but with the target at 10 yards.
3) Bring the target back and mark it.
Sequence 3 (8 rounds at 15 yards)
1) Send the target out to 15 yards.
2) Repeat Sequence 1 with the target at 15 yards.
3) Bring the target back and mark it.
Depending on your eyes and the nature of your sights, you may find that even at 15 yards your group stays on the target, despite the slightly misaligned sights.
Objective:
The purpose of this exercise is to demonstrate that the sights do not have to be perfectly aligned to get an acceptable hit on a silhouette size target. Many people waste time trying to get a perfect sight picture when it isn’t necessary. This principle of acceptable misalignment is the basis for what is called the “flash sight picture.” What we are trying to do is to get the front sight close to our aiming point and then refine the sight picture only to the extent we need to in order to get an acceptable hit. As your skill improves, your groups will get smaller and smaller but the principle remains the same.

You must be logged in to post a comment.