Friday Fundamentals (Segment 2)
We’re continuing on with the series of ‘Friday Fundamentals’. I’ve written about Sight misalignment, speed, and accuracy before. It’s a key fundamental to increasing your speed while still maintaining an acceptable degree of accuracy. This drill is part of the second session of my Pistol Practice Program.
Required equipment:
- Any silhouette target; B-27, B-21, Q, IDPA, IPSC, etc. Put a 2-3 inch aiming point on the silhouette in about the center of the target.
- Masking tape (preferred) or magic marker to mark the target.
- Pistol, 24 rounds of ammunition
- Eye and ear protection
Overview
This drill consists of three (3) Sequences of 8 shots each. You are going to deliberately misalign your sights so you can see the effect of this at increasing distances. The drill is to fire the pistol with the front sight on a spot on the target but with the rear notch deliberately misaligned. The Sequences are untimed.
Setup:
Place target at five (5) yards
Procedure:
Sequence 1 (8 rounds at 5 yards)
1) Start with handgun held in both hands. If possible, sit and rest your arms on the bench. You want to be as steady as you can for these three sequences. Do not let the pistol touch the bench; this can change where the bullets hit. Shift your support hand slightly under the pistol, if needed.
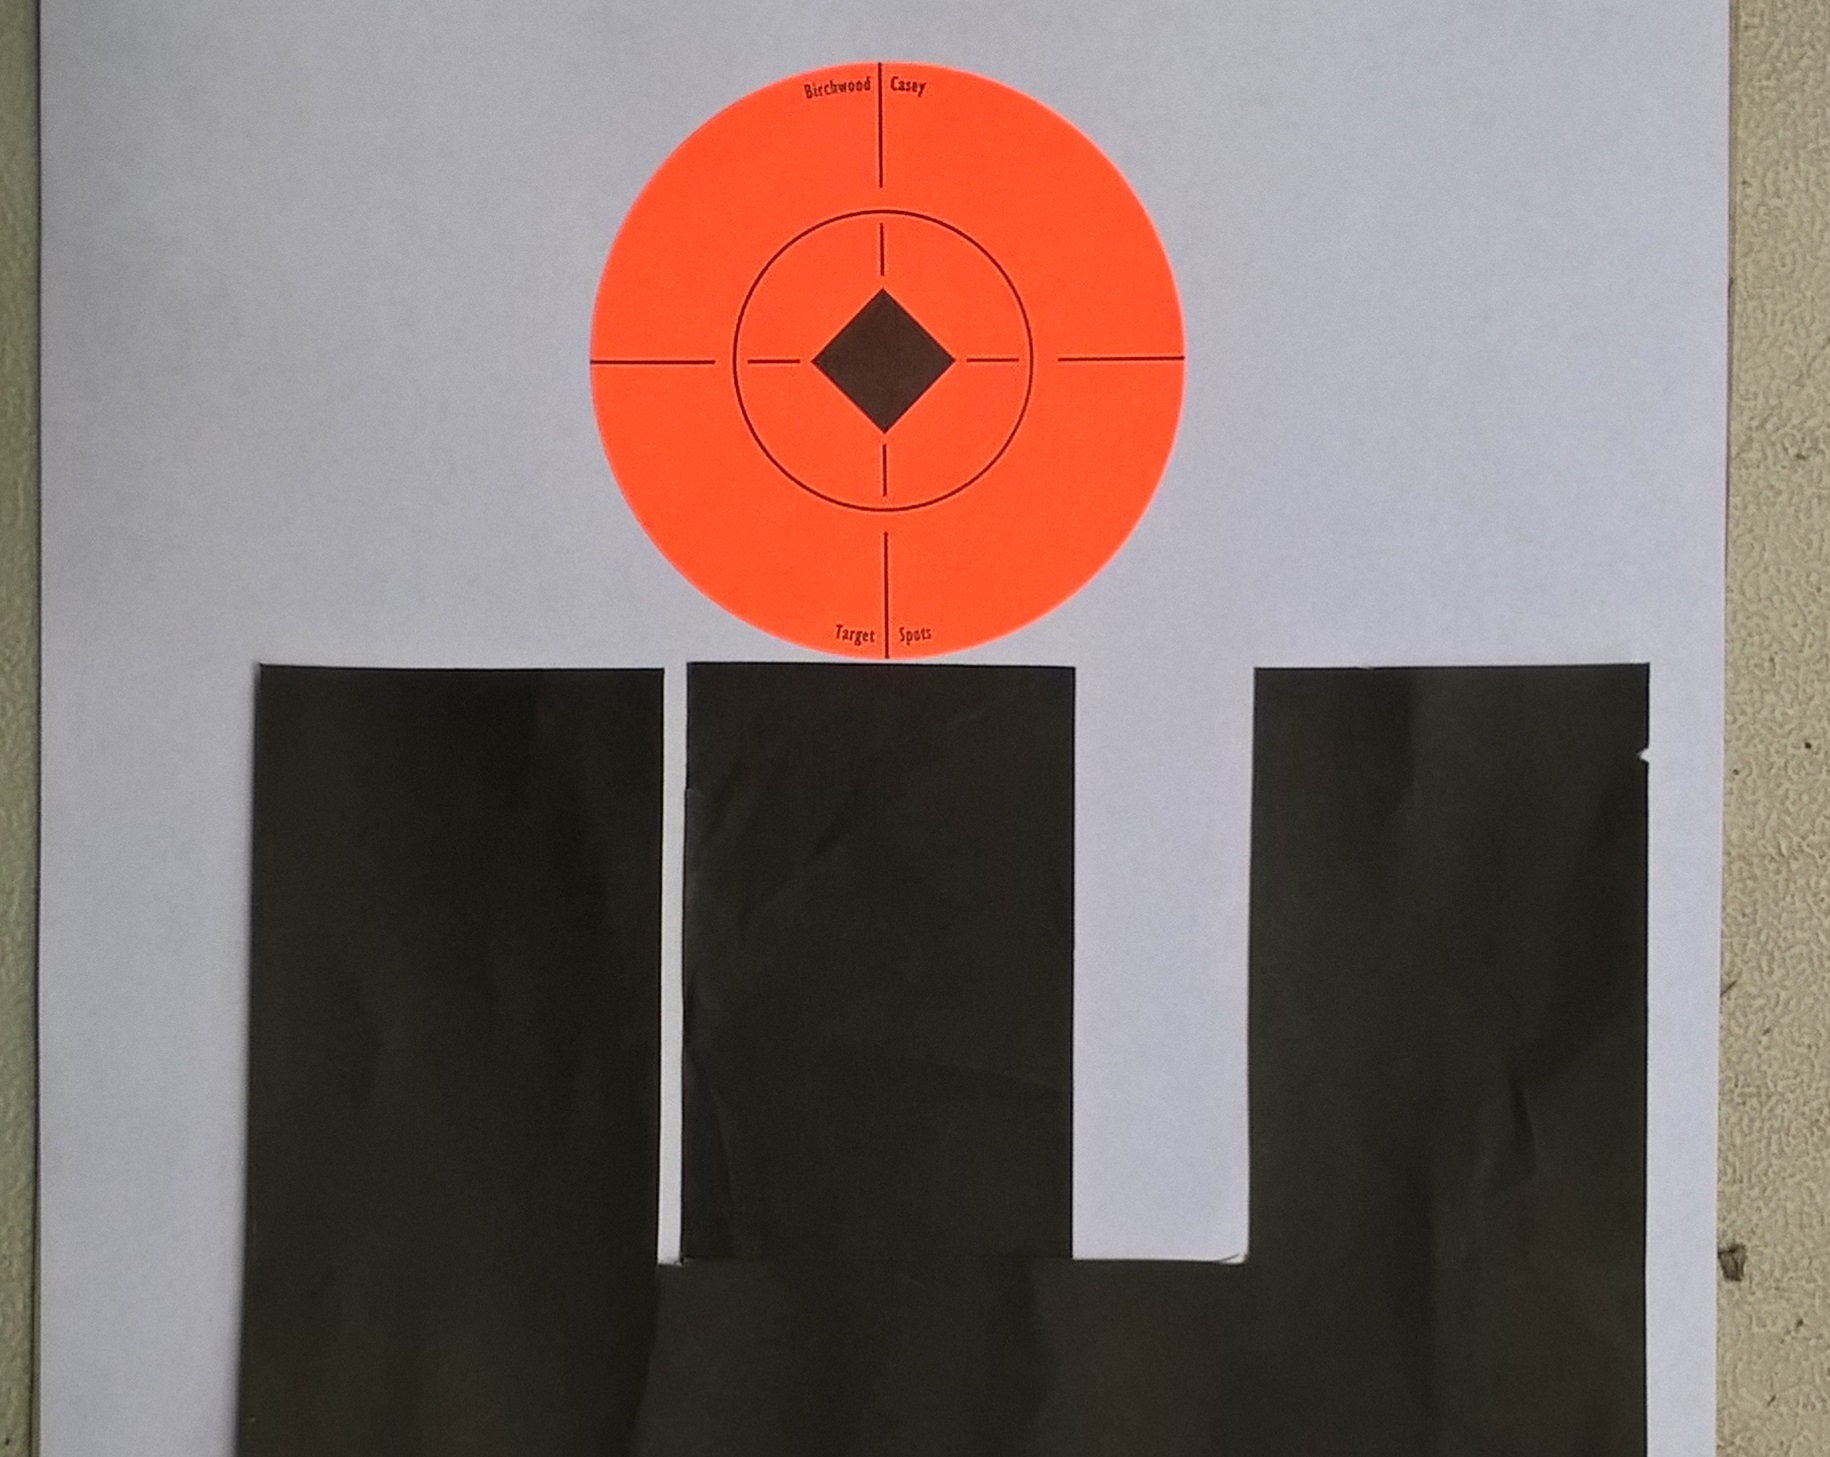
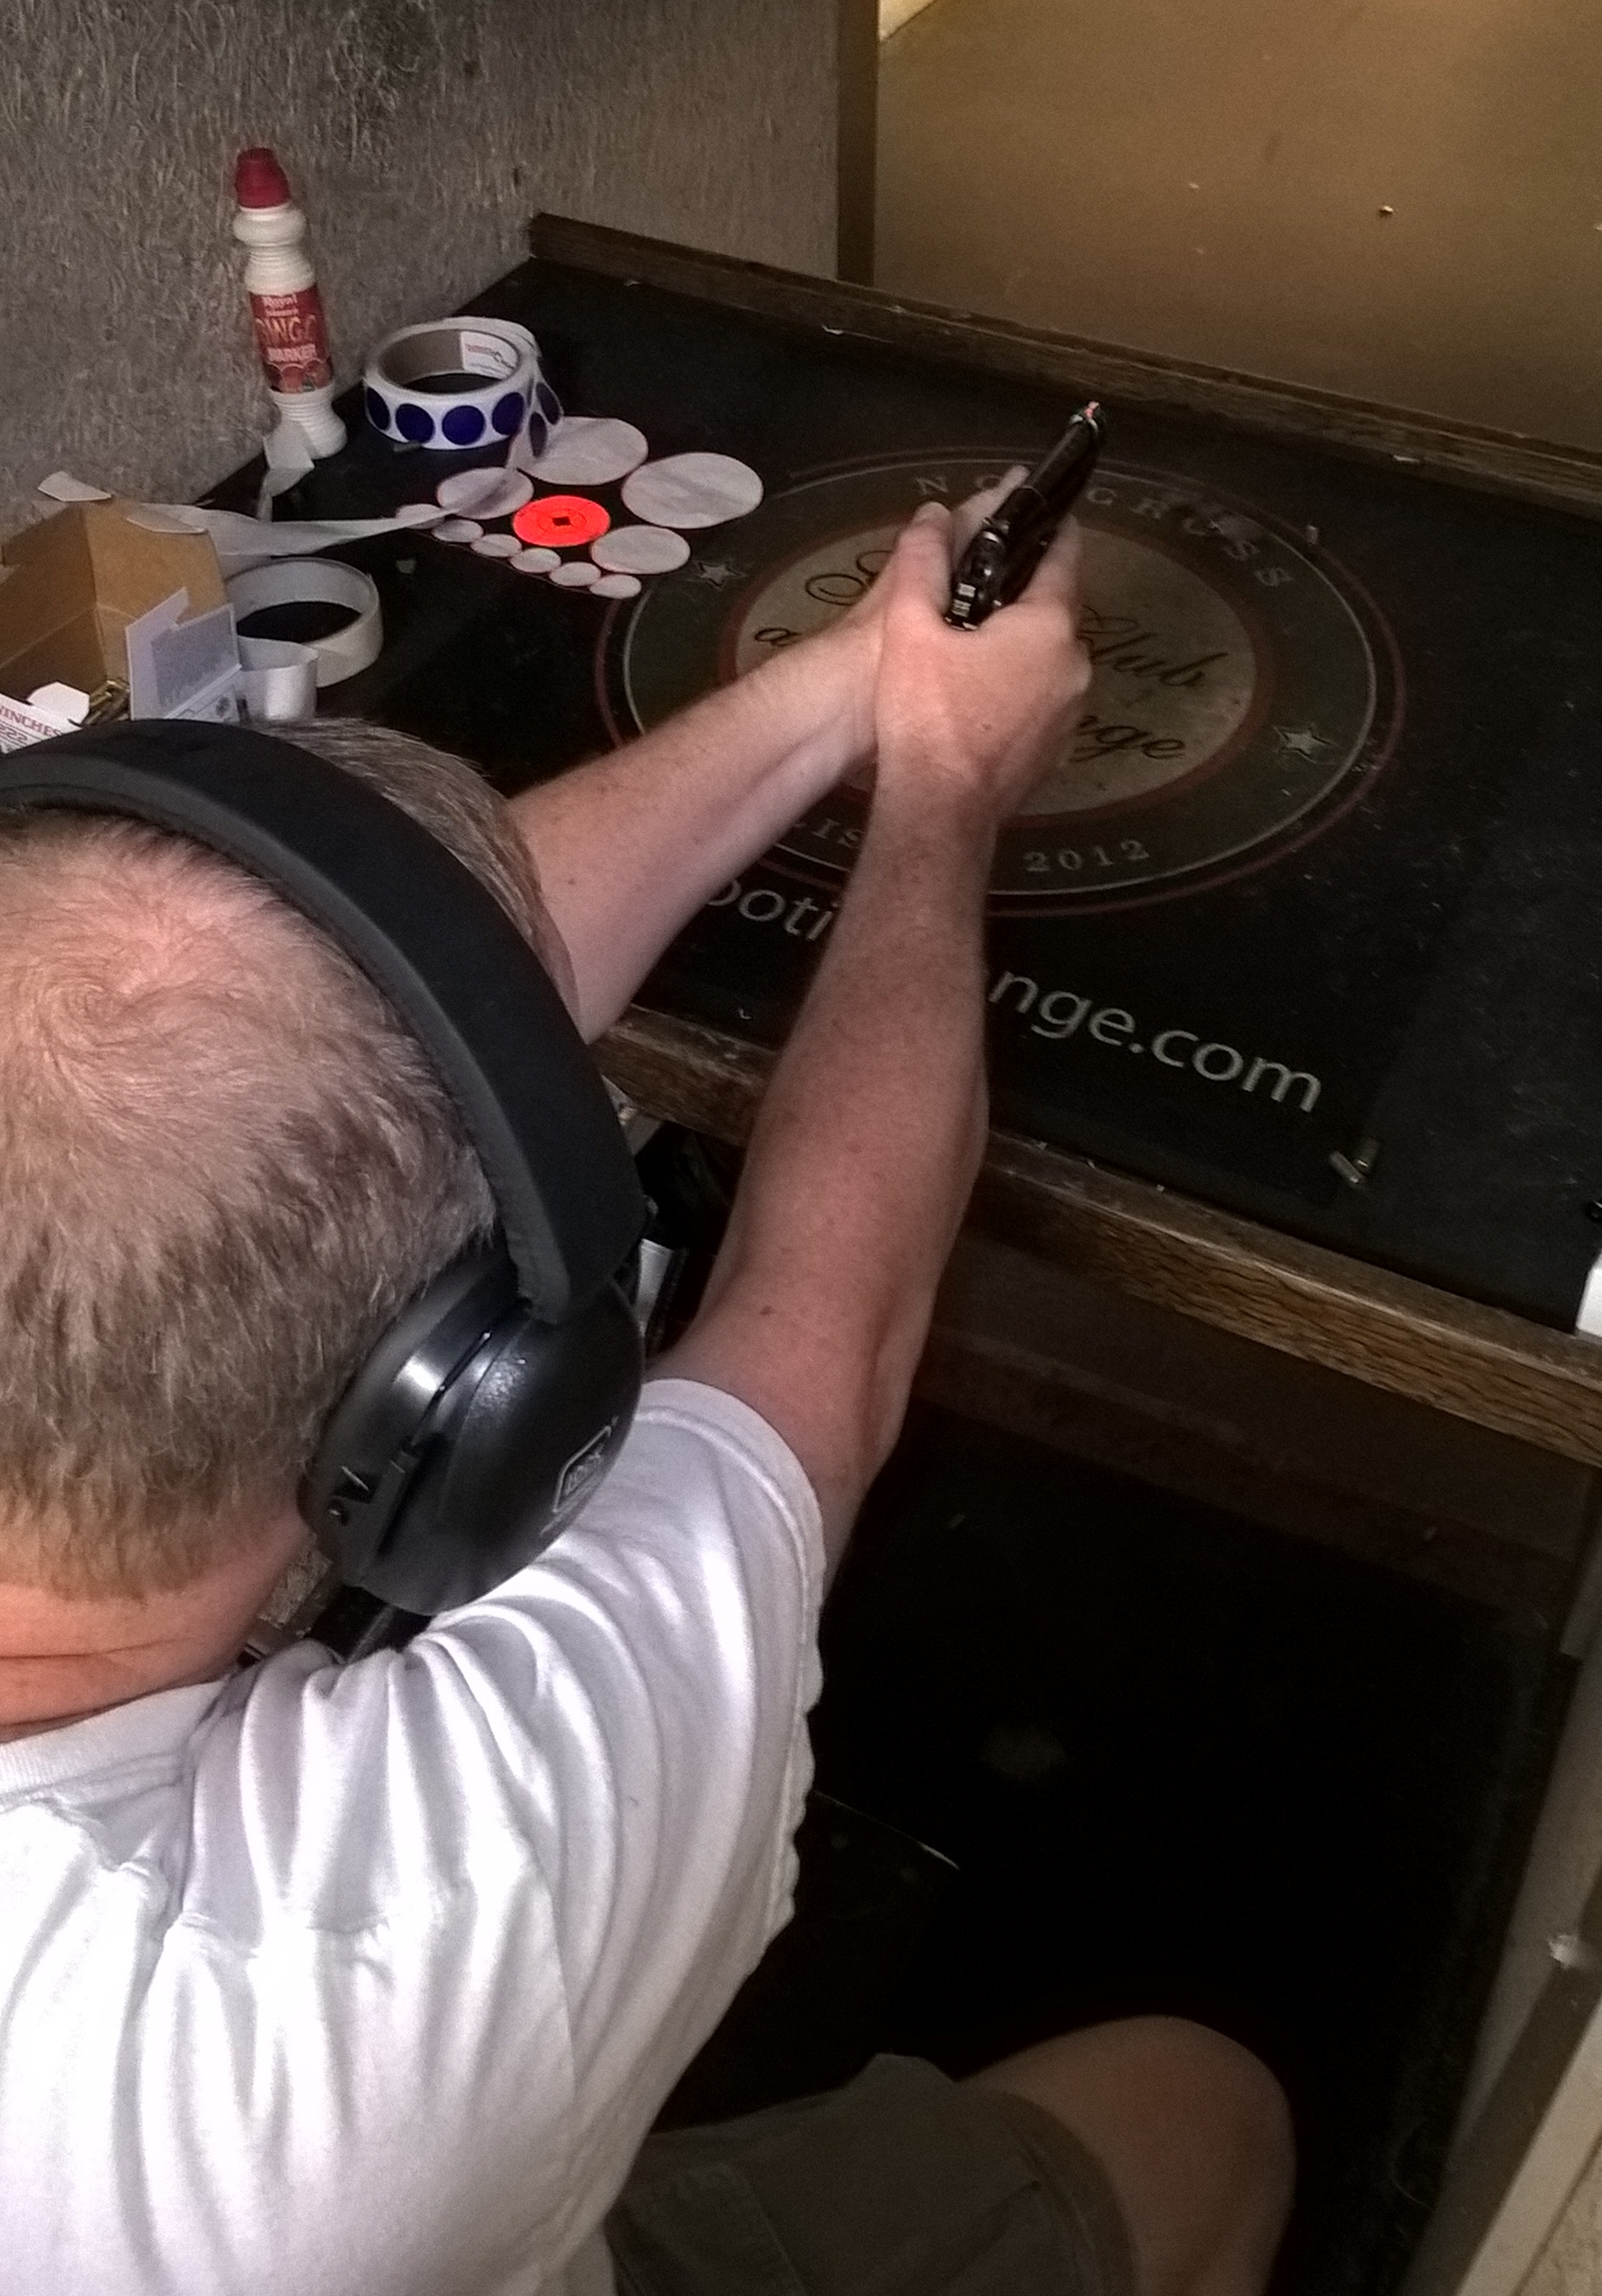 2) Put the front sight just below the aiming spot on the target with the front sight half way above the top of the rear notch. Carefully fire two shots. Your sight picture should look something like this.
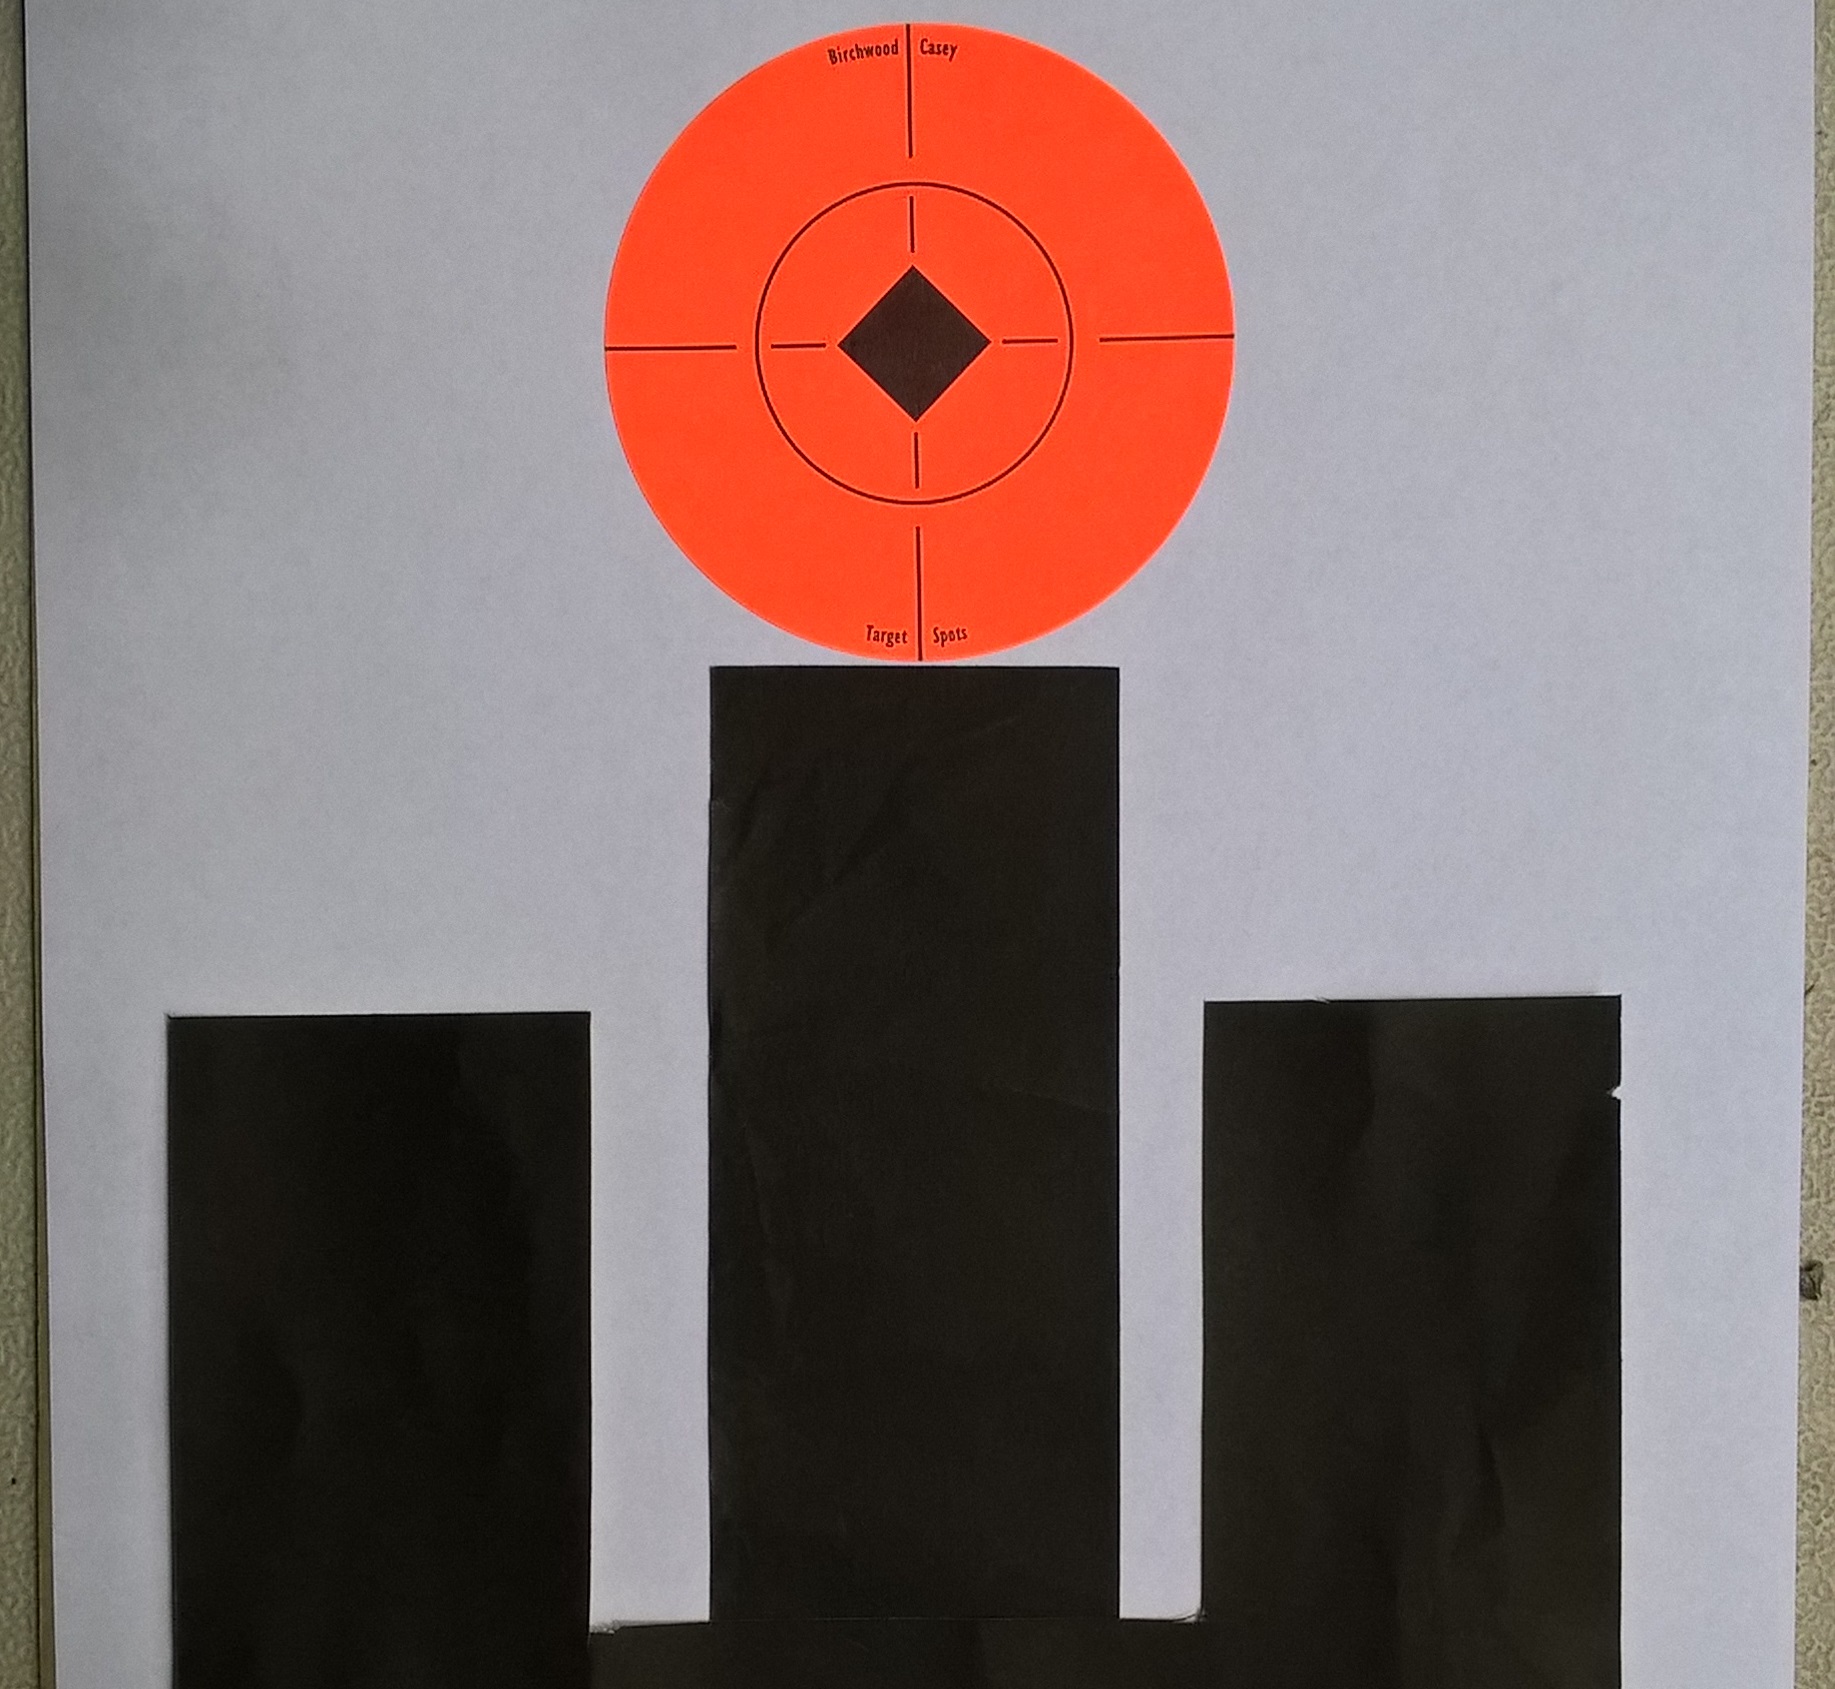
3) Put the front sight just below the aiming spot on the target with the front sight lowered so that its top edge is half way down in the rear notch. Carefully fire two shots. Your sight picture should look something like this.
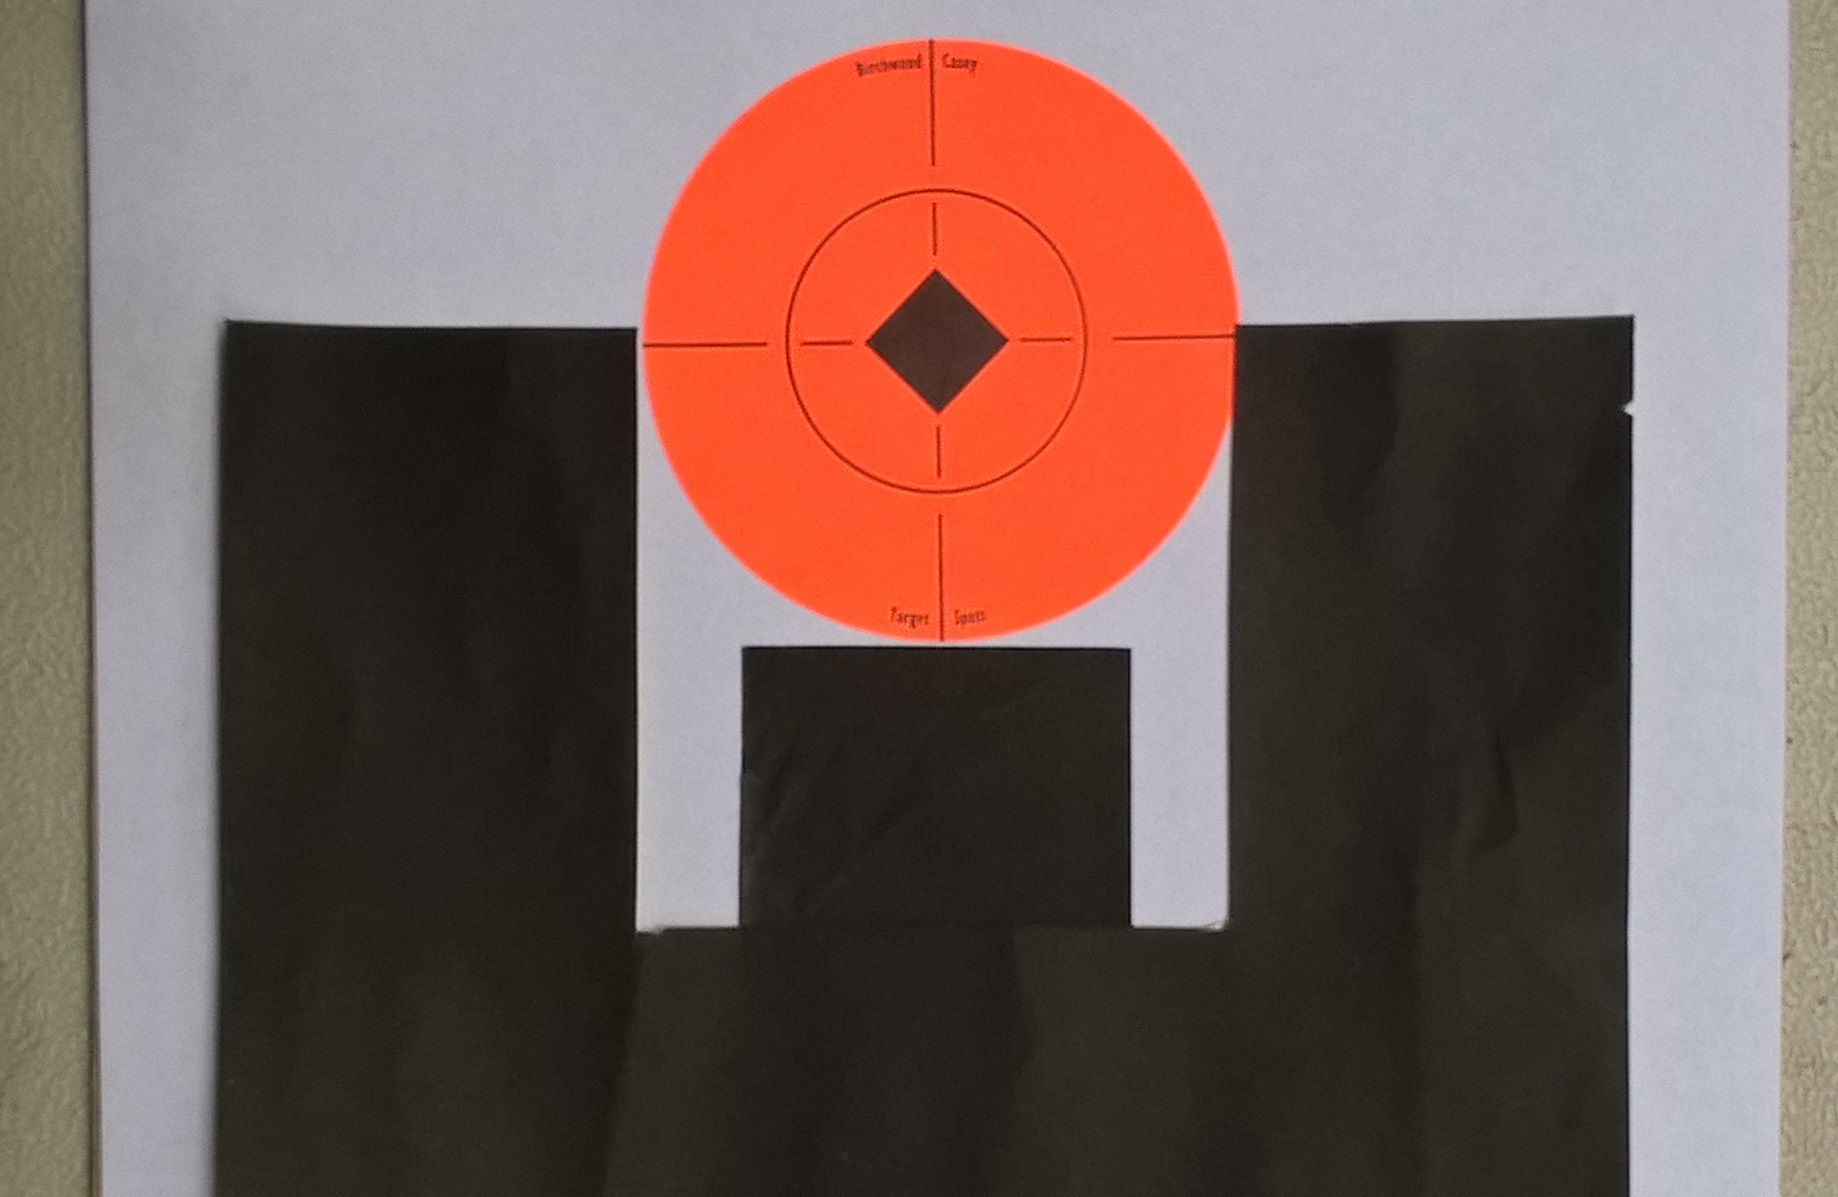
4) Put the front sight just below the aiming spot on the target with the front sight over to the right so that its right edge is touching the right side of the rear notch. Carefully fire two shots. The sight picture should look something like this.
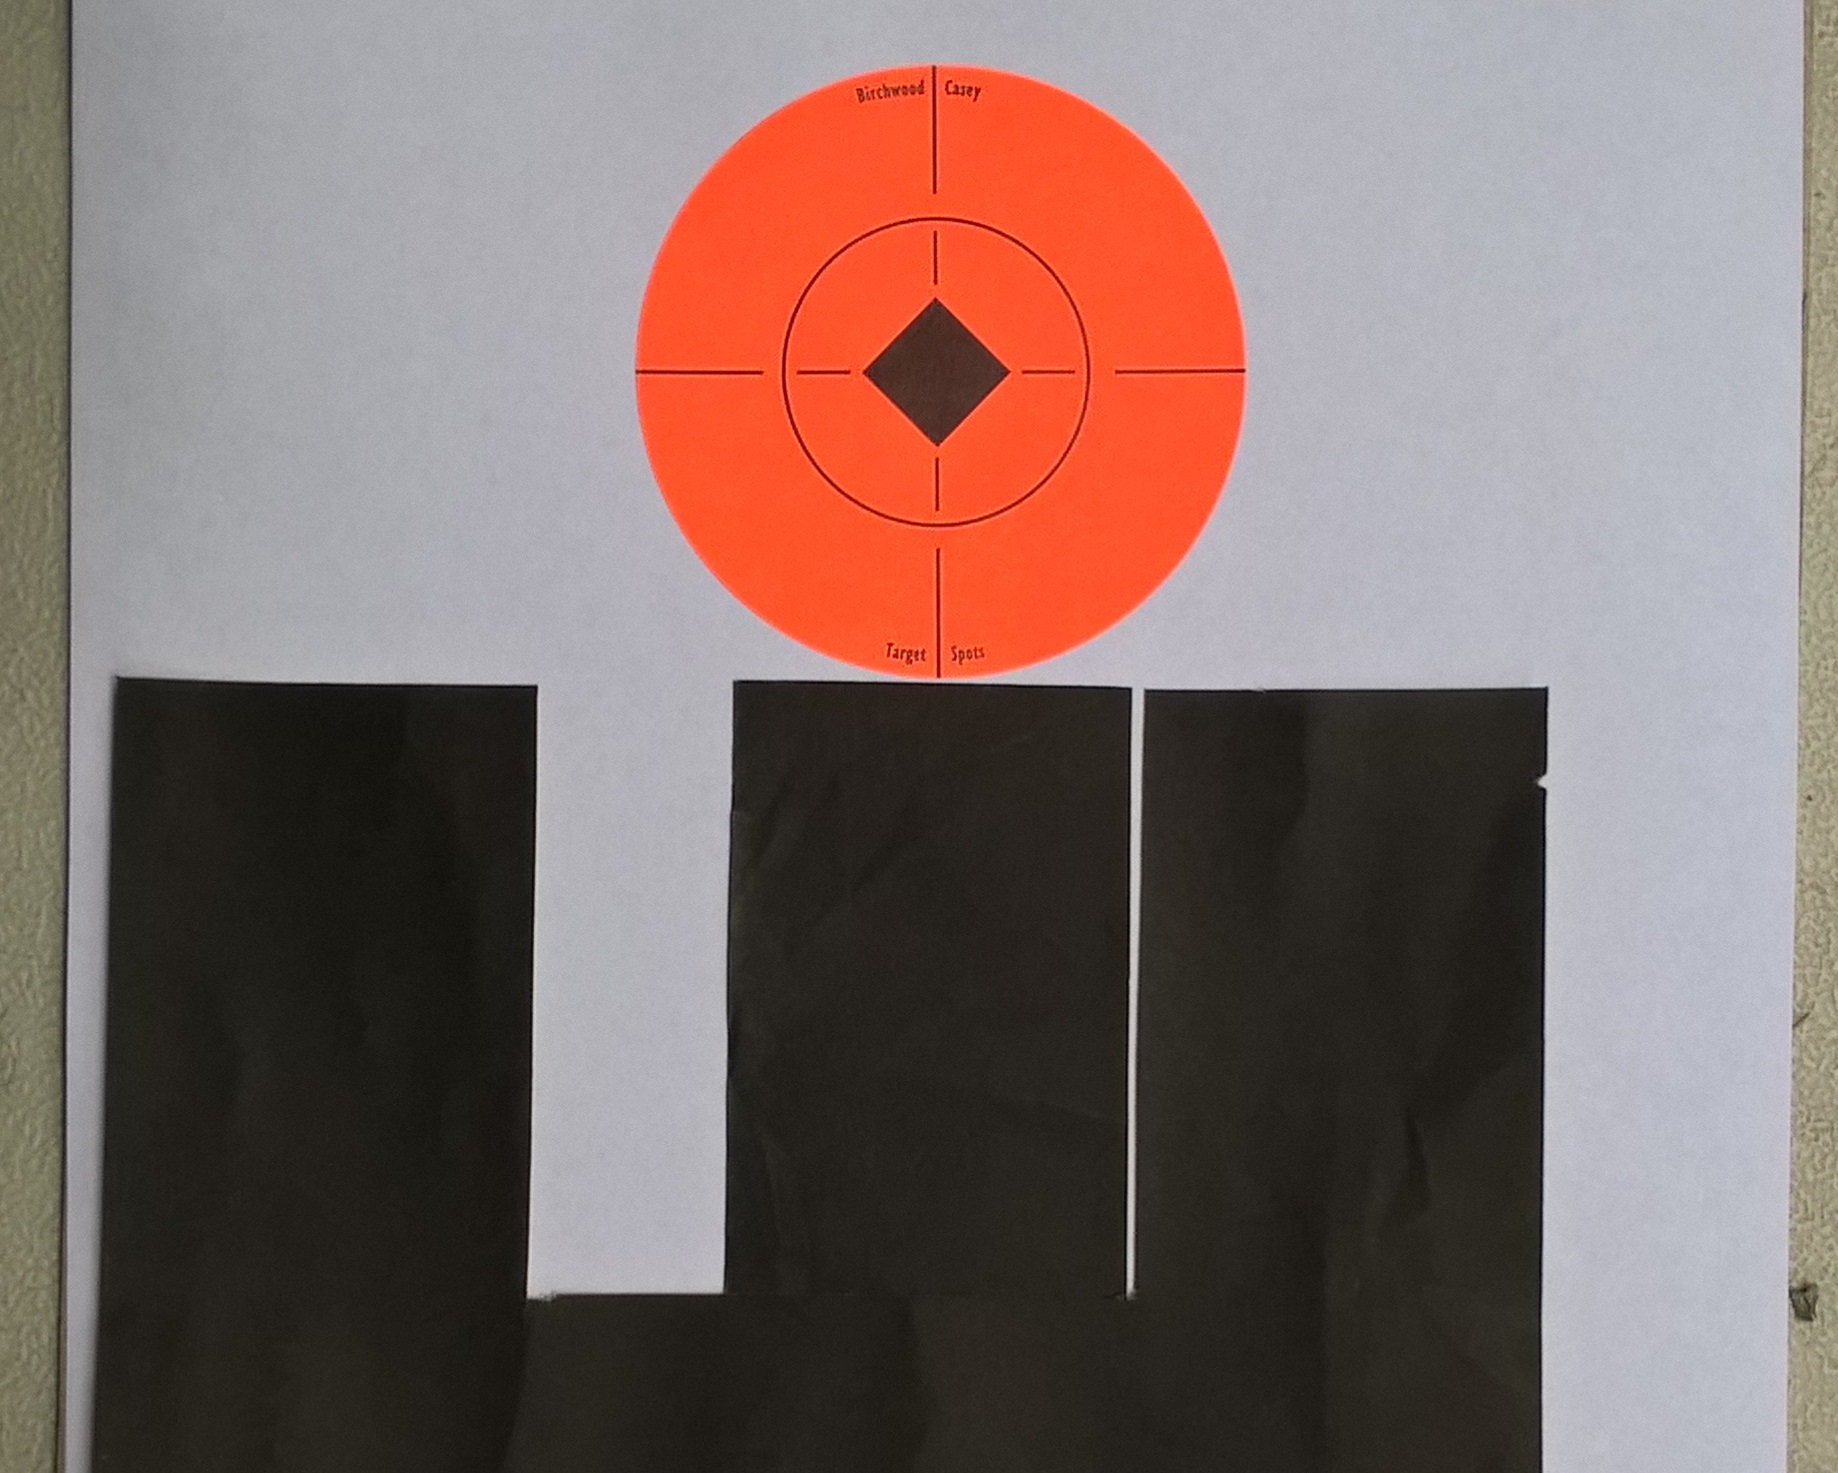 5) Put the front sight just below the aiming spot on the target with the front sight pushed to the left so that its left edge is touching the left side of the rear notch. Carefully fire two shots. Your sight picture should look something like this.
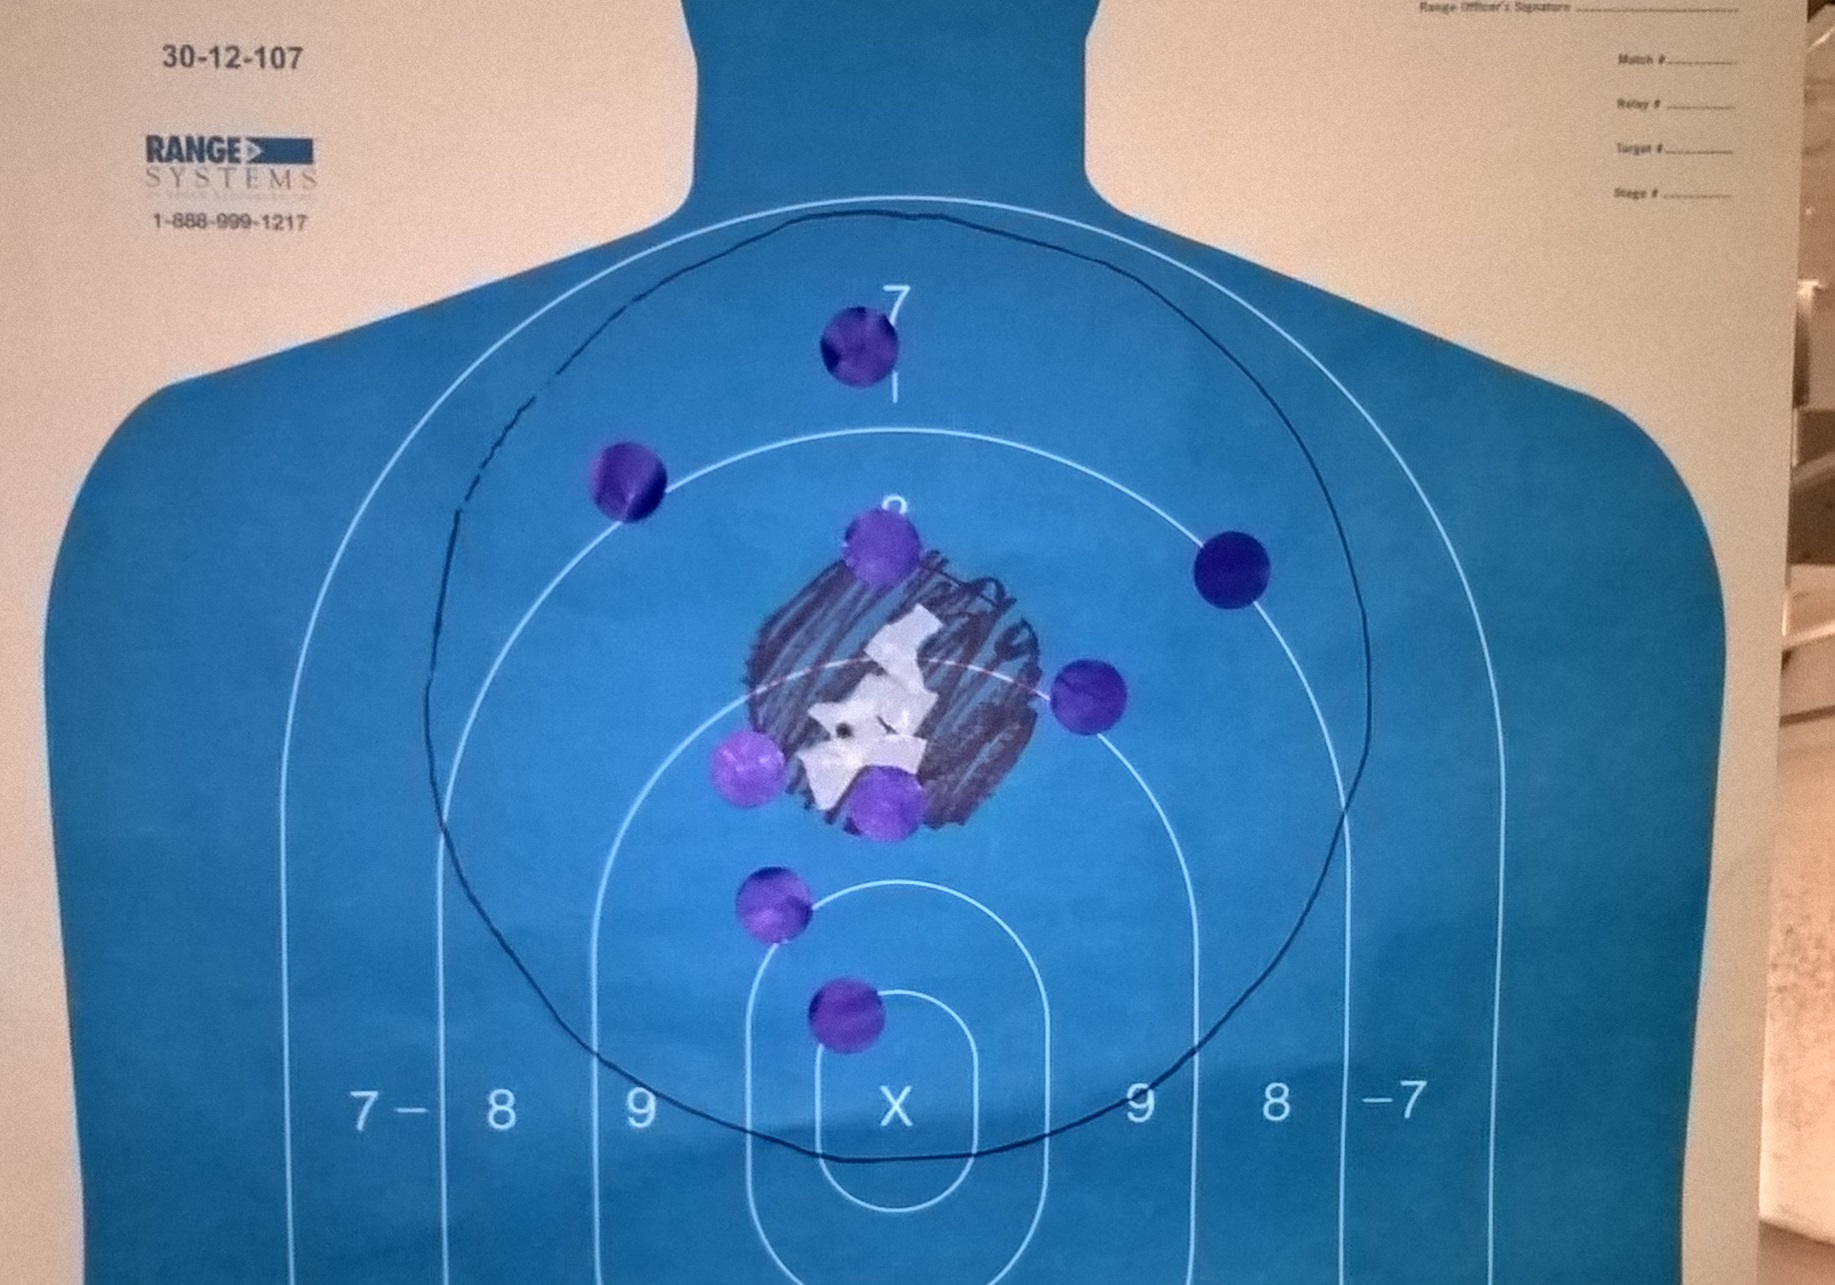
 Bring the target back and mark your shots with masking tape, pasters, or a marker. You will end up with eight shots on the target that will be dispersed up, down, left, and right. The target should look something like this:
 Sequence 2 (8 rounds at 10 yards)
1) Send the target out to 10 yards.
2) Repeat Sequence 1 but with the target at 10 yards.
3) Bring the target back and mark it.
Sequence 3 (8 rounds at 15 yards)
1) Send the target out to 15 yards.
2) Repeat Sequence 1 with the target at 15 yards.
3) Bring the target back and mark it.
Depending on your eyes and the nature of your sights, you may find that even at 15 yards your group stays on the target, despite the slightly misaligned sights.
Objective:
The purpose of this exercise is to demonstrate that the sights do not have to be perfectly aligned to get an acceptable hit on a silhouette size target. Many people waste time trying to get a perfect sight picture when it isn’t necessary. This principle of acceptable misalignment is the basis for what is called the “flash sight picture.” What we are trying to do is to get the front sight close to our aiming point and then refine the sight picture only to the extent we need to in order to get an acceptable hit. As your skill improves, your groups will get smaller and smaller but the principle remains the same.
Friday Fundamentals 01 – Establishing Your Baseline
My friend Mark Luell, the author of Growing Up Guns suggested I provide a ‘Friday Fundamentals’ post weekly. We got the idea from my colleague Cecil Burch who wrote a blog post about Fundamentals. It’s a great idea to stay in touch with the basics.
The first installment is Session 01 of my Pistol Practice Program – Establishing Your Baseline. As in any journey, you have to know where you’re starting from before you can get to where you want to go.
The objective of this drill is to determine what distance you can make 100 percent hits on the vital area of a silhouette target. My feeling is that we need to work on achieving 100 percent accuracy because errant rounds in our homes or neighborhoods could be a major problem. Since I also think the first shot is the most important, I structured the session with a lot of first shots but also included multi-shot strings. A lot of people ‘walk their rounds’ into the target even with handguns. This is a huge problem and liability.
 We don’t count hits on the head in this drill because they are actually misses if you are aiming at the body. The head is more than a foot away from the center of the body, if you hit the head when you’re aiming at the body, it’s just a lucky shot and doesn’t count in terms of performance measurement.
Required equipment:
Any silhouette target; B-27, B-21, Q, IDPA, IPSC, etc.
Masking tape (preferred) or magic marker to mark the target.
Pistol, 50 rounds of ammunition
Eye and ear protection
Overview
This drill consists of five (5) Sequences of 10 shots each. The Sequences are untimed.
Setup:
Place target at three (3) yards
Start loaded with five (5) rounds only.
Procedure:
The starting position is Low Ready. This means the pistol is aimed at the floor below the target. For double action pistols, you will decock after each Step.
Sequence 1 (10 rounds)
1) Start with handgun held in both hands, aimed at the floor below the target. Spare magazine loaded with 5 rounds or speedloader with 5 rounds or 5 loose rounds on the bench.
2) Bring the pistol up on target and fire 1 shot at the center of target. Followthrough for one second, then return to low ready. Decock, if appropriate.
3) Bring the pistol up on target and fire 2 shots at the center of target. Followthrough for one second, then return to low ready. Decock.
4) Bring the pistol up on target and fire 3 shots at the center of target. After two shots, the pistol will be out of ammunition. Reload it and fire the third shot. Followthrough for one second, then return to low ready. Decock.
5) Bring the pistol up on target and fire 4 shots at the center of target. After the shots, the pistol will be out of ammunition. Hopefully, the slide has locked back if it’s an autoloader.
6) Place your pistol down on the bench.
7) Bring your target back and mark all the hits, preferably with tape but a marker will do.
8) Write on the target how many hits you made in the body scoring area. I prefer to not count the outer scoring area as I mentioned in Why I hate the -3 zone. Use this format, (3) X/10, X being the number of hits. For this drill, do not count any hits in the head, they are actually misses.
Sequence 2 (10 rounds)
1) Send the target out to 5 yards.
2) Repeat Sequence 1 but with the target at 5 yards instead of 3 yards.
3) When you write on the target how many hits you made in the scoring area, it will be (5) X/10. The number in parenthesis is the distance in yards.
Sequence 3 (10 rounds)
1) Send the target out to 7 yards.
2) Repeat Sequence 1 with the target at 7 yards.
3) Write on the target how many hits you made at 7 yards. (7) X/10
Sequence 4 (10 rounds)
1) Send the target out to 10 yards.
2) Repeat Sequence 1 with the target at 10 yards.
3) Write on the target how many hits you made at 10 yards. (10) X/10
Sequence 5 (10 rounds)
4) Send the target out to 15 yards.
5) Repeat Sequence 1 with the target at 15 yards.
6) Write on the target how many hits you made at 15 yards. (15) X/10
When you finish the drill, record your score for each yardage. Make this a part of your practice record. Shooting this exercise will give you a good idea of what your current proficiency level is. That’s an important starting point.
Double trouble: Media bias and downrange incident
I follow the stories in The Armed Citizen column of the NRA Journals each month. For copyright reasons, the stories have to be re-written. With the more interesting ones, I try to track down the original story to see if there is more detail. A story in the August 2015 issue involves a downrange incident and piqued my interest to find out more about it. The results were interesting. The Armed Citizen entry is as follows:
Breaking up before the big dance carried a price for several people. Two Wisconsin teens had a lovers’ spat before the prom, after the girl’s parents had spent $500 on a dress. The girl’s parents asked the boy to partially reimburse them since he backed out of the date. The Madison boy stewed about the request and became enraged. He returned to his girlfriend’s house in the wee hours of the morning and tried to break in. The girl’s father caught the boy and called him to task, prompting the boy to draw a knife and stab the man seven times. While the two males were grappling, the girl’s mother came out and fired a handgun into the air. The gunfire distracted the youth, and the man wrestled the teen to the ground. The boyfriend faces multiple charges, including attempted homicide. The girl’s father was airlifted to a hospital to have his wounds treated. (Wisconsin State Journal, Madison, Wis., 5/8/15)
One of the first links I found was to the original Wisconsin State Journal article. It did indeed provide more details, such as how the boy attempted to make entry into the house and the fact that he first of all nailed the father with a shovel. Several other links I found, for instance CBS News, referenced the Associated Press edition of the original article. Somehow, the fact that a handgun had been involved in stopping the incident was left out of the AP edition I found at CBS. At first I thought CBS had edited it but I decided to check. I found other outlets carrying the exact same words from AP, so it was the Associated Press that omitted the handgun detail, not CBS. I’m sure that was unintentional due to brevity requirements or somesuch. Yeah, yeah, brevity requirements, that’s the ticket.
There are several things I find worthy of consideration regarding the event itself. First, incidents where there is a family member or other innocent person in between an Armed Citizen and a criminal attacker are what I call downrange incidents. These are much more common than people like to think. The reason is simple. We’re around our families and friends at lot, typically at least half of each day. But the amount of forethought and practice gunowners tend to give this fact tends to be minimal. Part of that represents the way the indoor range practice environment is set up. It doesn’t lend itself well to practicing for downrange incidents. Unless someone is very confident of their skills, downrange incidents are probably going to be resolved at very close range as Meghan Brown did after a man broke into her home and began fighting with her fiance.
The two rolled around, breaking the dining room table and chairs. Planthaber [the fiance] said it lasted about two minutes. Hill [the invader] had a good 80 pounds on him and was winning.
While they were fighting, Brown got her gun from the bottom drawer of her nightstand.
She trained the weapon [a pink .38-caliber revolver] on the man, but was unable to shoot because Planthaber was too close. [I am willing to bet money she positioned herself as close to them as she possibly could.] She followed his movements.
‘I had my gun drawn, focused in on him; as he moved, my gun moved,’ she said. ‘I waited for my shot, and when I saw an opening, I fired.’
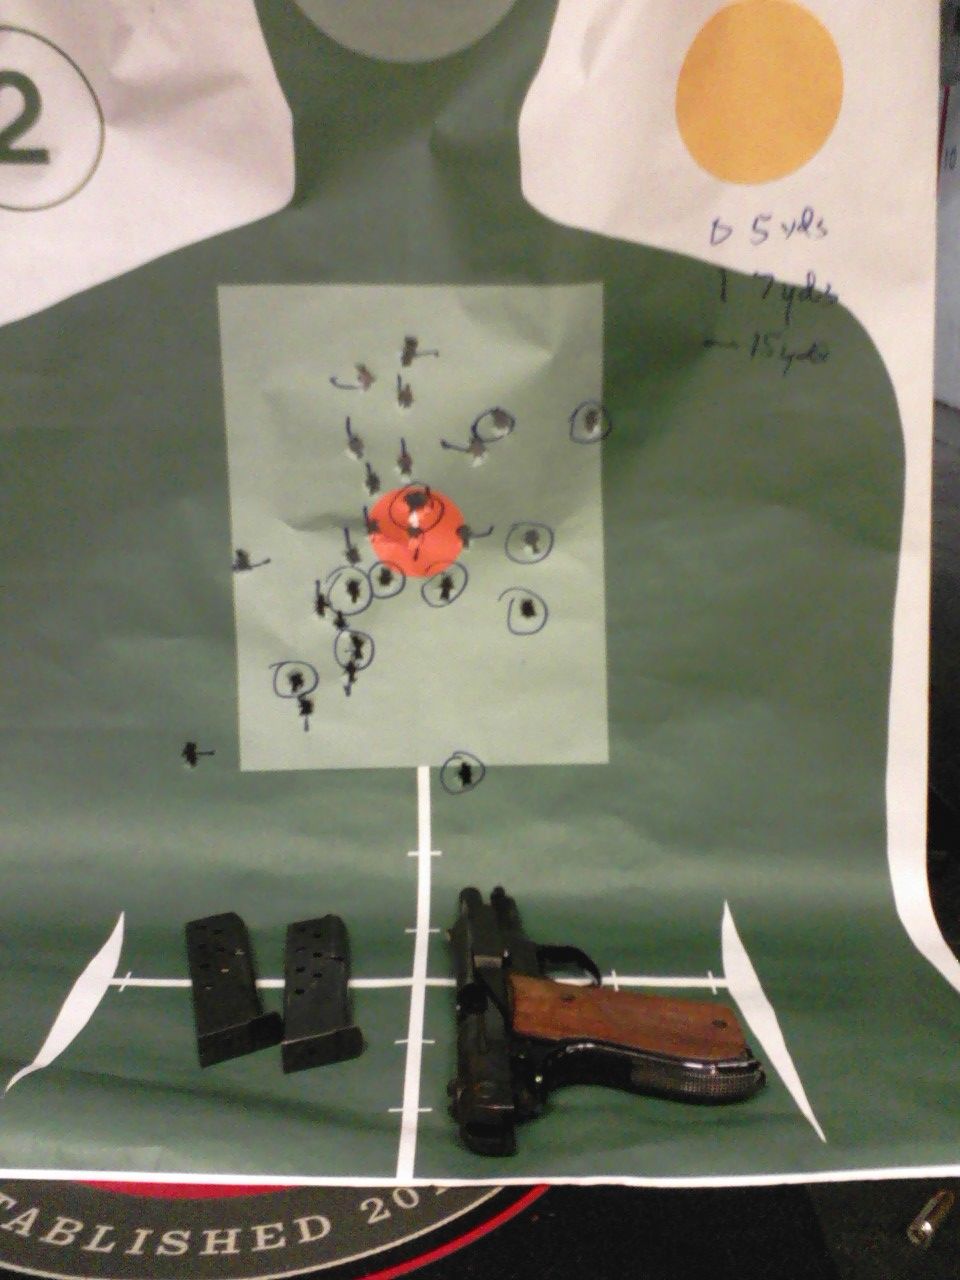
Unfortunately, I don’t have a really good answer about how you practice for this, especially in the indoor range environment. If your range will allow you to place a hostage type target at 1 yard, you could practice single shots starting from a ready position off the target. Many ranges will not permit this though, so ask first. You may have to explain what your objectives are and perhaps allow the staff to supervise you.
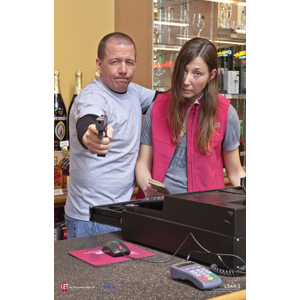
LSAR-2 target from Law Enforcement Targets
At the very least, some mental preparation and mental rehearsal is in order. DO NOT dryfire practice this with a real gun and real people, even if you think the gun is unloaded. That’s a recipe for a Negative Outcome.
If you have access to an outdoor range, here’s a practice drill you could do. If your situation permits it, you could also try this with Airsoft in your backyard.

Another aspect worth considering is the possibility that the male of the household will end up in a physical struggle with a criminal attacker and a female member of the household will end up doing the shooting. Both of the above incidents are examples of that dynamic. I have dozens more in my database. Knowledge of how to operate a firearm and having the will to use it will probably work out better than having a stab a man to death with a butcher knife. Note also that wasp spray didn’t have any effect in this incident.
At some point, ‘the husband was having trouble controlling the suspect and called out to his wife,’ [the Sheriff’s Office spokesperson] said. That’s when the woman ran to the kitchen and retrieved a [butcher] knife, fatally stabbing [the attacking criminal].
For those couples who are serious about personal protection, thinking about it ahead of time may pay off. This is an article I wrote about Protecting Your Family: Training for Mutual Defense.
The Tactical Professor’s Pistol Practice Program
Why a Practice Program and not a training program?
I created the Pistol Practice Program (PPP) to fill a need for many gunowners. Most gunowners are self-taught and generally are not familiar with a structured approach to skill development. There is a great deal of information available now on how to shoot a pistol. However, there is much less information available on how to practice firearms skills over a period of time to achieve greater confidence and proficiency. As Aristotle said:
We are what we repeatedly do. Excellence, then, is not an act, but a habit.
My goal was to create a program that would get gunowners into the habit of shooting well. I created a step by step approach tailored to the needs of the casual shooter but challenging enough to satisfy the enthusiast. Designed as a series of range sessions, you can practice at your own pace as your schedule permits.
In the case of those who have attended training, your instructor probably said that a firearms class only provides a foundation of skills. To maintain those skills and improve, people who own pistols need to practice after training. Having a program also makes shooting more fun because the shooter develops a sense of accomplishment from the practice. This program is not concerned with what particular technique the shooter uses. Over time and by working the PPP, shooters will determine what works best for them.
The vast majority of gunowners only have access to indoor or public ranges where the type of practice they can do is rather restricted. The PPP takes that constraint into account and presents drills that are indoor range friendly and yet relevant to skill development. The livefire range sessions are then supplemented by dryfire sessions that can be done safely at home. Doing so allows you to develop skills that usually cannot be practiced at an indoor range. How to practice at home safely is thoroughly explained.
The PPP is available on CD. Its contents are mobile device friendly so you can copy the drills to your smartphone or tablet. If your device can access a PDF reader, you can easily take the exact drills to the range with you without having to lug along a book or write down the contents of a DVD. You can also put the dryfire audio sessions on your device for maximum convenience.
Those who are teaching a friend or loved one how to shoot a pistol will find the PPP provides a solid structure for their time at the range. For those who have attended a training class, the PPP provides a way to maintain and build the skills they learned in class. Law enforcement officers can use the PPP to keep your shooting skills tuned up in between qualifications and make qualifications less stressful. Put whatever practice ammo you receive from the department to good use instead of frustrating yourself by shooting the qual course over and over.
Contents of the PPP
- A Program Guide to get you started
- A Log Sheet to keep track of your progress
- 12 Primary Livefire Sessions (50 rounds and Indoor range friendly)
- 12 Secondary Livefire Sessions (50 rounds) for those who want more practice activity each time at the range
- 12 Structured scenarios designed to emphasize and train the interactive aspects of personal protection
- 6 audio guided Dryfire sessions (less than five minutes each)
- Tip sheets on firearms safety, interacting with law enforcement, common mistakes, etc.
I have drawn on a wide range of training experience, from teaching NRA Basic Pistol classes to my time as the Chief Instructor of the elite Rogers Shooting School, to create this Program. There is no doubt in my mind that shooters at all levels of skill and experience can benefit from it.
The PPP CD is available on my webstore. At $19.95, it’s about the cost of one box of centerfire ammo. Bonus: the first 100 orders will receive a Rogers Tap-Rack-Training aid, a $5.00 value, at no charge.
Law Enforcement Officers Killed Audio CD
Annually, the FBI publishes the Law Enforcement Officers Killed and Assaulted report. A key part of this report is the written Summaries of the circumstances surrounding the death of each Officer Feloniously Killed.The FBI provides a concise account of the individual incidents where an Officer(s) was killed.
One of the things I have been unhappy about when training LEOs is finding out how few read the Summaries. I ask every LEO class how many have read LEOKA and almost all the hands go up. But when I ask how many have read the Summaries, almost all the hands go down. While the tabular data in LEOKA is interesting, the Summaries give much more insight into the circumstances of how Officer deaths occur and provide context on how to avoid becoming a victim Officer.
In order to make these Summaries more accessible to the Law Enforcement community, I’ve recorded the 2013 Summaries as audio narratives on an audio CD. Each Summary is narrated individually for your listening convenience. In addition, audio narratives of a number Officer killings not reported by the FBI are included. For supervisors, playing a few of the Summaries at roll call could be a sobering way to put your Officers in the right state mind for their shift. For individual Officers, listening to a few of them on the way to work may help you get mentally tuned up.
The LEOKA Narrative audio CD can be purchased on my webstore. There’s also a link at the top of my blog.
Common sense
Isn’t it just common sense to ensure you know what you’re shooting at?
That question was posted on my Claude Werner, Researcher and Analyst page.
It’s an important question that we need to put in perspective.
Not intending to be pejorative but there is no such thing as ‘common sense.’ What we refer to as ‘common sense’ is actually learned behavior based on our past experience.
For instance, as adults, we consider it ‘common sense’ to not stick our hand in a fire. When we were three years old, we didn’t know it would hurt and probably found it out the hard way.
Similarly, we as gun people would consider it ‘common sense’ to not look down the bore of a firearm. If you gave a pistol to an Australian Aborigine, one of the first things they would do is look down the bore because in their worldview, knowing what’s in a hole is really important. Even Al Gore did it when he was searching for the Internet in Viet Nam. That was before he realized he had to invent it.
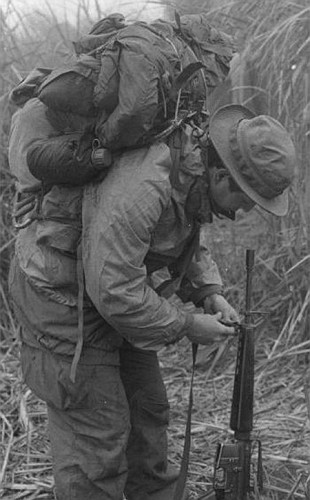
Al Gore looks down bore.
Ninety-nine percent of what most people know about firearms usage they learned from TV and the movies. In those media, there is never any ambiguity about the shoot/no shoot decision. As a result, when people get placed in a real set of circumstances, they do indeed default to their ‘training,’ which is the media programming. So they tend to make mistakes and shoot, even if it’s not appropriate. I once bemoaned to a colleague that my Threat Management classes didn’t sell. His response was “Nobody buys a gun with the idea that they’re not going to use it.” His comment put it in perspective for me.
The Importance of Target Identification
Deputies found a 32-year-old man who said that he and his wife were sleeping when they heard a noise in the kitchen.
The husband took his handgun and walked in the kitchen area, where he shot the victim.
After the shooting the husband recognized the victim as his younger teenage brother.
Man shoots, kills brother thinking he was burglarizing home
Yet another tragic example of why I stress target identification so much. These situations are absolutely preventable. As I’ve said before, if you live with anyone else, my analysis is that there is a 97 percent probability that the ‘bump in the night’ is a member of your own household. With those kinds of numbers, gunowners cannot take the risk of shooting someone at home without establishing a positive ID.
This kind of situation is a further example of why I say we have to be very cautious of what we take of from our training, and even more so, what we read. Much of the good training available is conducted by former law enforcement or military personnel. Just as much as any of us, they are subject to unconscious biases resulting from their experiences and training. Since most reading now is done on the Internet, you have to assume everything you read is wrong because most of it IS wrong.
Responding with a firearm to a noise at night in the home absolutely requires that you visually verify your target before shooting. You probably will need a flashlight for that. And stealth is not your friend, it is your enemy. Therein lies a major divergence from the law enforcement officer or soldier, to whom stealth is an ally. The notions that ‘the light draws fire’ or that criminals will wait in ambush for you if they hear you coming are nonsensical. Those are bad paradigms for us to insert in our thinking. If your background is such that having assassins waiting in ambush for you in your own home is a concern, you need to work on some serious hardening of access points to your home.
If you keep a gun at home, put a flashlight next to your gun; no ifs, ands, or buts about it.
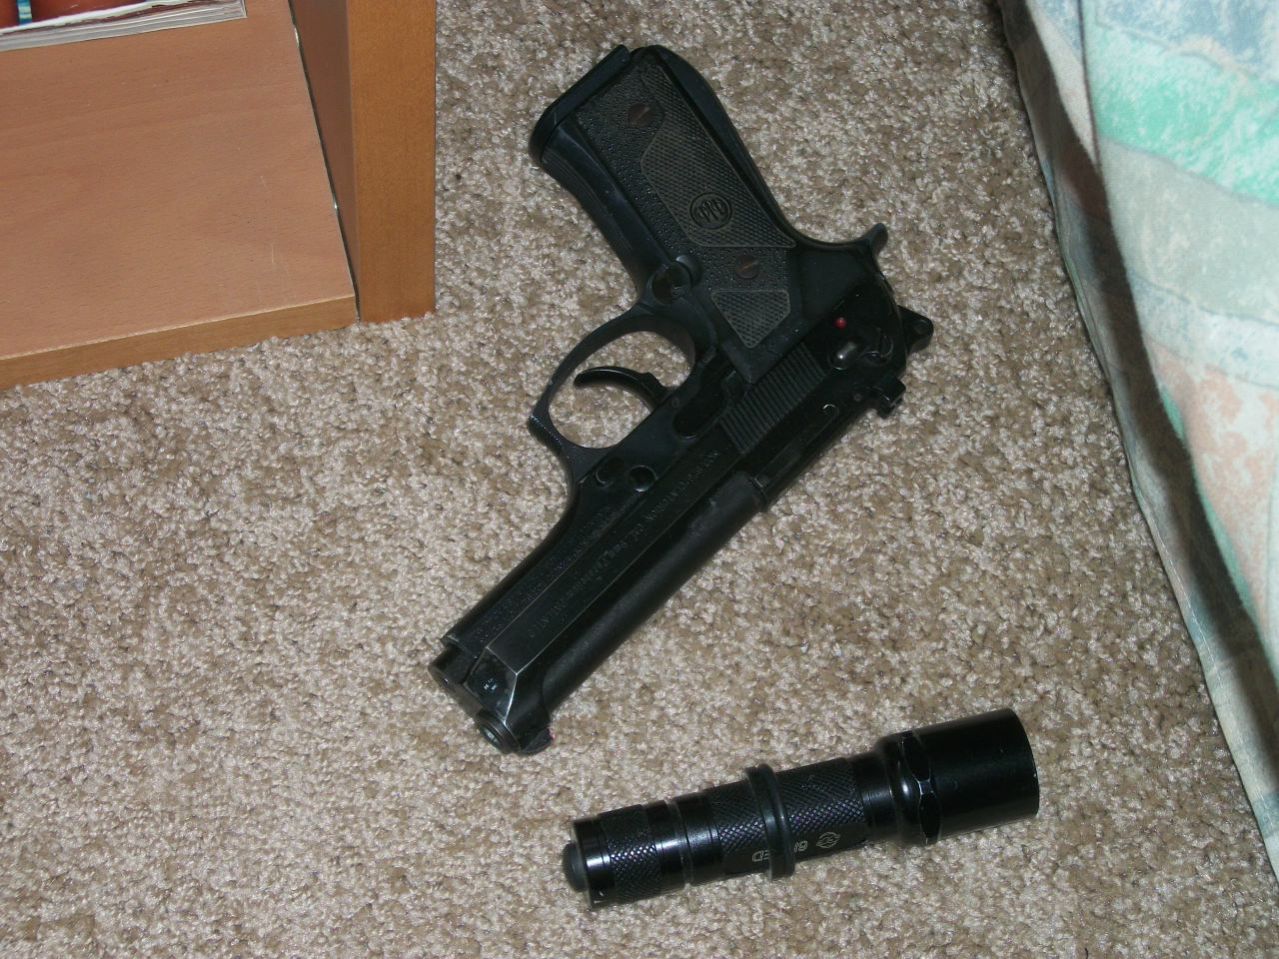
Next time you go to the range, take the flashlight with you. Instead of just blasting 50 holes in a silhouette, shoot two shots at the silhouette 25 times. Sequence is very important in how you do this.
- Have your gun in your shooting hand and your flashlight in your support hand. The gun is not pointing at the target and the light is off.
- Before each two shot string, say out loud “Who’s there?”
- Wait to listen for an answer. If you go to the range with someone, have them stand behind you and sometimes respond with “it’s me, Daddy” or something similar.
- If they say that, immediately put your gun down on the bench and abort that sequence.
- Then illuminate the target without pointing the gun at it.
- Finally, bring the gun up and fire the two shots.
One of the things you will find when using this sequence is that the worthwhile two handed shooting techniques don’t work well for it. Harries is both clumsy and dangerous to assume when you already have the light on the target and are keeping it illuminated while presenting the pistol. The Rogers/Surefire technique takes some time and manipulation skill to assume. What you will discover is that only the Cheek Technique or the FBI Technique work well in this context.
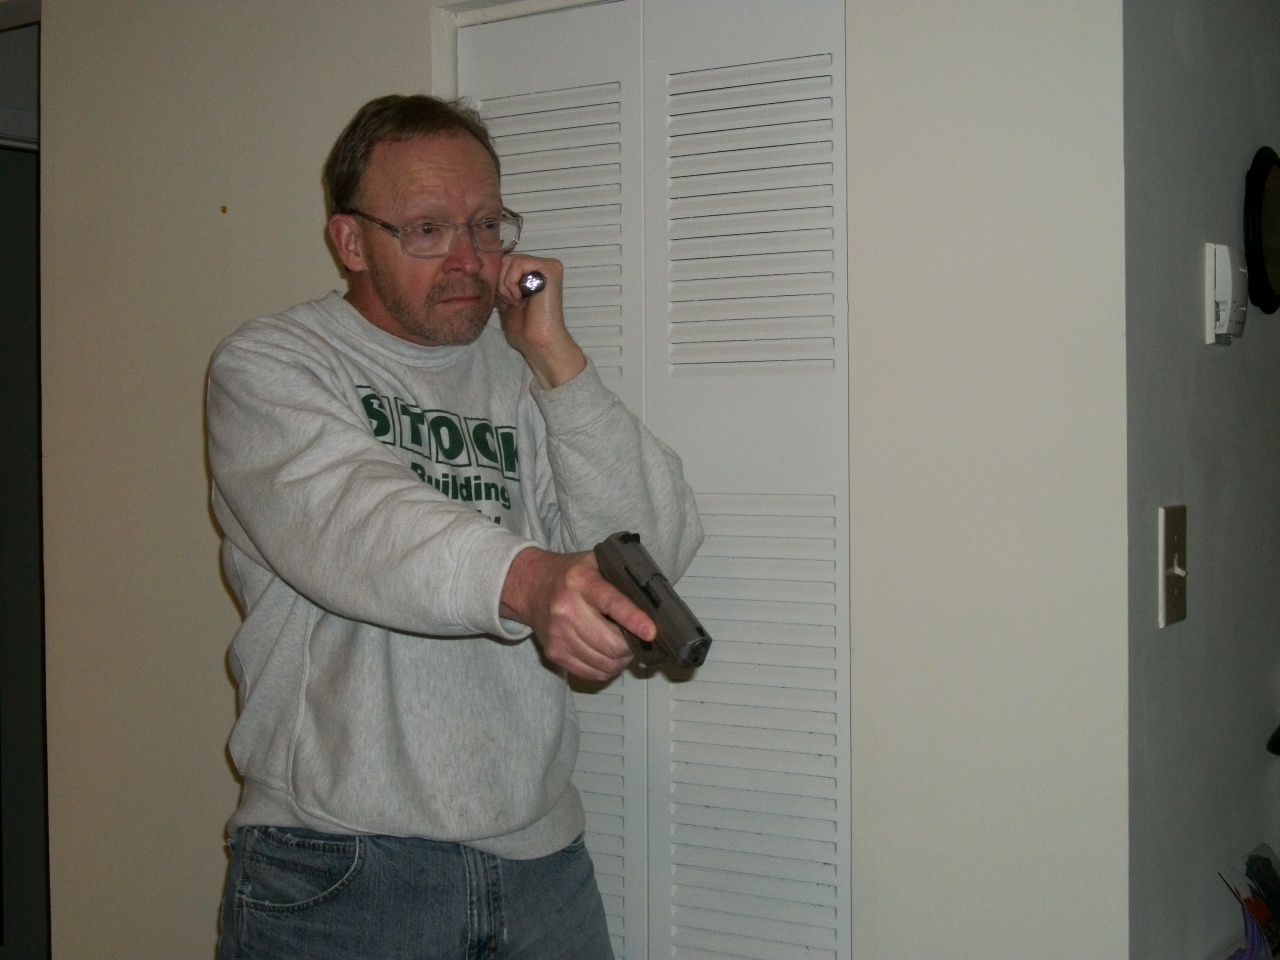
That means you have to learn to:
- Speak while holding your gun.
- Abort the shooting sequence if there is not a threat.
- Do a dissimilar task with the other hand, i.e., orient the flashlight and work the switch, while keeping your gun off target and your finger off the trigger.
- Shoot with one hand only while continuing to perform the dissimilar task.
- Manipulate the safety or decocker of your weapon with one hand while holding something in the other.
For the final 5 repetitions (10 rounds), put up a clean silhouette target and shoot the LAPD Retired Officer Course (10 rounds at seven yards). Measure how well you do. You’re going to find it’s a lot harder than you think.
That sequence is obviously rather involved; practice it before you have to do it for real or you’ll forget to do it or get it wrong. Forgetting to do it is what leads to tragedies.
Structured practice (Part II)
Part I of this series focused on Dryfire Practice. Now let’s focus on livefire practice, especially for those who are new to pistol shooting. To learn, maintain, and improve physical skills, we have to practice them regularly. We also need a plan for how we are going to practice. In that regard, shooting a gun is no different from learning to throw or hit a ball.
The problem many people have is that when they go to the range to practice, they have no plan and use no structure. At least a motivated police officer has the course required for periodic qualification as a structure for practice. Competitive shooters have courses of fire, either for Classification purposes or something that was appealing in a match. Few Private Citizens have either of these, which is why the most common ‘practice’ is blasting 50 holes in a silhouette at 5 yards. Shooting a bunch of holes in a silhouette gives familiarity with recoil and muzzle blast but not much else. Something further is needed to develop skill.
A very good starting point for new shooters is the NRA’s Marksmanship Qualification Program, which is really a marksmanship development program. This is a self-paced and self-administered program that the NRA has made available for decades. There are a number of different courses of fire available within the Program. The one I recommend for those who have just purchased a pistol for personal protection is Defensive Pistol I. DPI is designed to improve skills that contribute to a successful home defense.
Defensive Pistol I includes tasks such as:
- Hit a target to an accuracy standard
- Shoot within time limits
- Pick the loaded gun up from a bench and then engage the target
- Pick up and load an unloaded gun
- Move to a position of cover
- Shoot from behind cover
- Issue a verbal challenge
- Reload
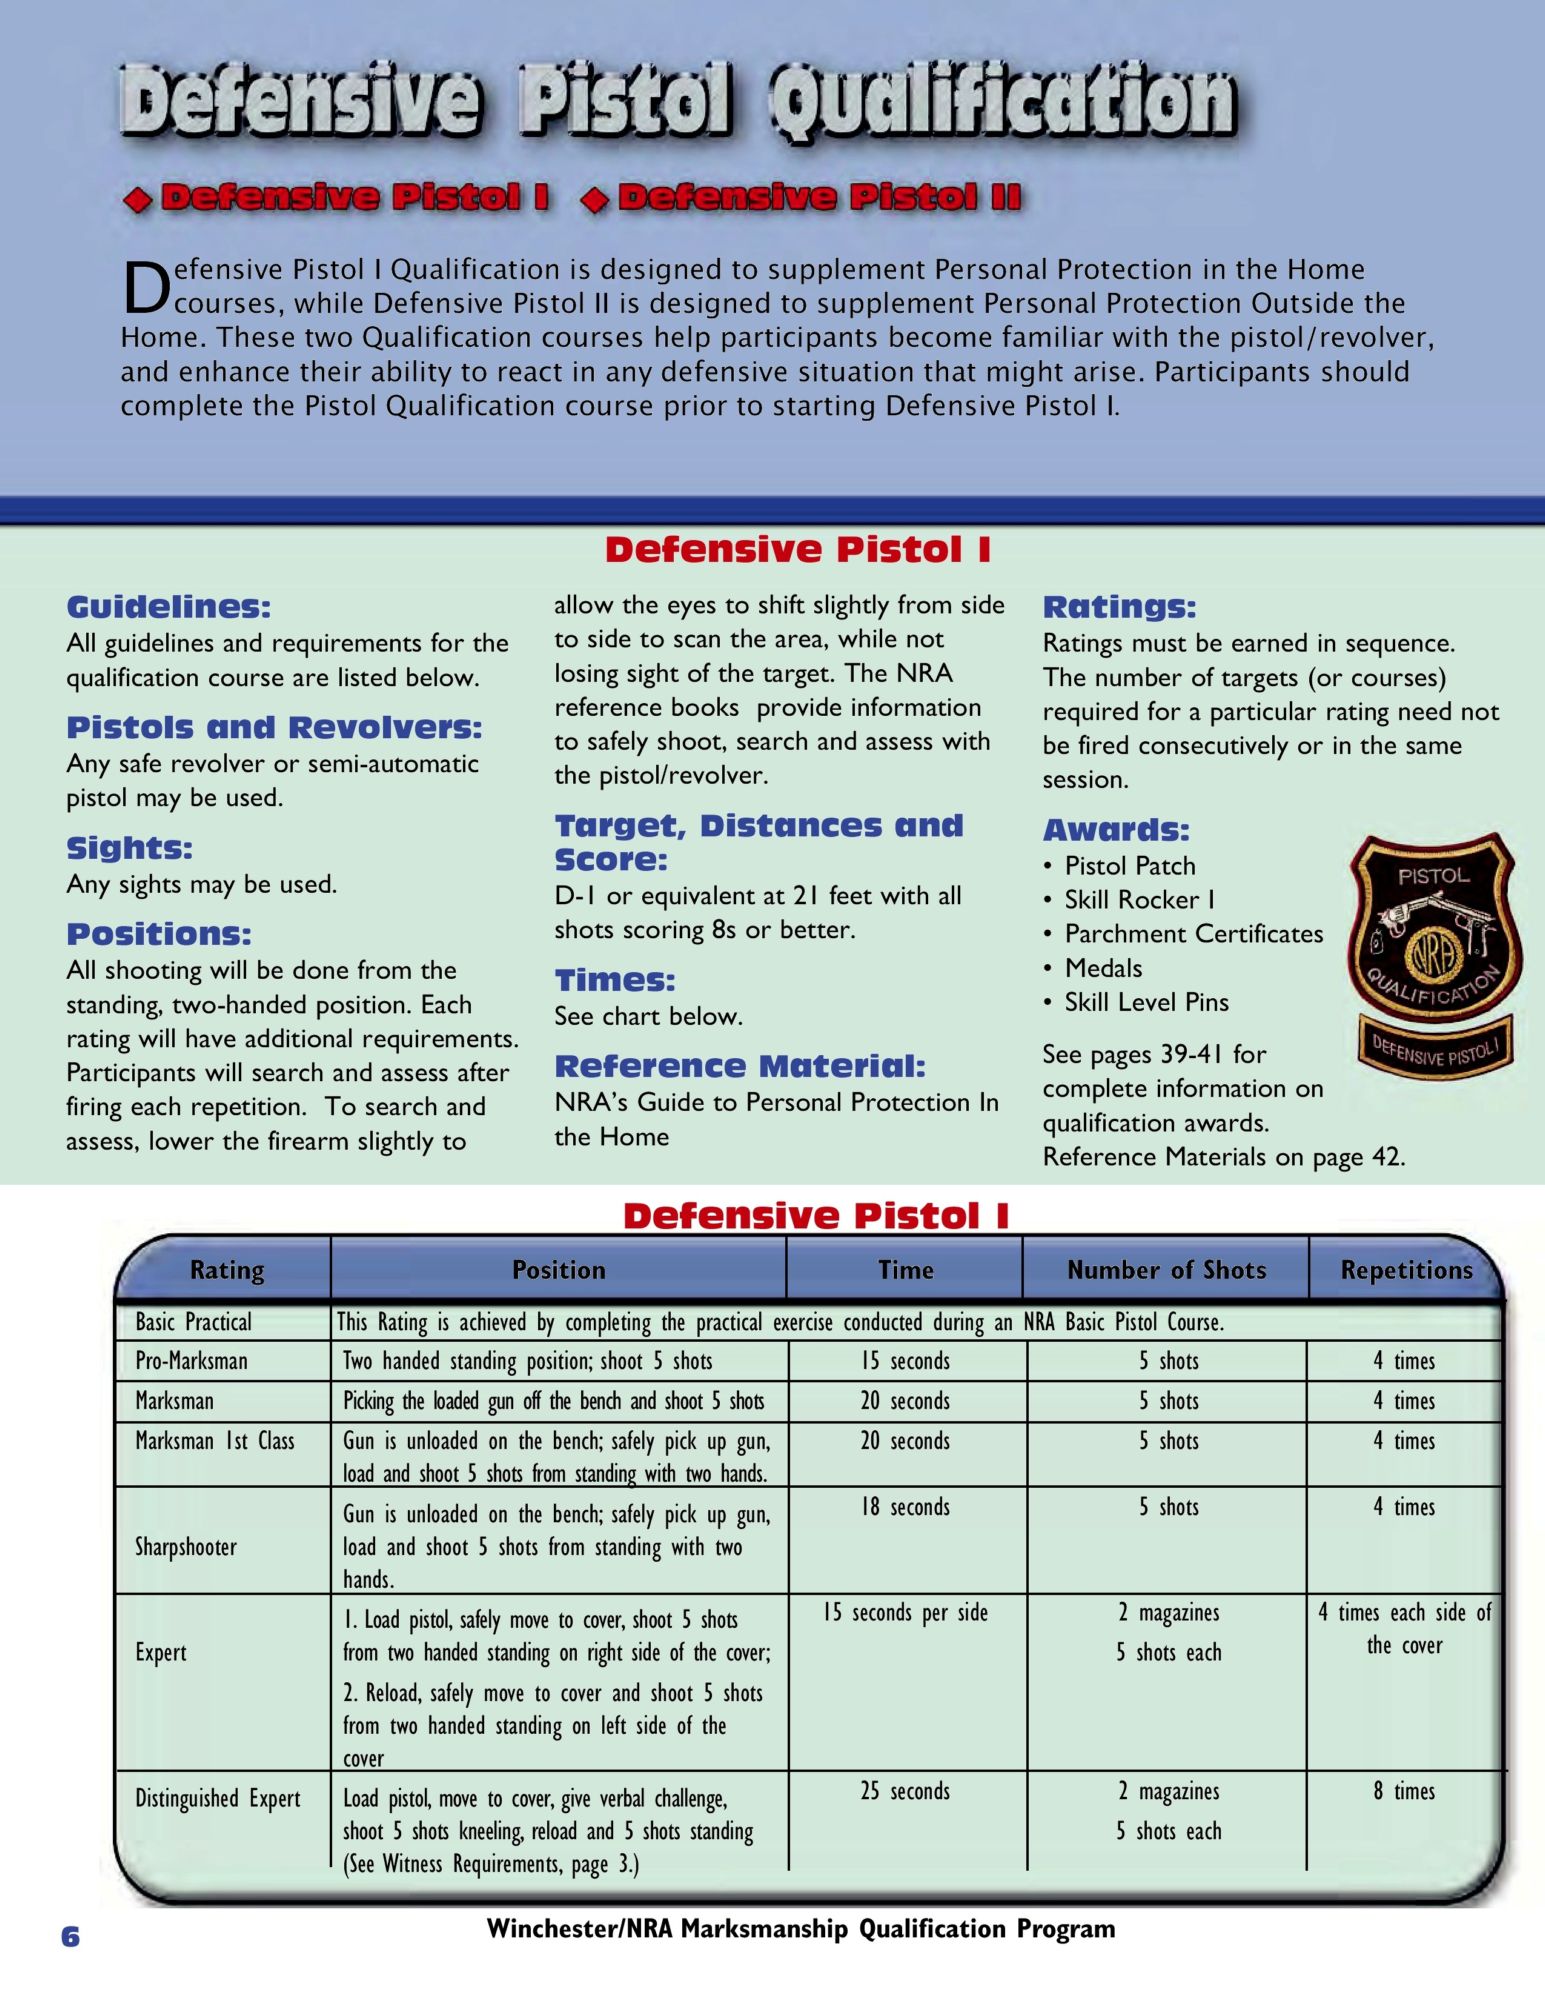
Courtesy of NRA Training Division
Something I really like about Defensive Pistol I and II is that the accuracy standard is 100%, not a fraction thereof. The allowable area and time limits are generous but you have to make every shot count. As I mention periodically, every bullet you fire in an urban area that doesn’t hit your target is heading for a busload of nuns and orphans being followed by a limousine full of personal injury lawyers on a conference call with the District Attorney. We have to get used to the idea that the only safe backstop for our bullets is the criminal’s body, period.
The target area specified for the NRA program is the 8 ring of the NRA D-1 (Bianchi Tombstone) or equivalent. The 8 ring of the D-1 is 12 inches in diameter. The shooter must place five shots in the 12 inch circle at 7 yards within a time limit of 15 seconds. Many shooters I talk to think this is a very simple marksmanship task. The reality is that because of the 100% standard it’s not as easy as people think. In order to meet the standard for the first level (Pro-Marksman) of the program, the task has to be done four times. Therein lies the rub. I have run over 100 people through the program and only about 10% have passed on the first attempt. What happens is that on one or two runs, one shot will not hit the 12 inch circle. Sorry, you didn’t make it.
The good news is that the four runs don’t have to be done consecutively. If you mess up a run, just shoot another until you have four that meet the standard. My experience has been that 10 percent of shooters can do it in four runs, another 40% will make it in five runs, another 40% will make it in six runs, and the final 10% need a lot of coaching to get through it.
While the Tombstone target isn’t available at all ranges, the allowance for an ‘equivalent’ means you can make a template of the 8 ring and apply it to whatever target is available. Just take your template and a marker with you to the range. I cut mine in half and then taped the halves together with duct tape so it folds and fits easily in my range bag.
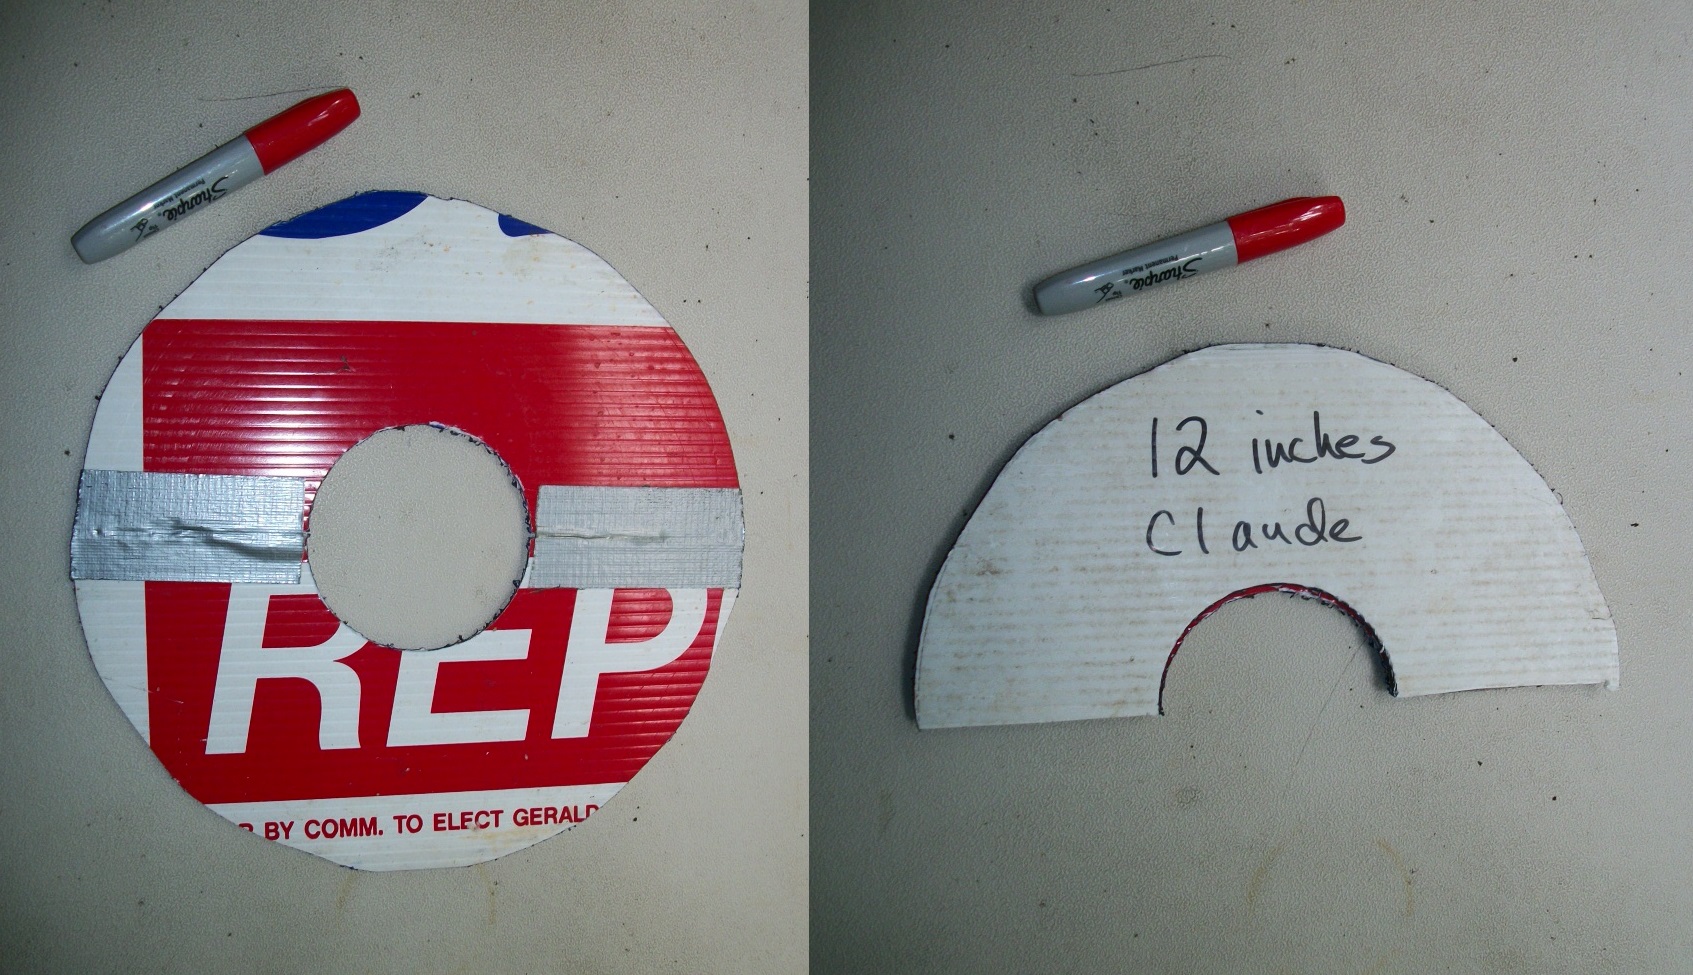
Once you get to the range, outline the template on your target and you’re ready to go. Be sure to take some kind of tape or marker with you so you can mark each run. Marking each run is how you learn to shoot well. As a general rule, I mark my targets after no more than 10 shots. When doing this program, you should mark your target after each string of fire, i.e., each five shots.
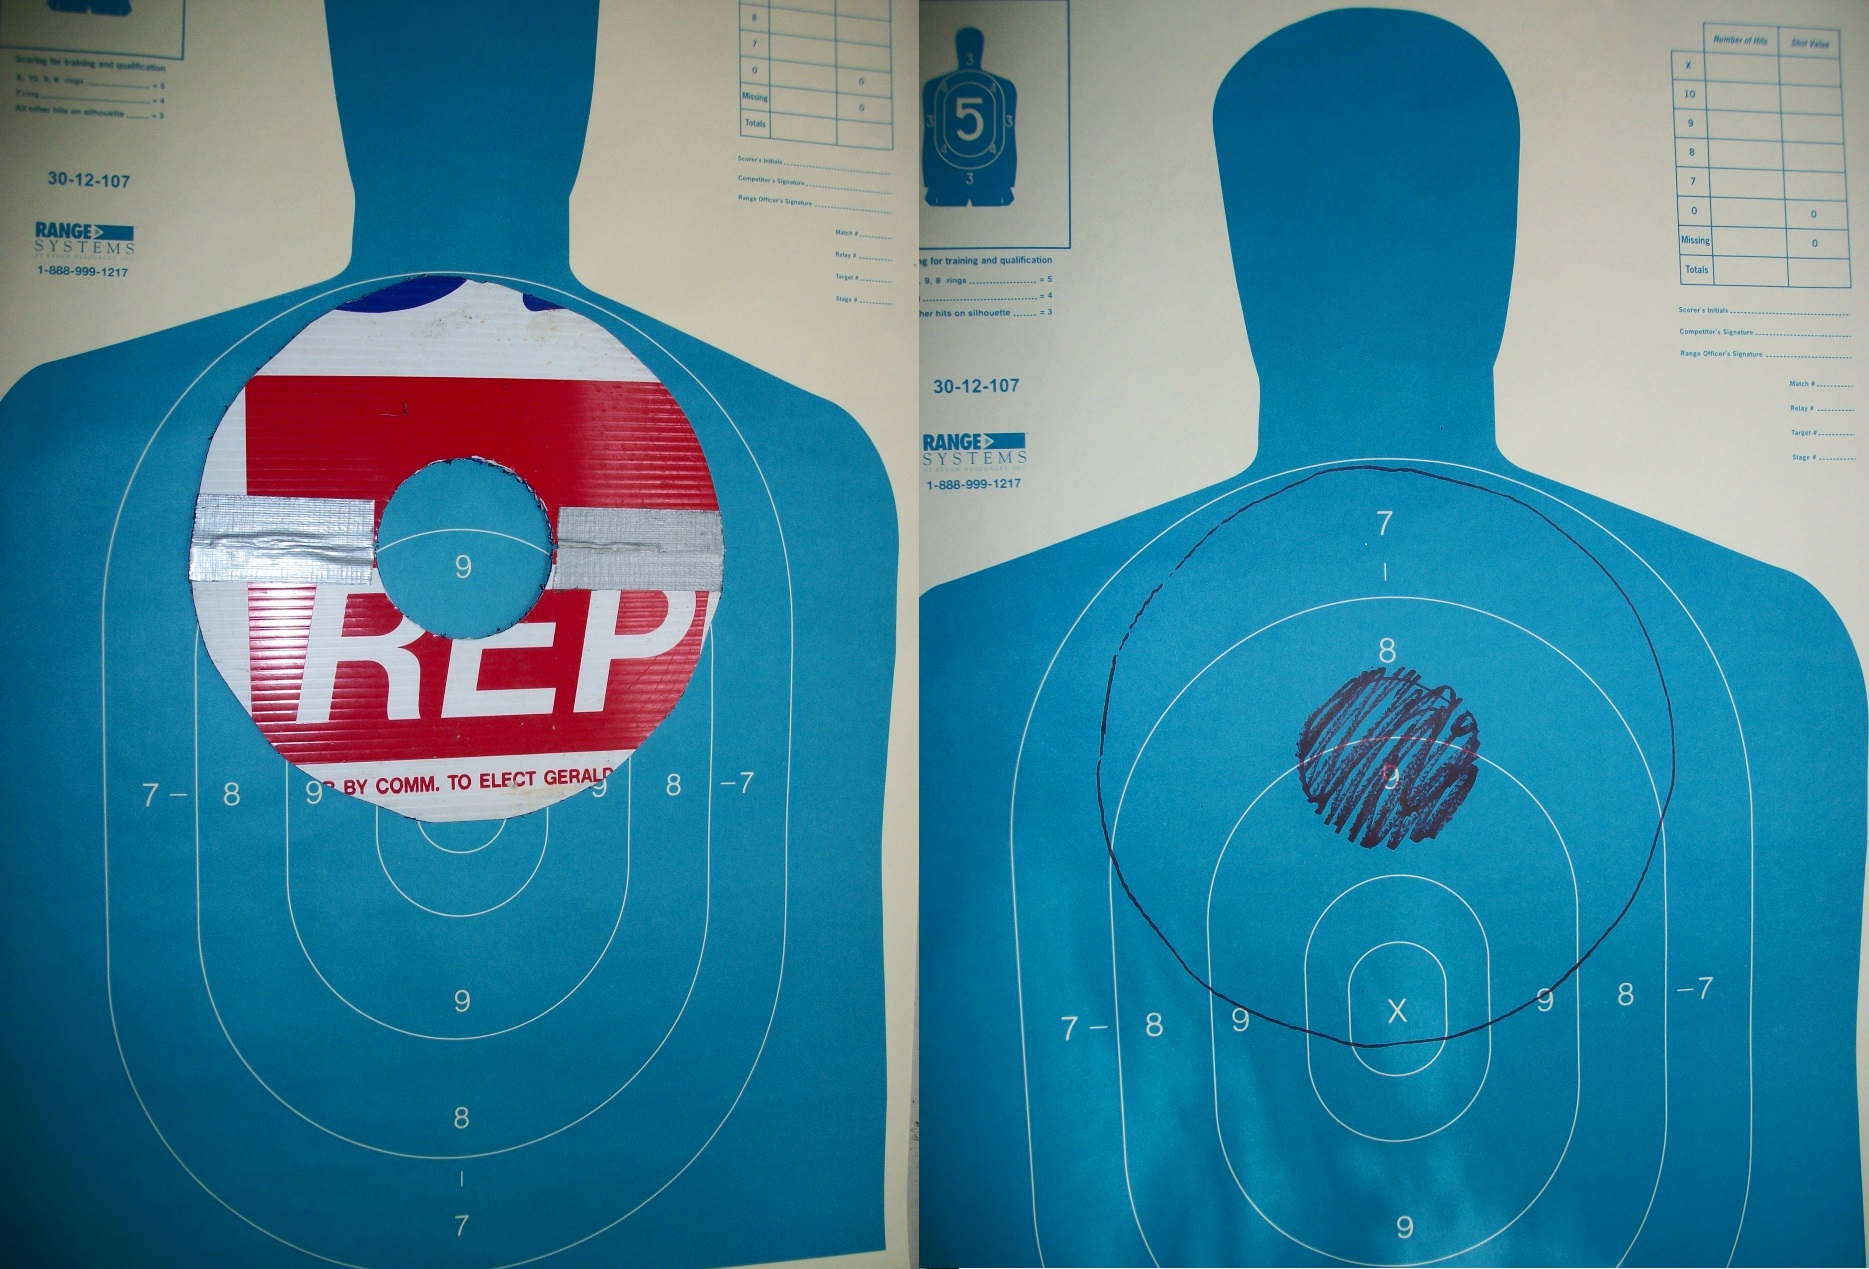
A new shooter can structure their practice sessions in many ways. What’s important is to plan what you do before you go to the range so you don’t waste your time and resources. The NRA program appeals to me because it’s already made up, it contains relevant skills, and it’s workable at most indoor ranges.
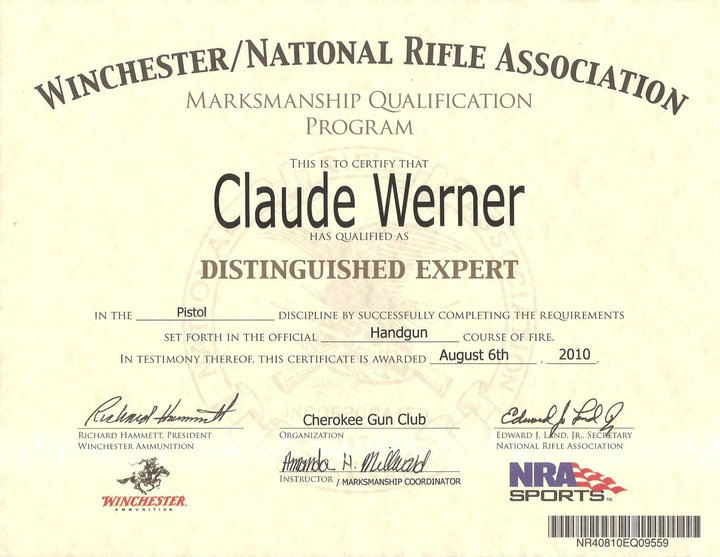
There are also awards available from the NRA for participating in the program. NRA membership is not necessary to participate. The NRA Marksmanship Qualification Program Booklet explains the entire program in detail. It is available for download from the NRA Training Division’s website.
Summer Special on DVDs
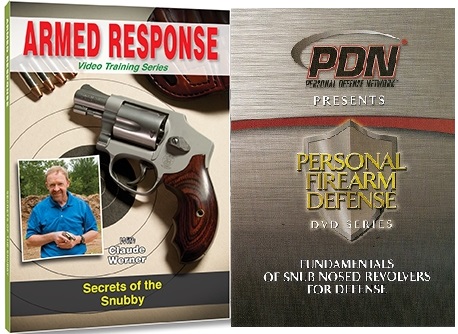
The warm weather is here and I know a lot of folks are going to start carrying snub revolvers for the summer. I love snubs and have spent years learning how to run them well. As far as I know, I’m the only person to ever have won six Sanctioned IDPA Championships with a snub.
At the same time, I acknowledge they’re not the easiest guns in the world to shoot. That’s why I made two DVDs about the best techniques for using snubs and getting the most performance out of them.
To kick off the Summer, I’m offering both DVDs together as a package at a discounted price. Also included is a free bonus CD with two dryfire practice regimens and a reduced scale practice target to help you keep your skills up.
You can get the package on my webstore.
You can tell from the music (DJ Siamey) on this one that I’m a Trance music kind of guy.
Police and Glocks
The Los Angeles Times recently published an Op-ed piece entitled Why the police shouldn’t use Glocks. I find it shortsighted and the author’s reasoning incomplete and faulty.
Although I prefer a Double Action Only or Double Action/Single Action gun for my personal use, I perceive several issues with the article.
The half-inch difference of trigger travel may not sound like much, but it can be the difference between life and death.
The statement is a core issue. There’s no control statement about how many successful uses can be attributed to the GLOCK’s shorter trigger. The first shot is both the most important and, with DA guns, the most often missed. Aside from the possibility of ending the fight sooner, the issue of errant rounds flying around the community is also disturbing.
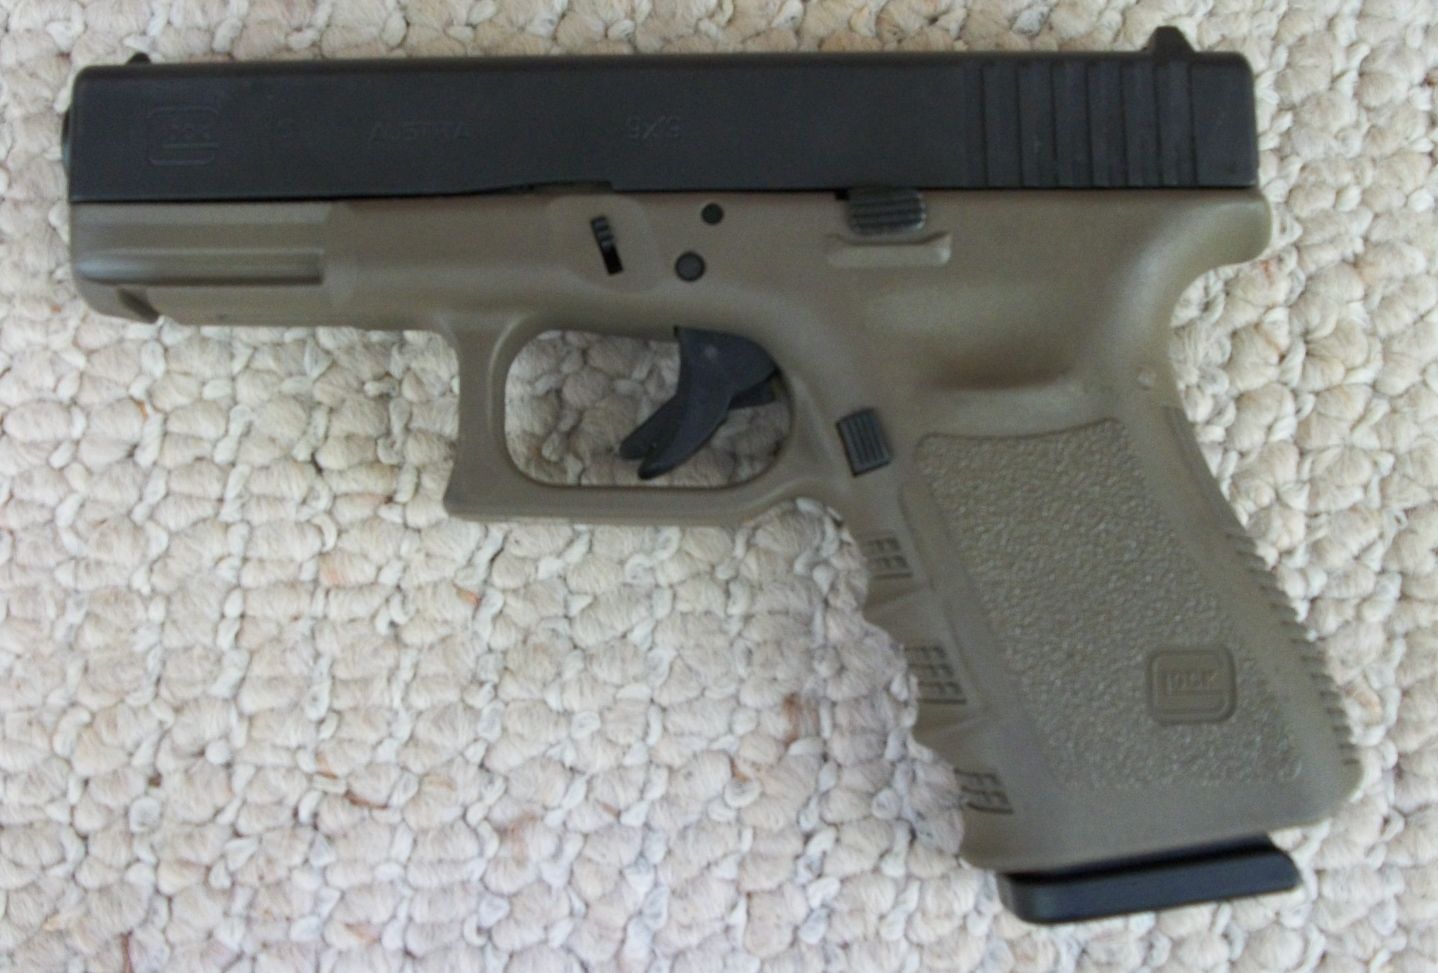
A number of major and minor agencies use guns with much longer double-action triggers that are just as easy to fire deliberately but that are much harder to fire accidentally.
That’s a well couched statement. If we substitute the term ‘hit with’ for ‘fire,’ it completely falls apart. Making the gun go off is just part of the equation; hitting the intended target is equally important.
Much as I like them, double-action triggers are NOT just as easy to hit with deliberately as a Glock’s. If we include shooting in reaction time, vis–à–vis deliberately, the equation shifts even more in the Glock’s favor. For smaller statured officers, it’s sometimes nearly impossible to grip and shoot a double action gun well. Having taught numerous smaller military personnel to use the M9 pistol, I can say unequivocally that grip size and trigger reach can be a major problem.
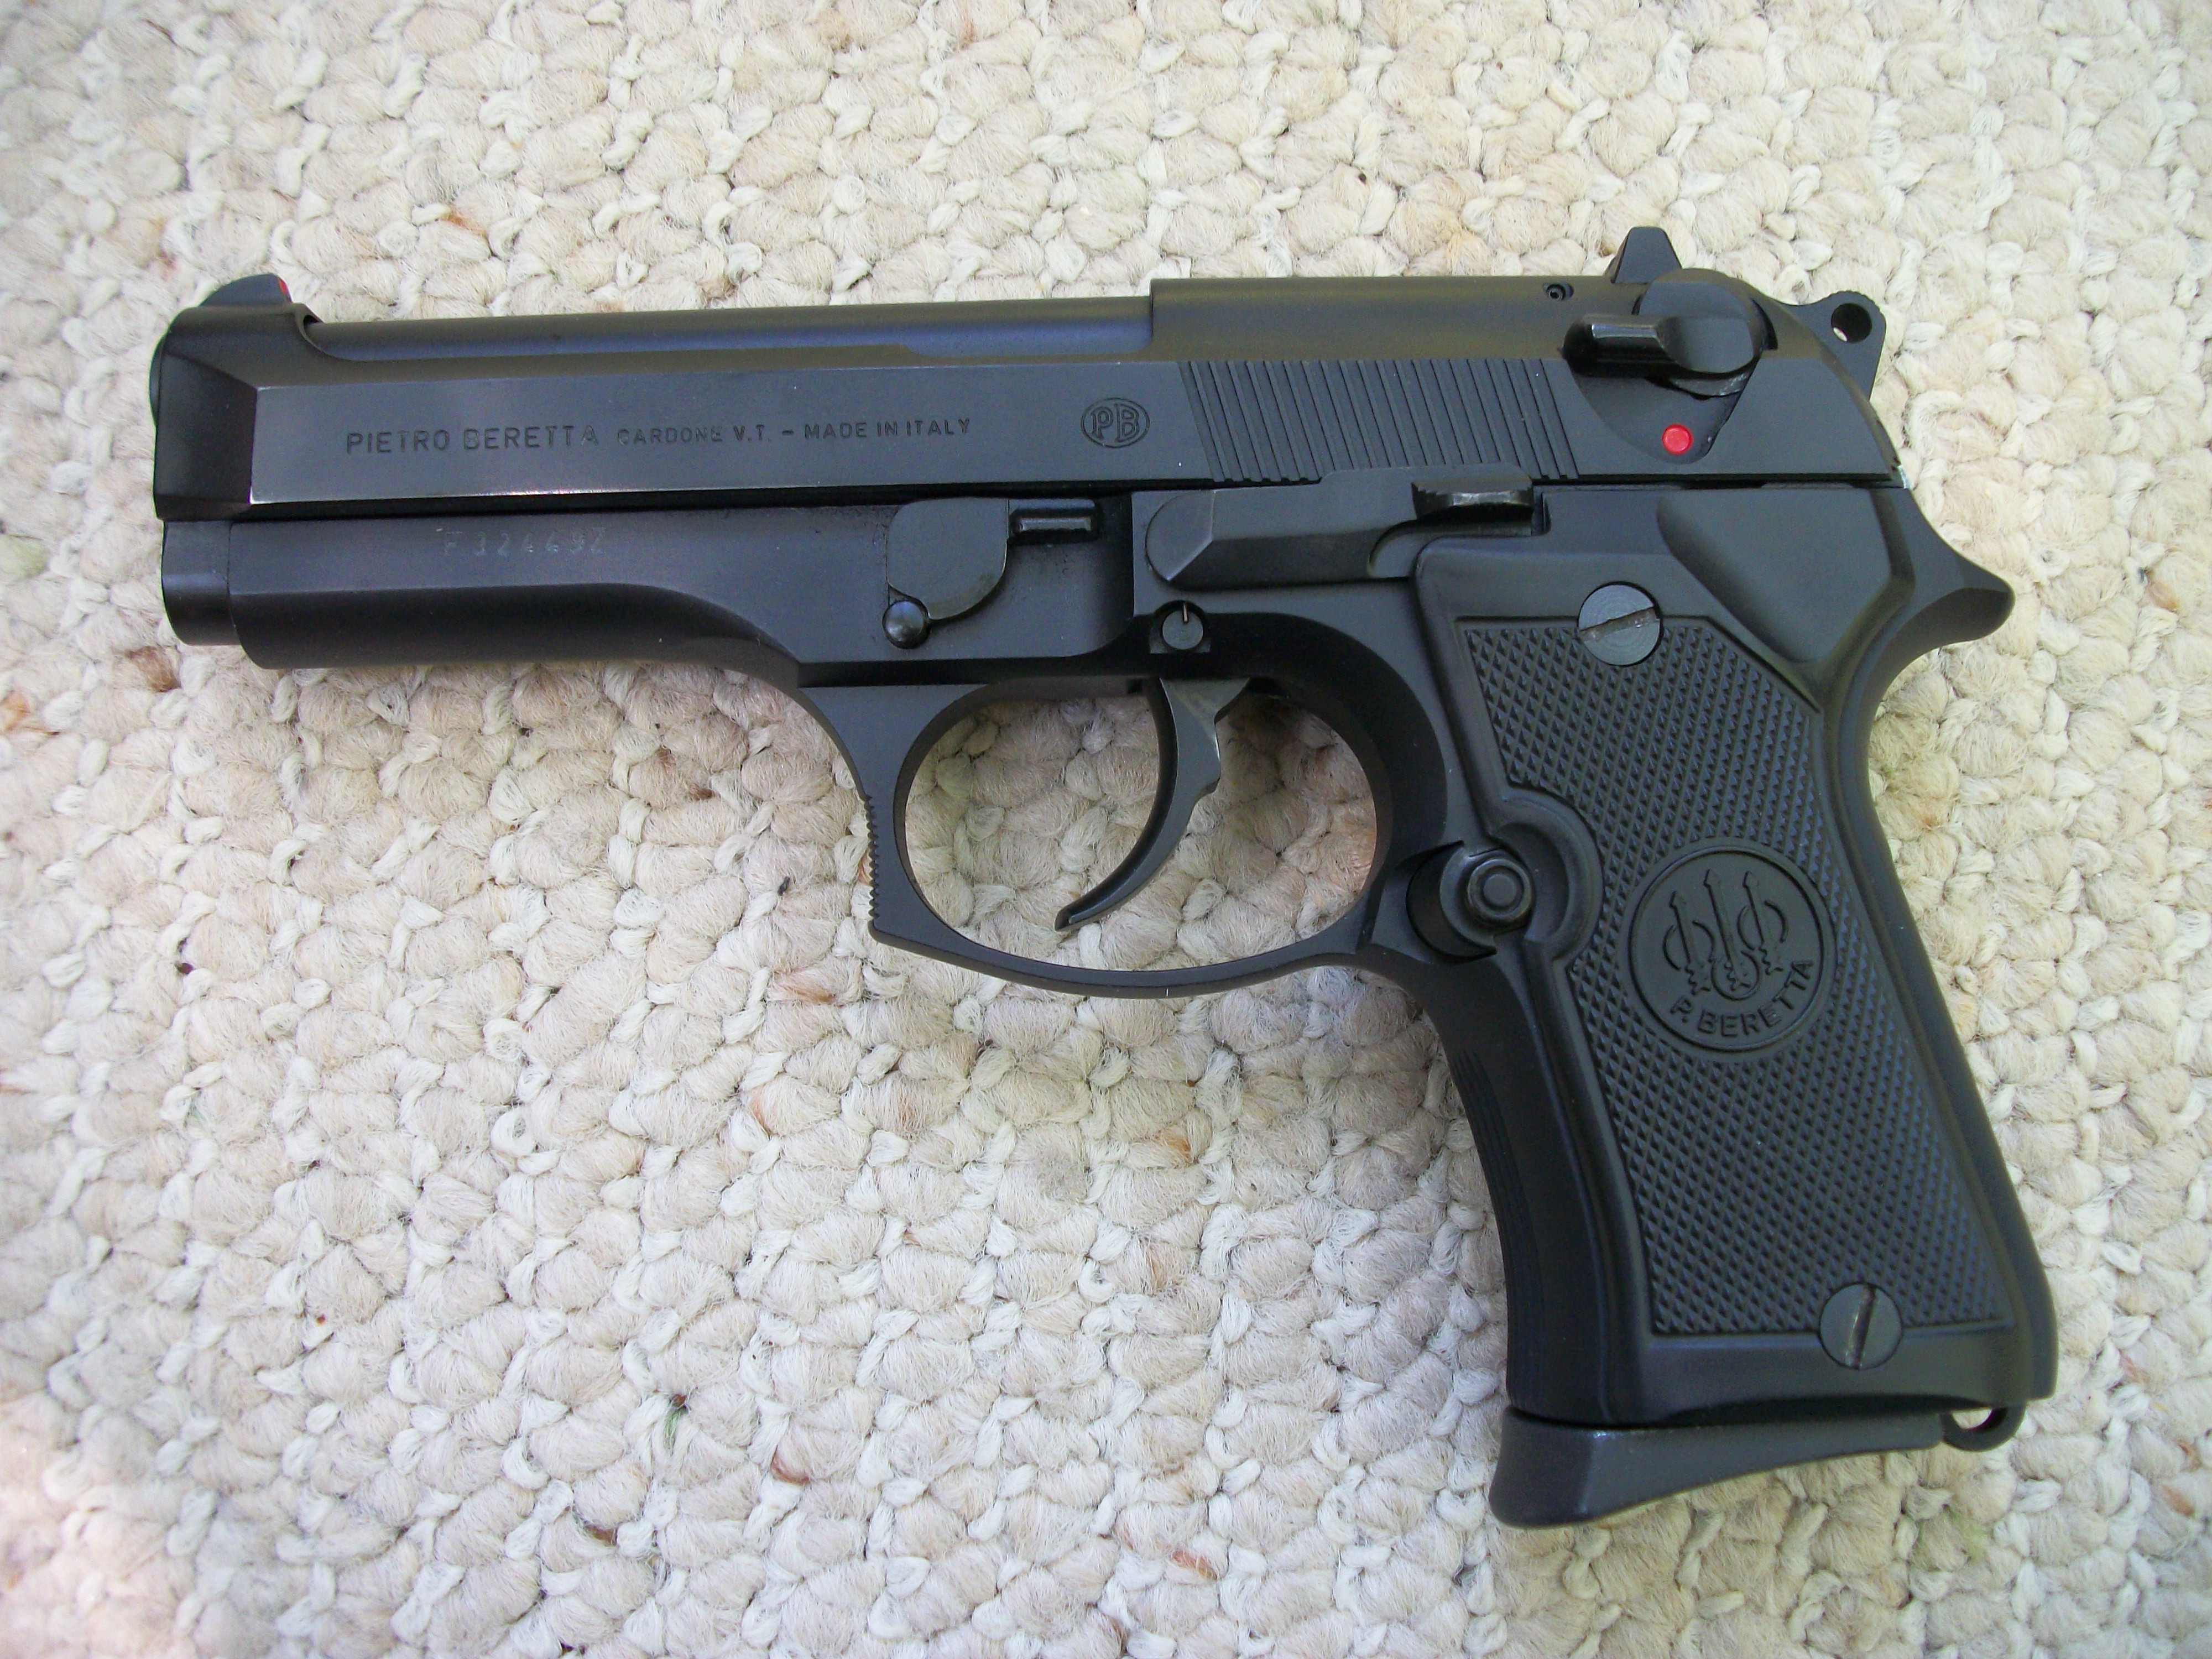
Granted, many officers can learn to shoot a double action gun reasonably well with plenty of training and regular practice. However, that’s not the reality of police administration, either from the hiring or the budgetary perspectives.
What critics should be addressing instead is the brutal reality that short trigger pulls and natural human reflexes are a deadly combination.
In a shootout with a criminal, that’s exactly the point that the author seems to miss. A well-placed source provided some insight to me about the FBI’s decision to issue Glocks years ago, after resisting them for years. “The New Agents could shoot them so much better than the Sigs it was striking.” This from the law enforcement agency with perhaps the most extensive firearms training program in the world.
All equipment has issues associated with it. The accidents cited in the article are tragic and regrettable. However, arguments similar to the author’s could be made for putting speed governors on police vehicles because police officers sometimes get into crashes, with resulting casualties, during pursuits or requests for service. I don’t see any call for that. If avoiding unintentional casualties is the main issue and only criterion, why not just go back to revolvers?
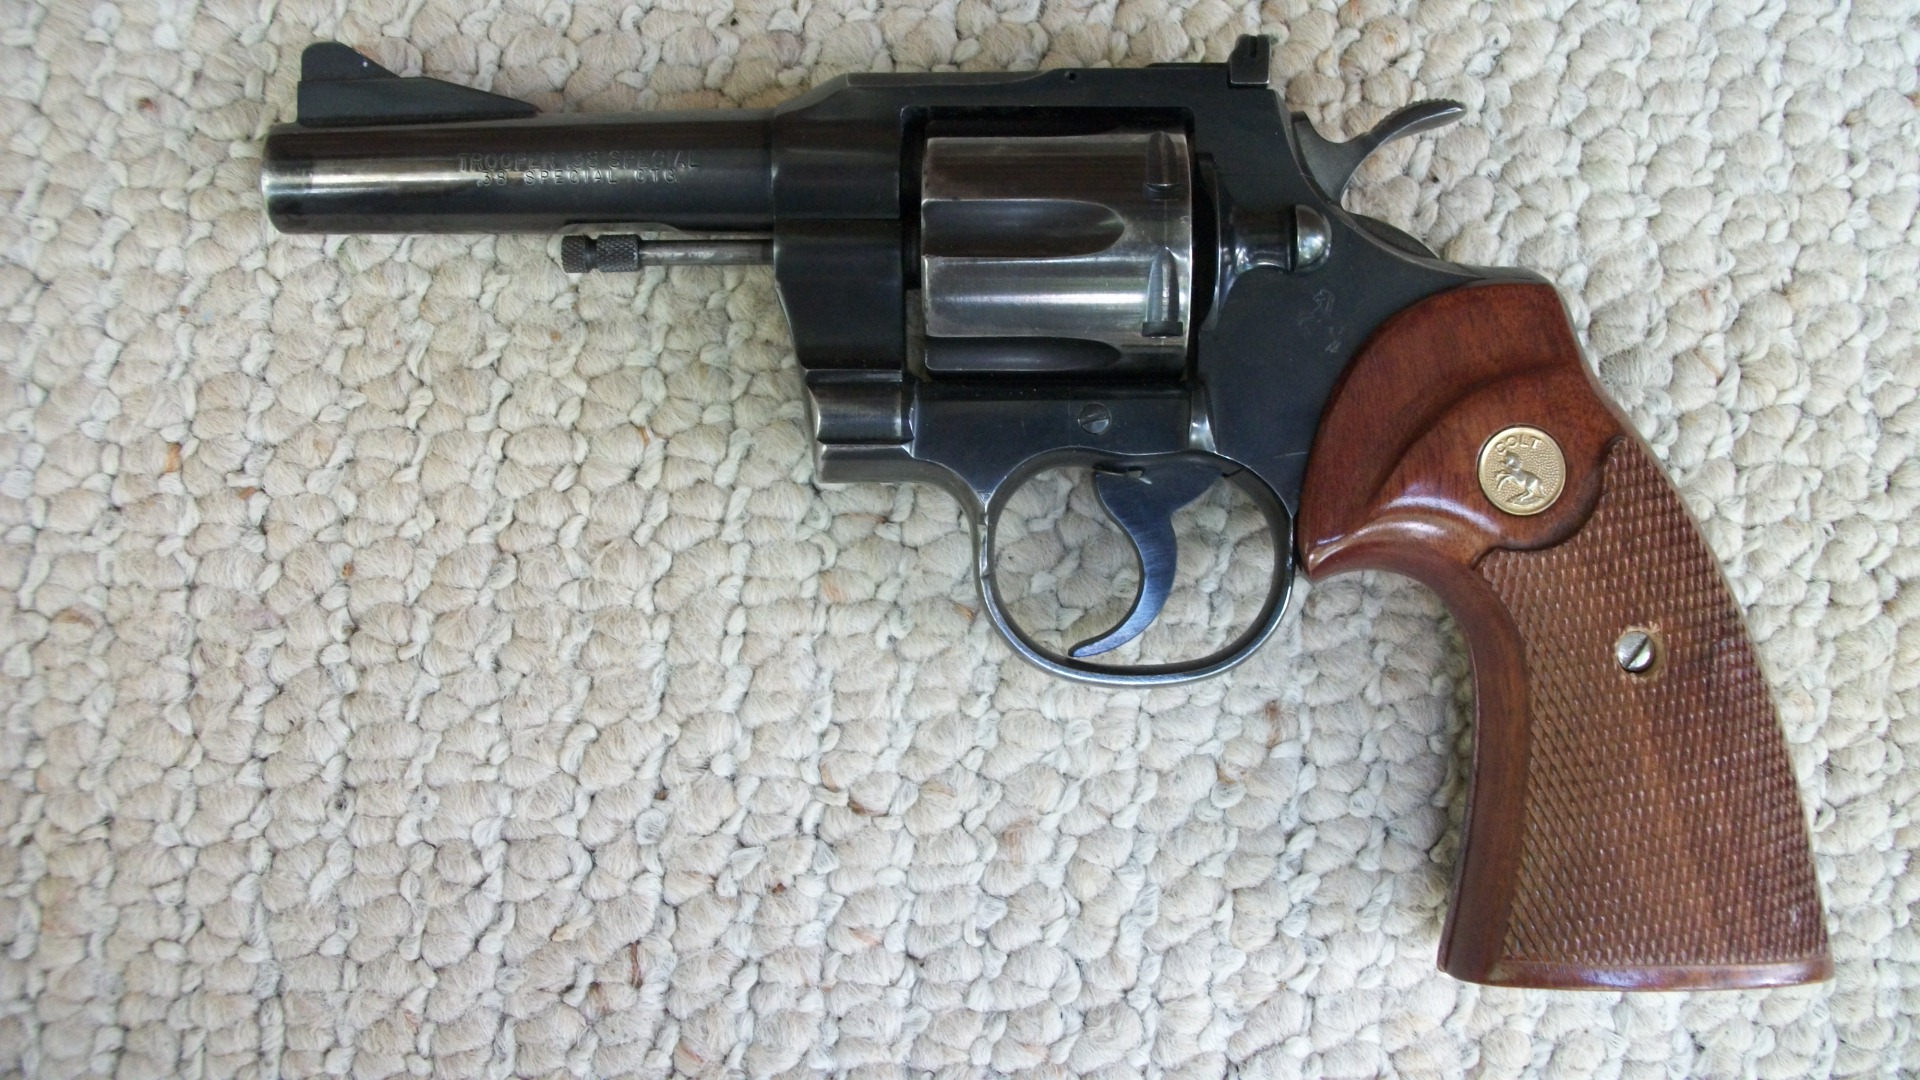
The author didn’t make much of a case for his opinion other than citing a few Negative Outcomes. Without providing the other facets of the decision making process and then weighting the various aspects, it’s a weak argument. The selection of a firearm, whether for police service or individual use, is a complex one. The ability to use it safely is key. However, the ability to use it effectively is just as important.
 tacticalprofessor
You must be logged in to post a comment.